
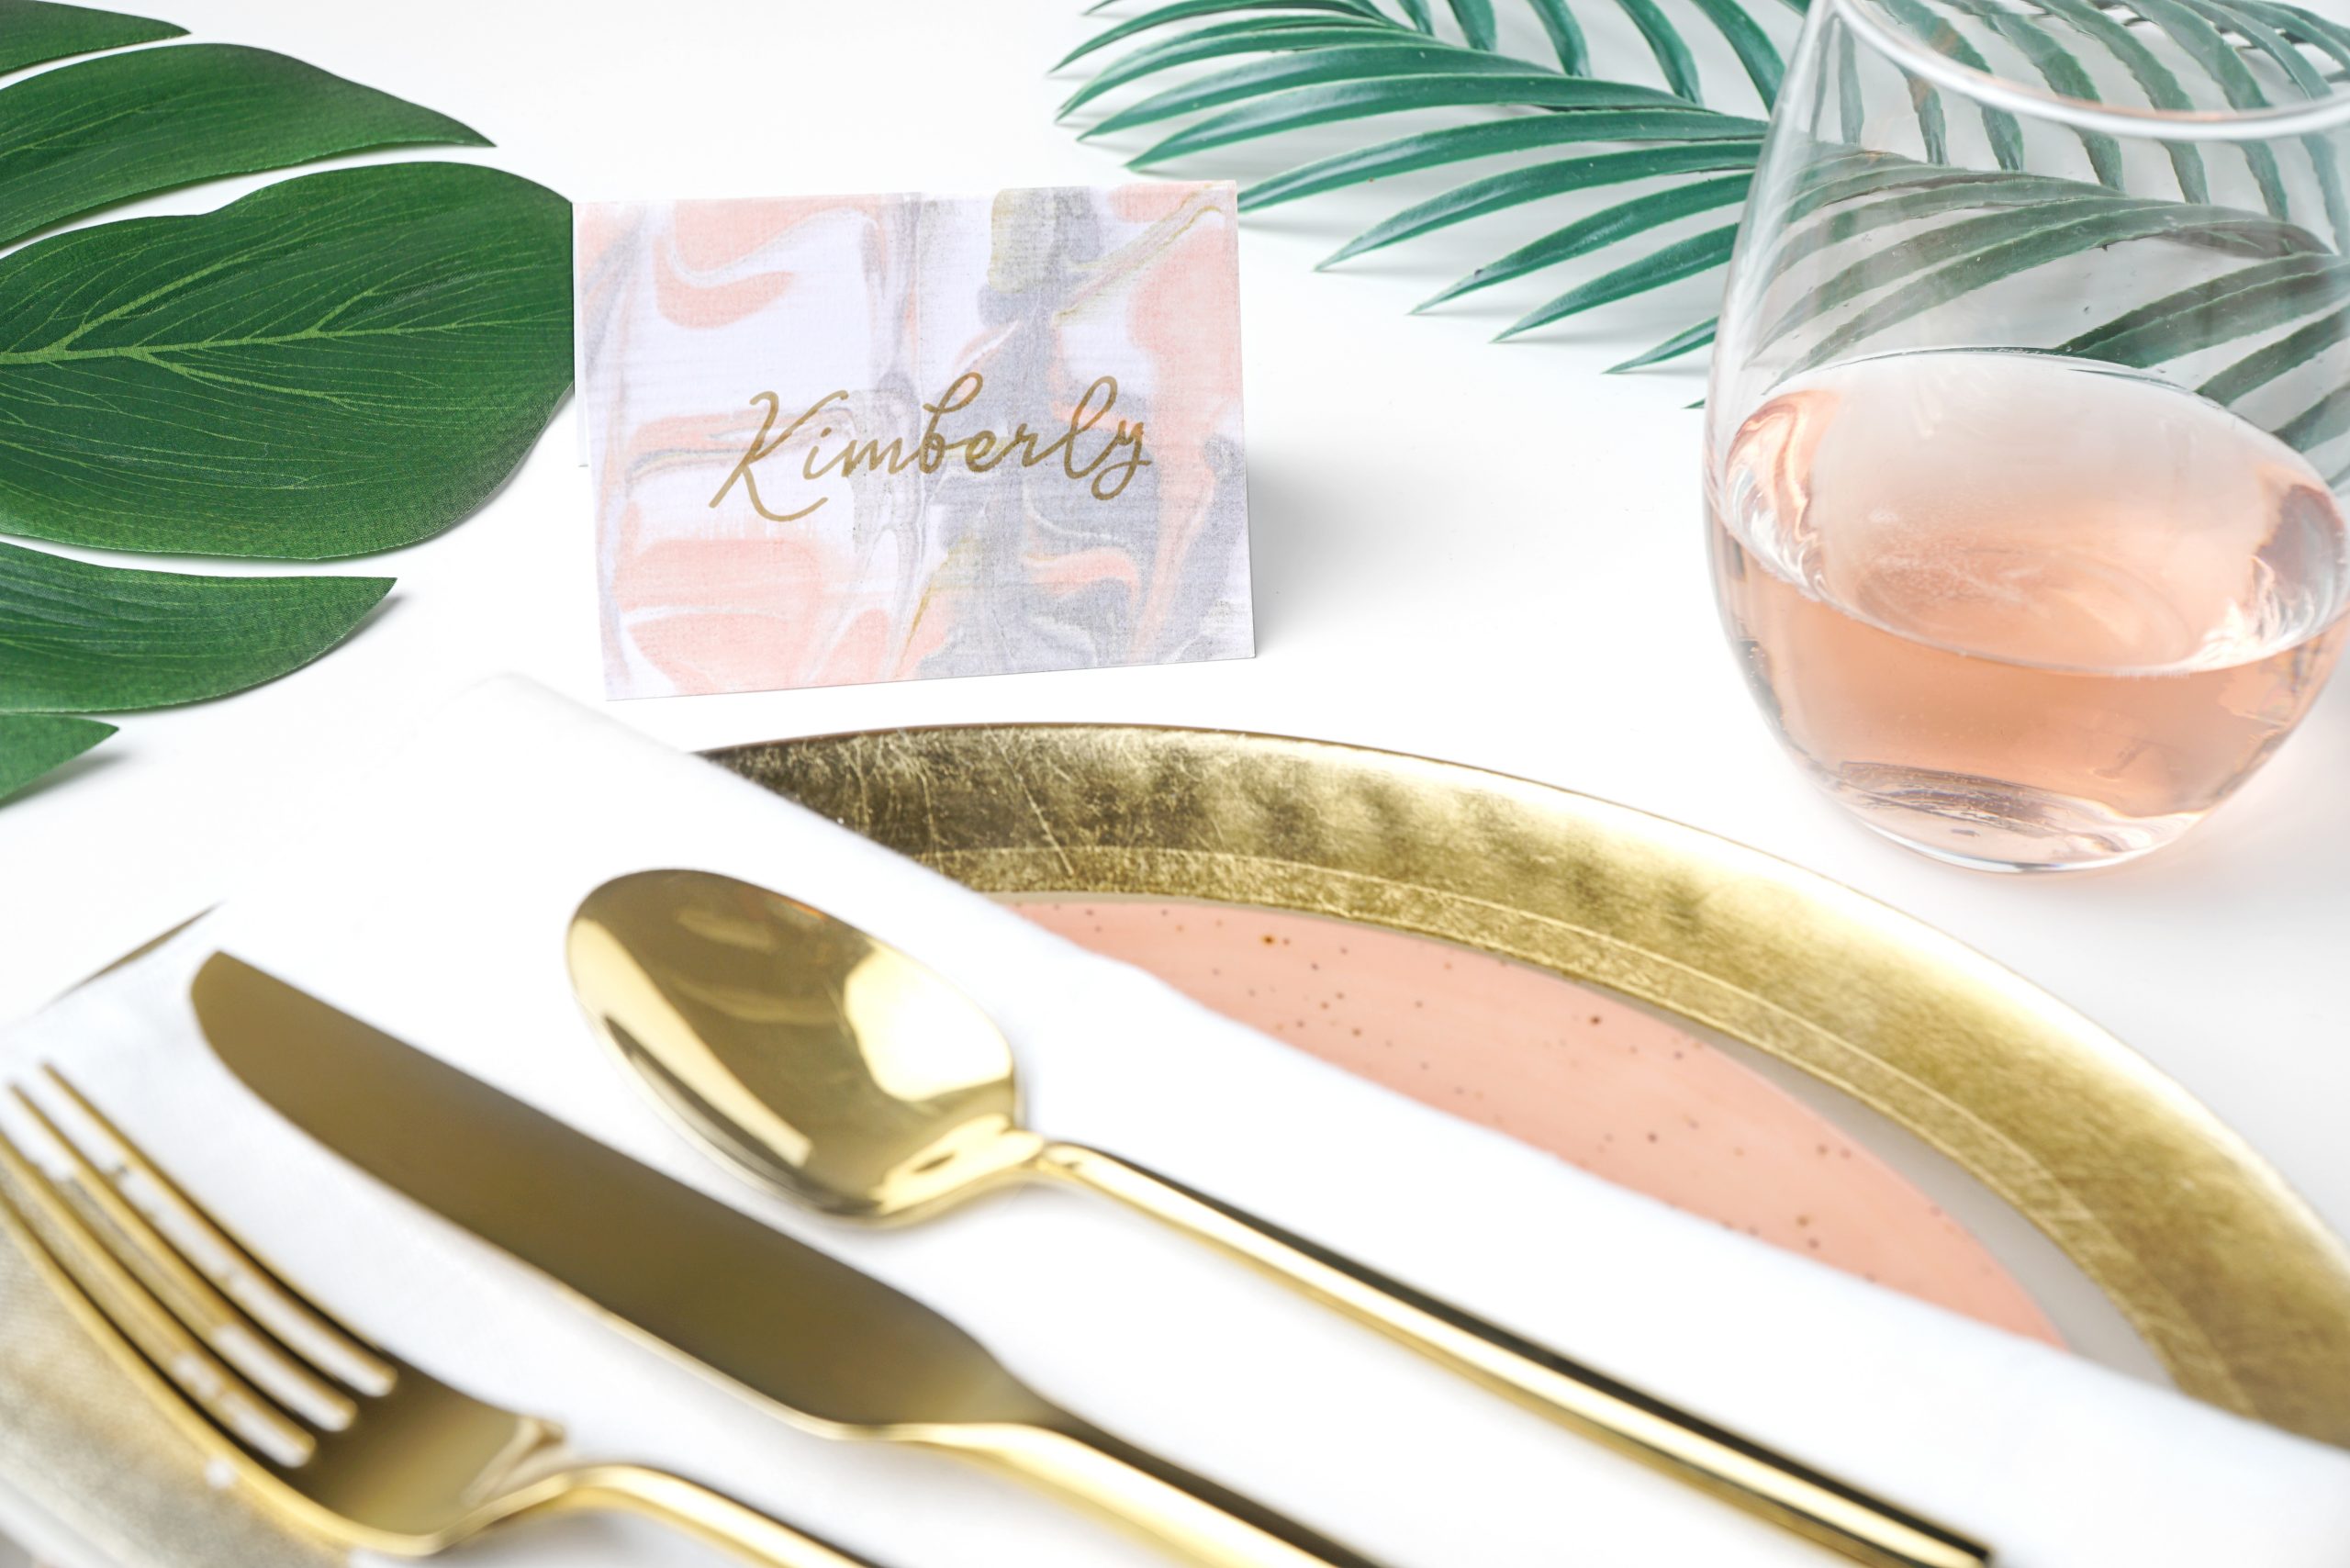
One of the most popular wedding trends at the moment is marble. The marble design is seen everywhere, from save the dates to wedding cakes. This look is elegant and can easily be adjusted to match your wedding color scheme.
The best part? You can create this look yourself by marbling paper. Today FTD walks you through how to marble paper to create place cards for your wedding shower, rehearsal dinner or even wedding day.
Just follow the steps below for a stylish look!

Materials:
Baking sheet
Shaving cream (must be foam, not gel)
Watercolors and acrylic paint
Cardstock
Paintbrush
Dropper
Scraper (paint scraper, ruler or any flat edge)
Step 1:
Fill the baking sheet with shaving cream.

Step 2:
Smooth out the surface of the shaving cream.

Step 3:
Add in two to three colors with a dropper.

Step 4:
Swirl the colors in a figure 8 pattern.

Step 5:
Lightly press the cardstock into the shaving cream.

Step 6:
Remove and scrape off the extra shaving cream.

Step 7:
Let dry and cut into rectangles to create place cards.


You May Also Like


Join the Conversation


