
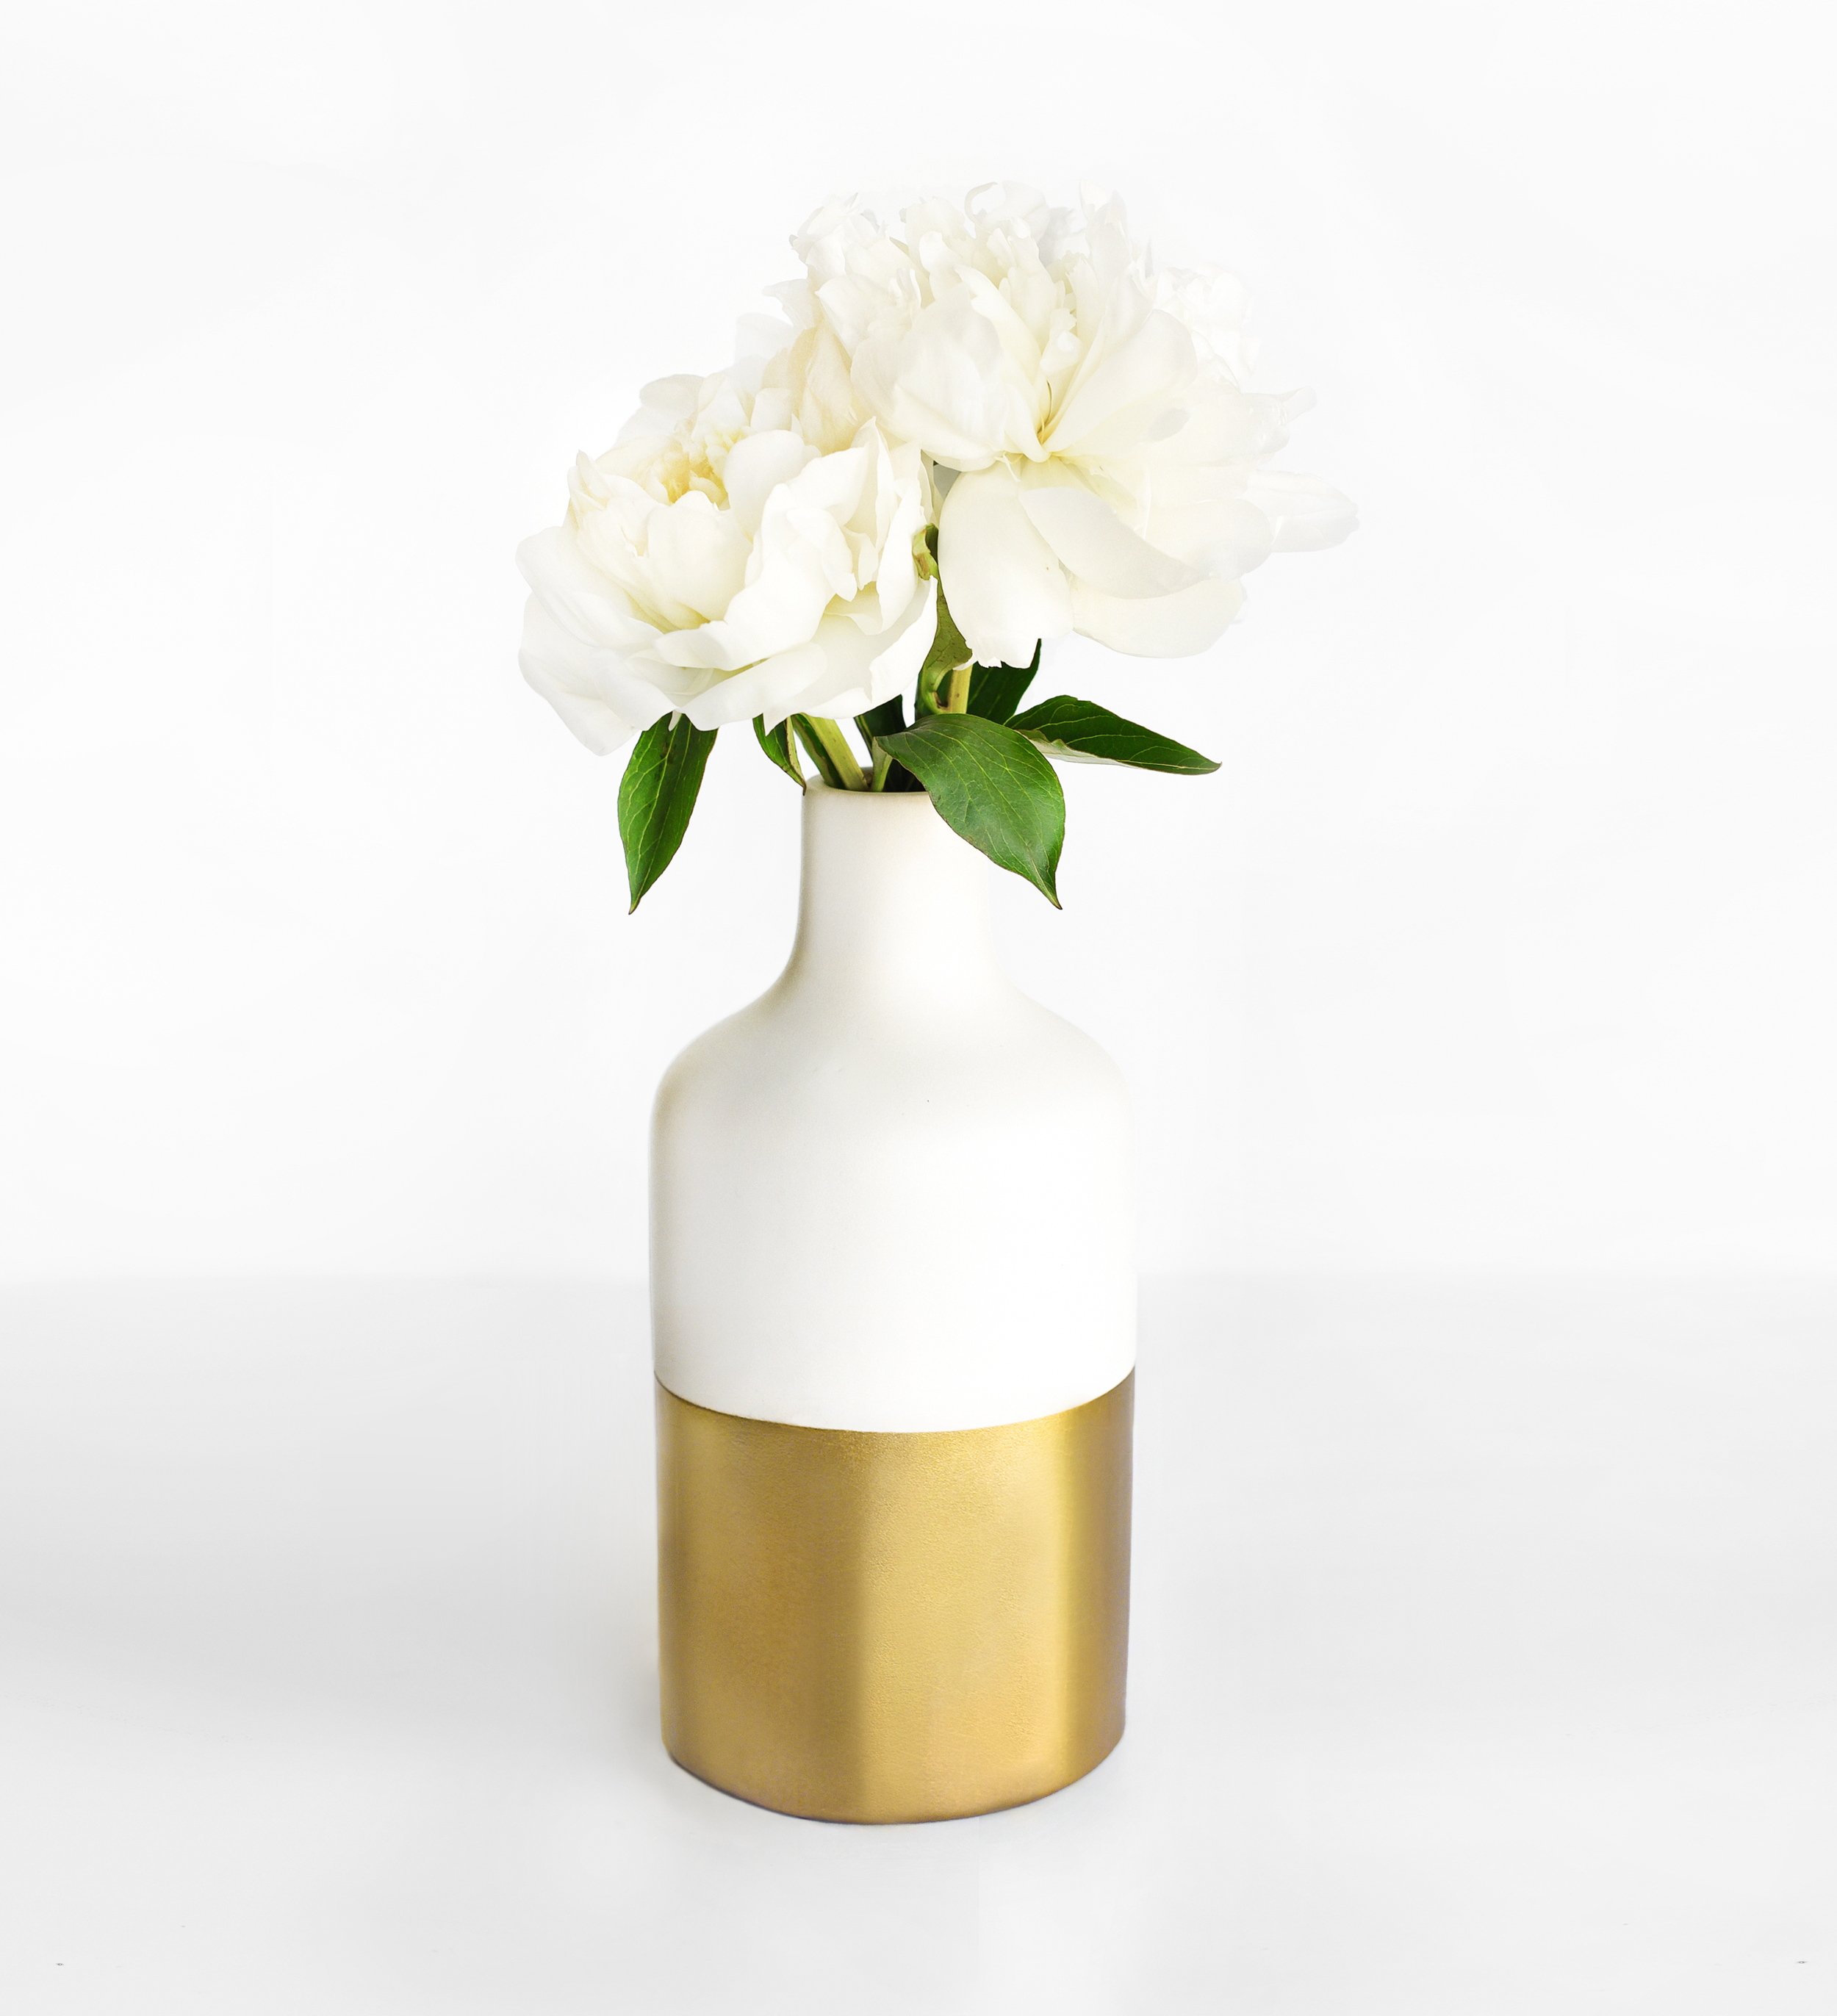
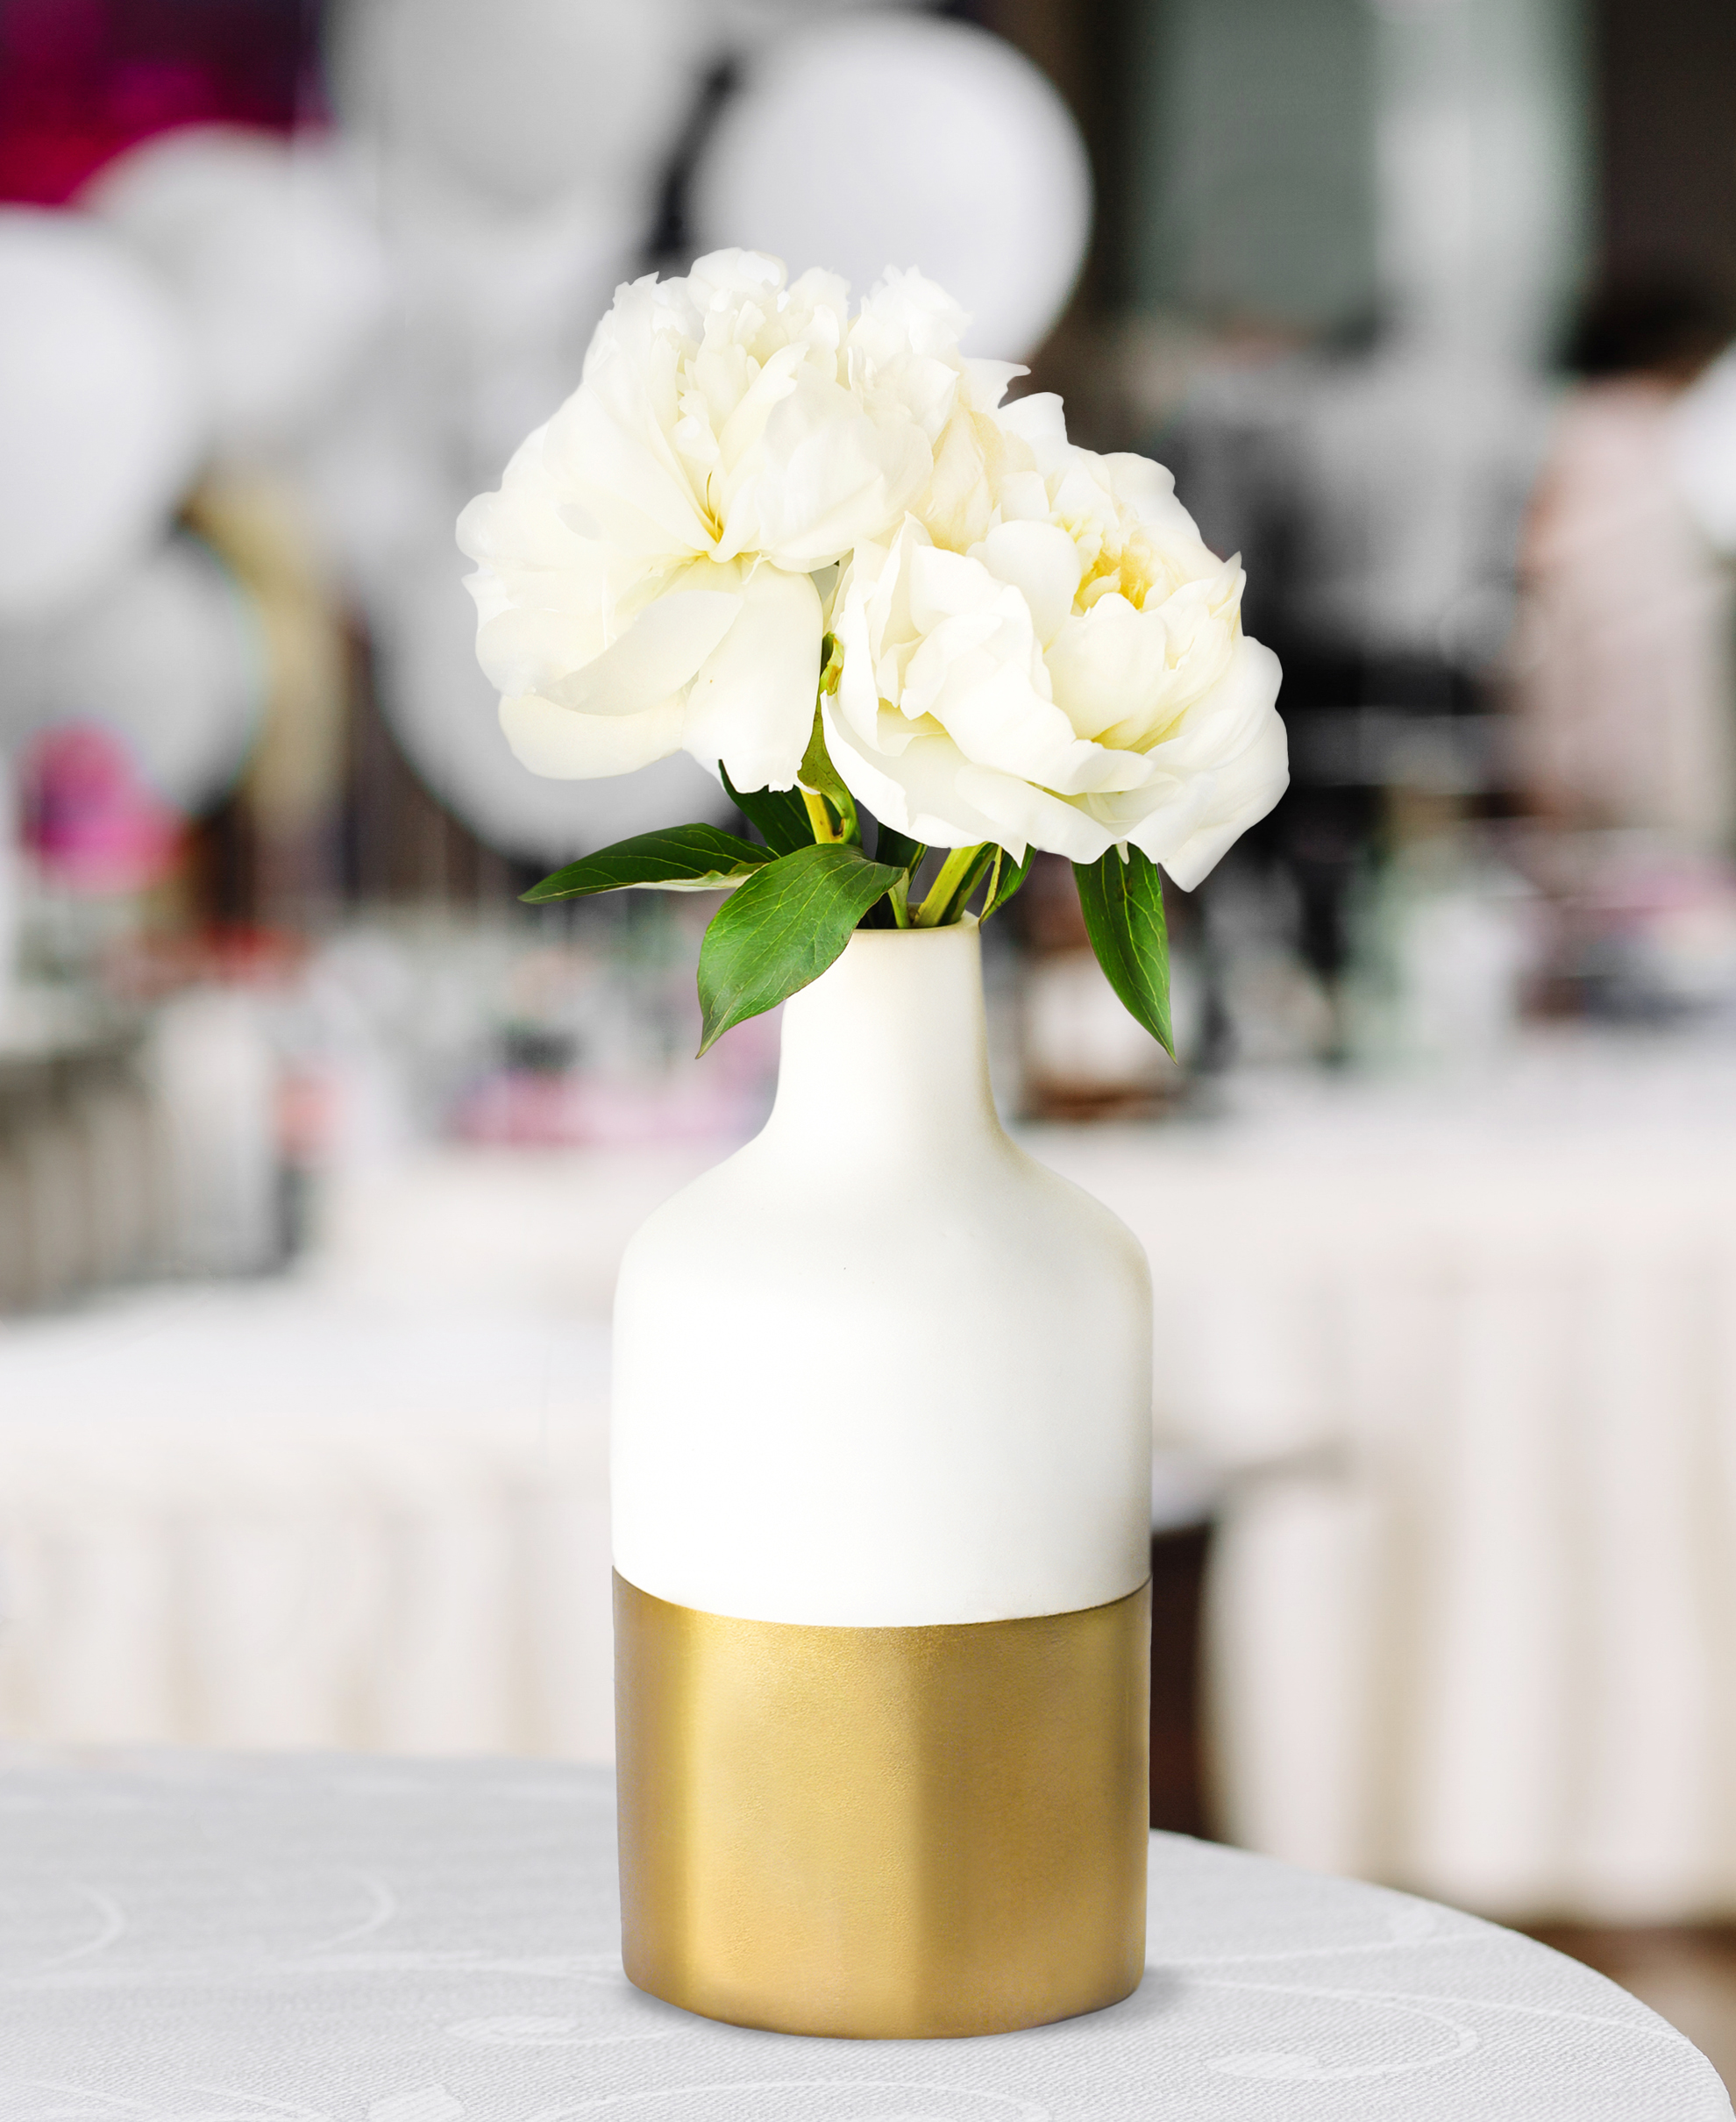
Simply oh-so-chic, this DIY Gold-Dipped Bouquet Vase looks posh at any wedding or bridal shower! We love the contemporary, clean look- and of course, this is totally customizable for any wedding theme. Choose a metallic color that matches your scheme, and flowers that speak to your personal style.
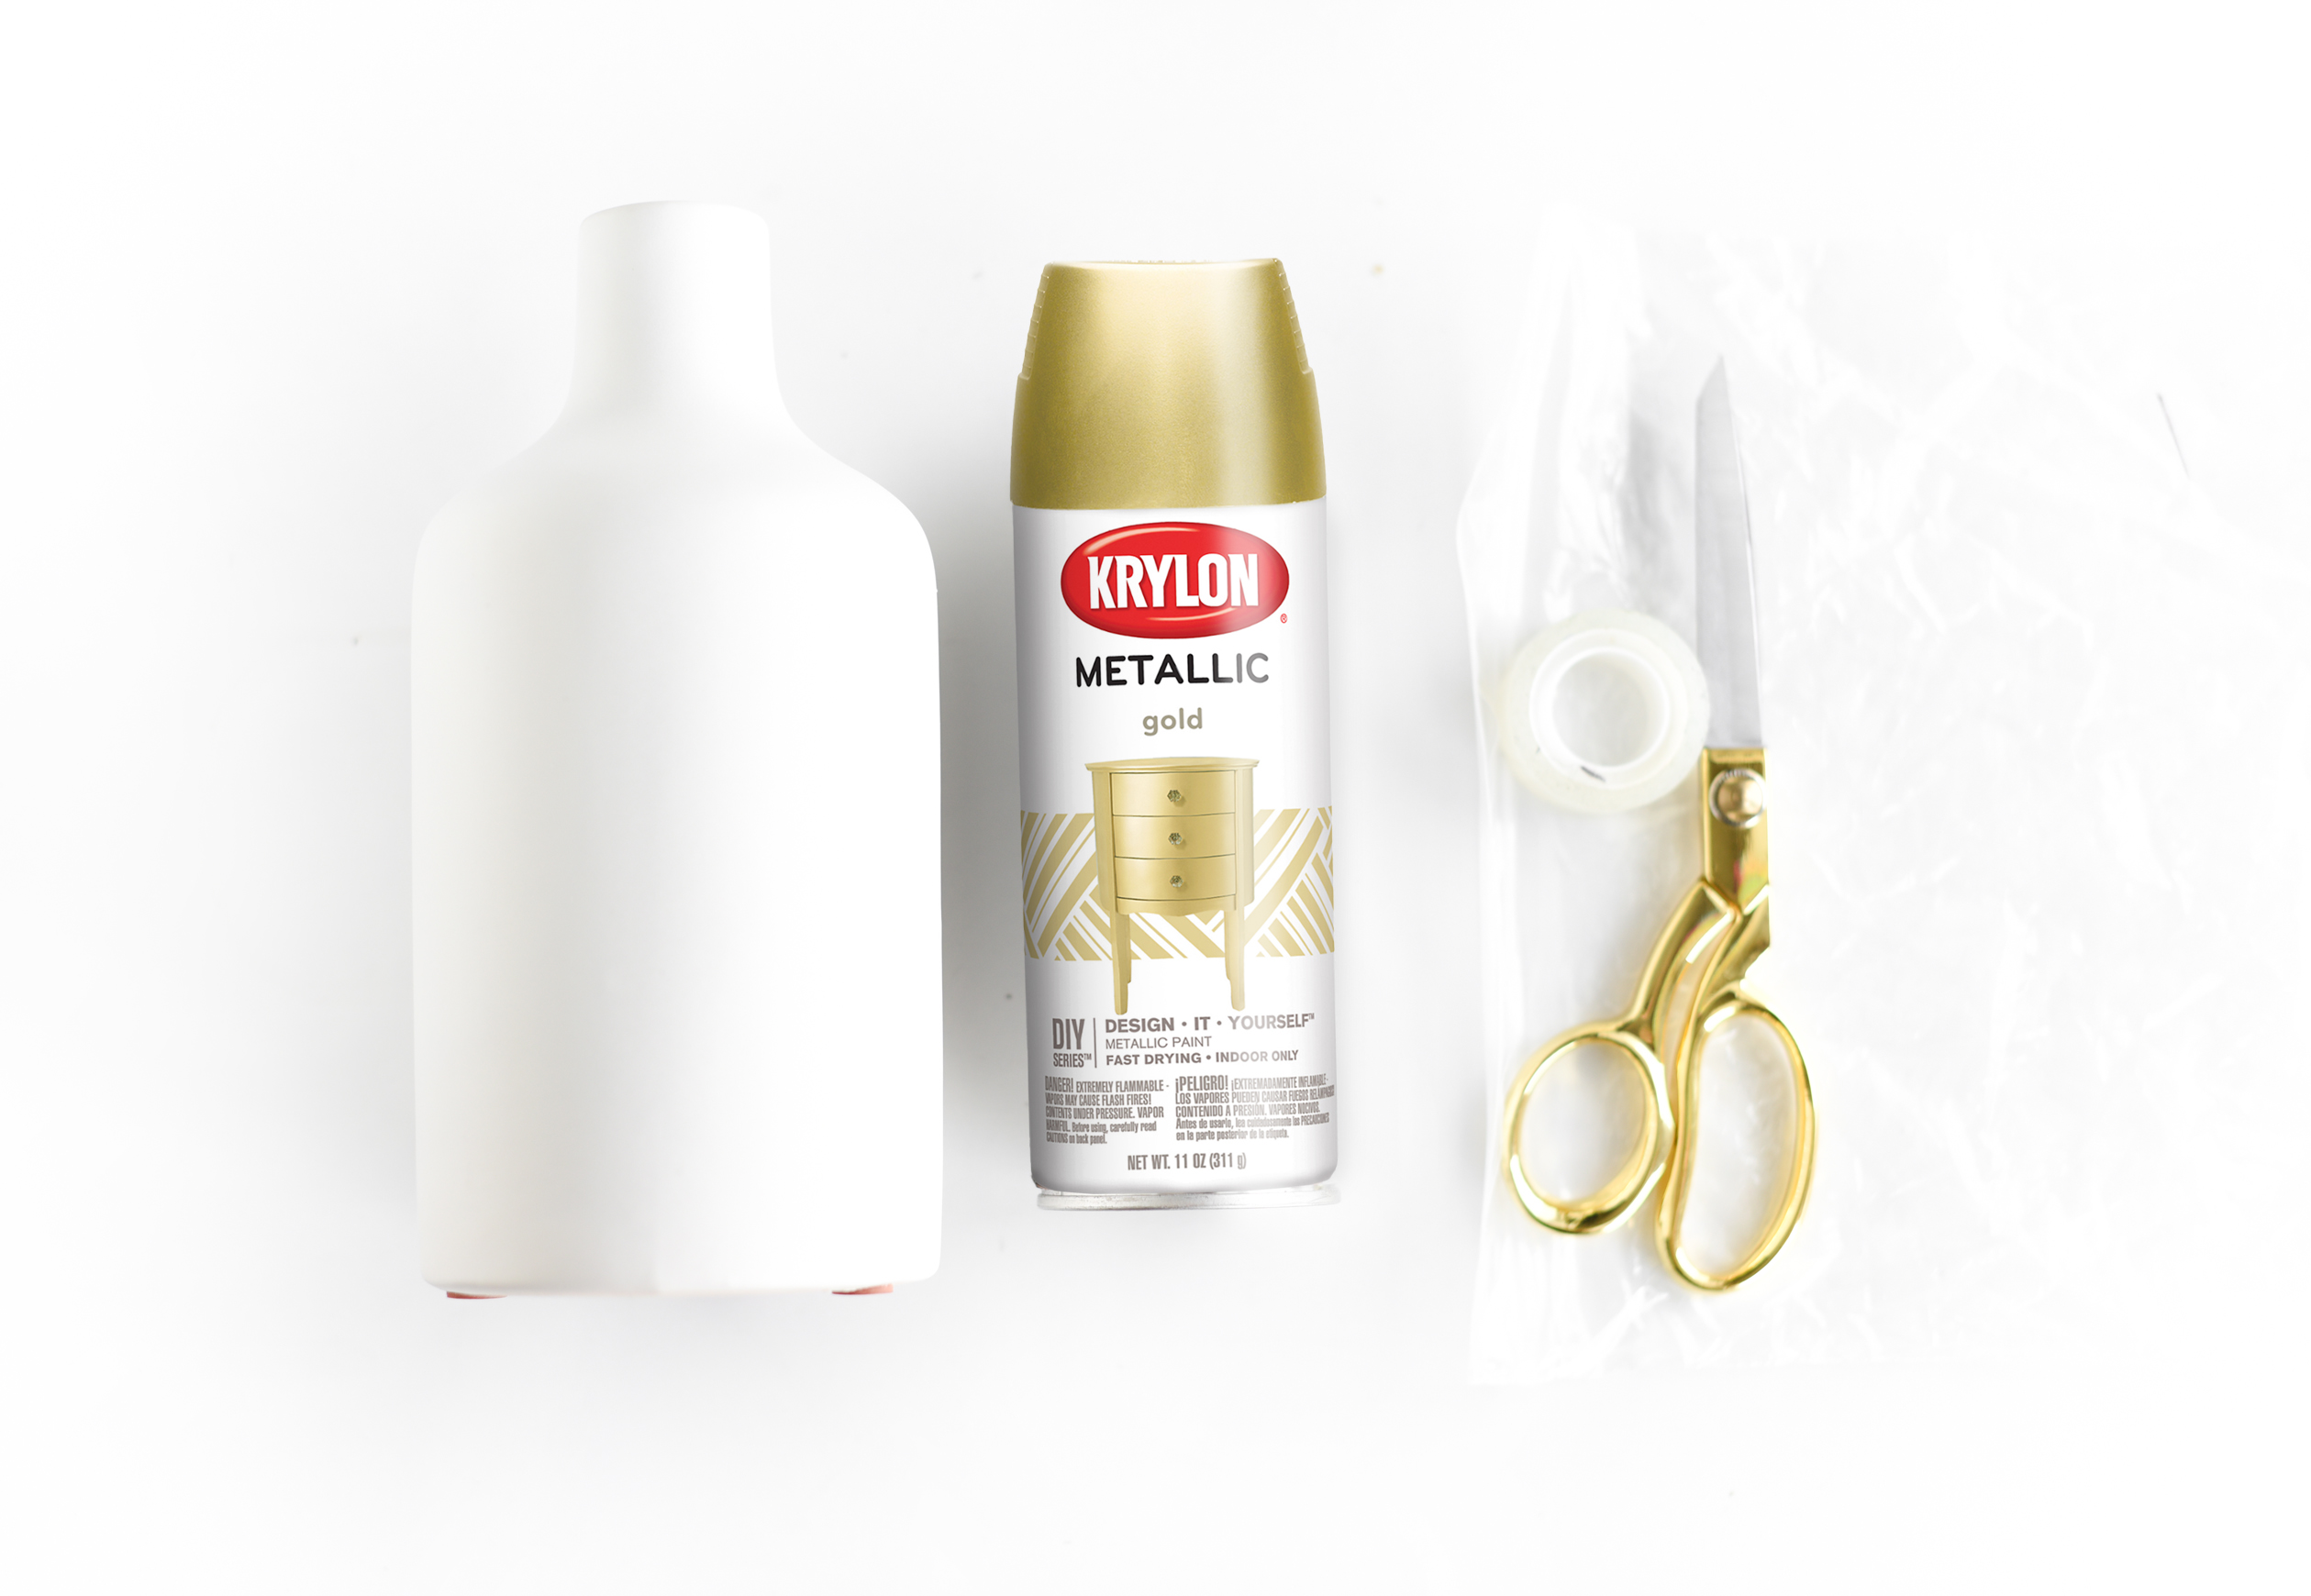
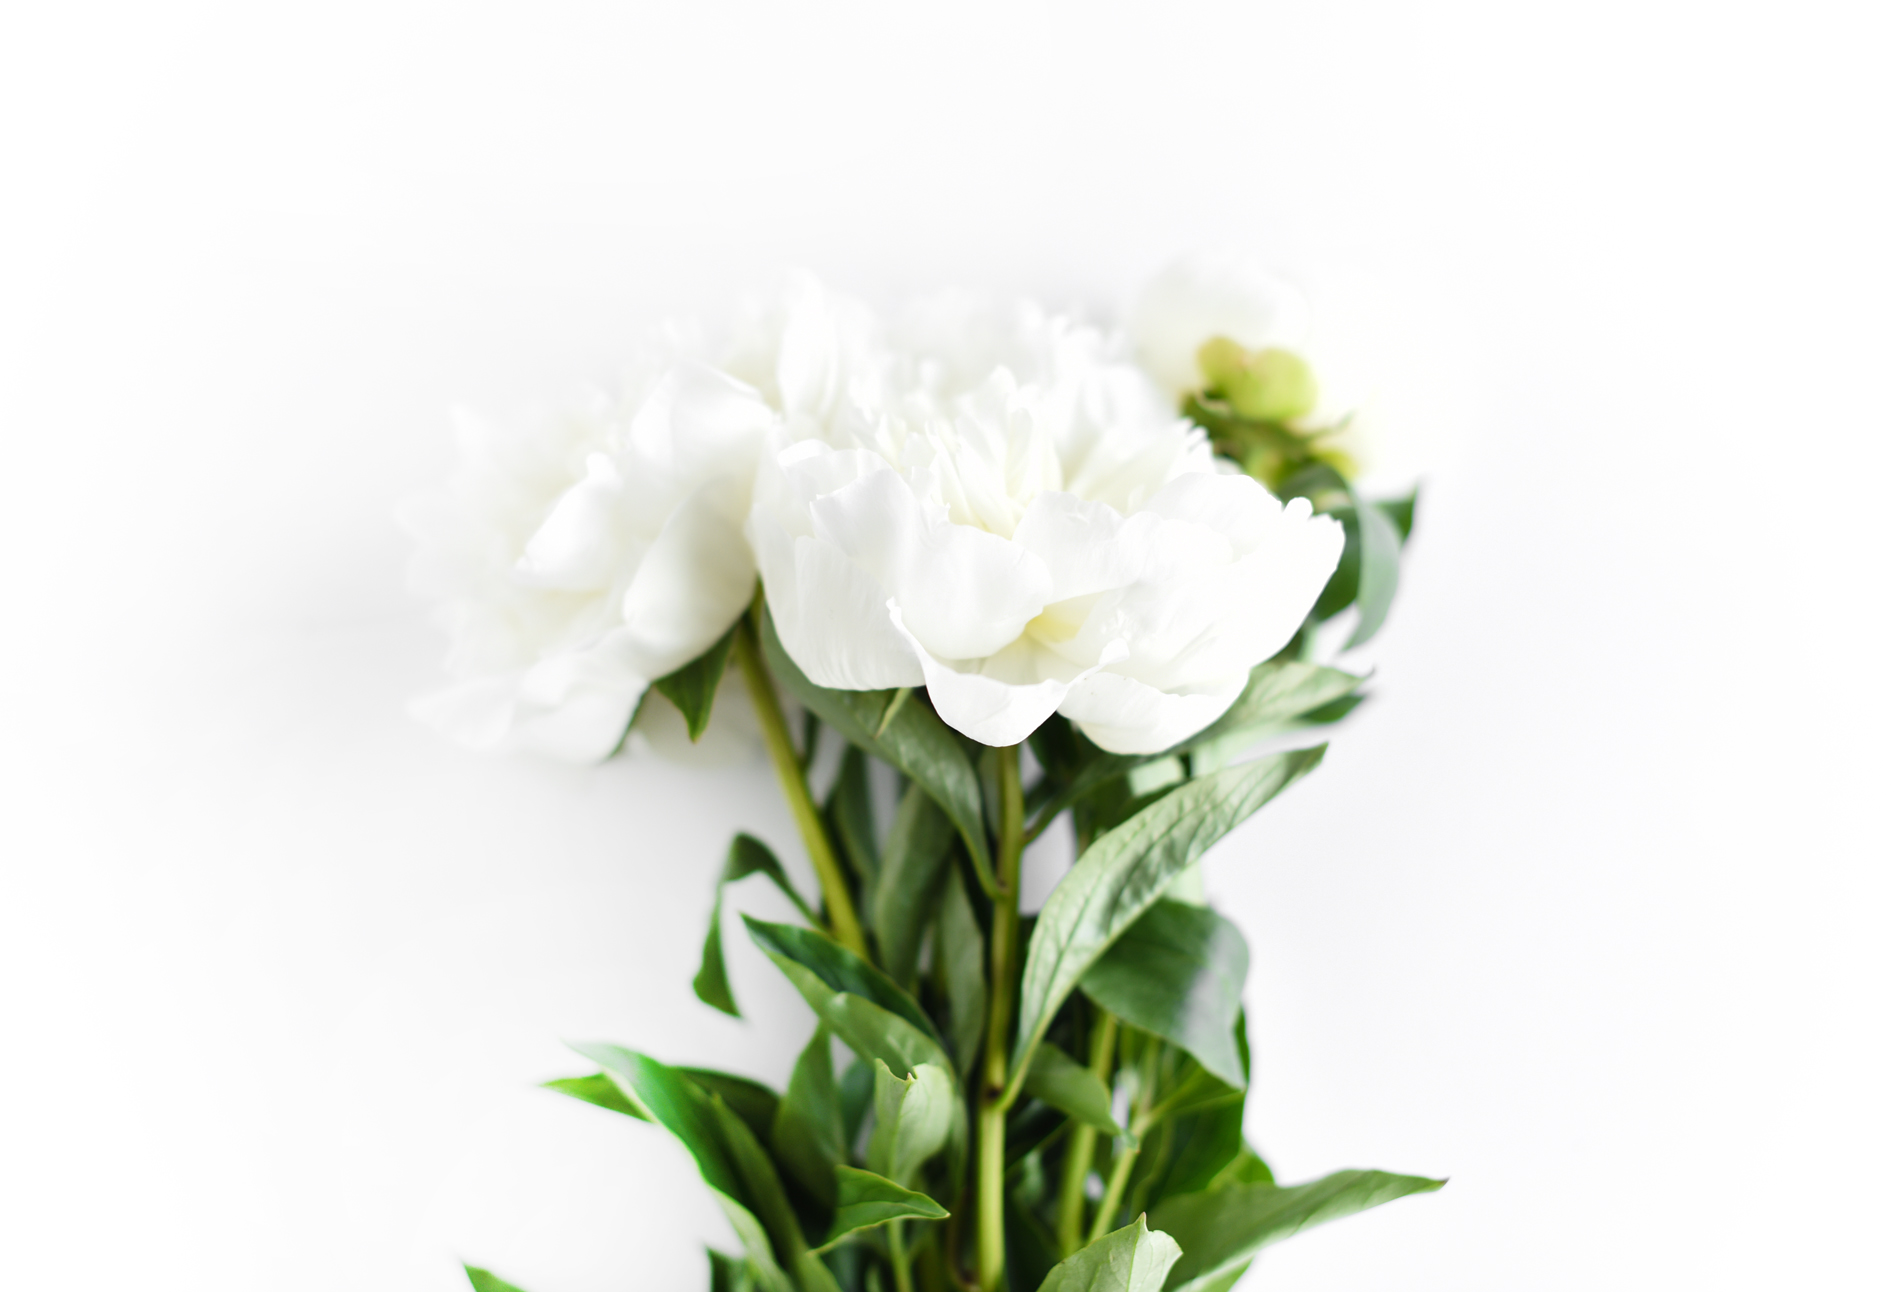
Step 1: Gather materials. You’ll need a ceramic vase (we found ours at West Elm), metallic spraypaint (find at your local craft store), scissors, tape, a large plastic bag, pruning shears and floral or greenery stems. We chose white peonies for a soft, feminine look. Hydrangeas or mixed foliage would also look amazing!
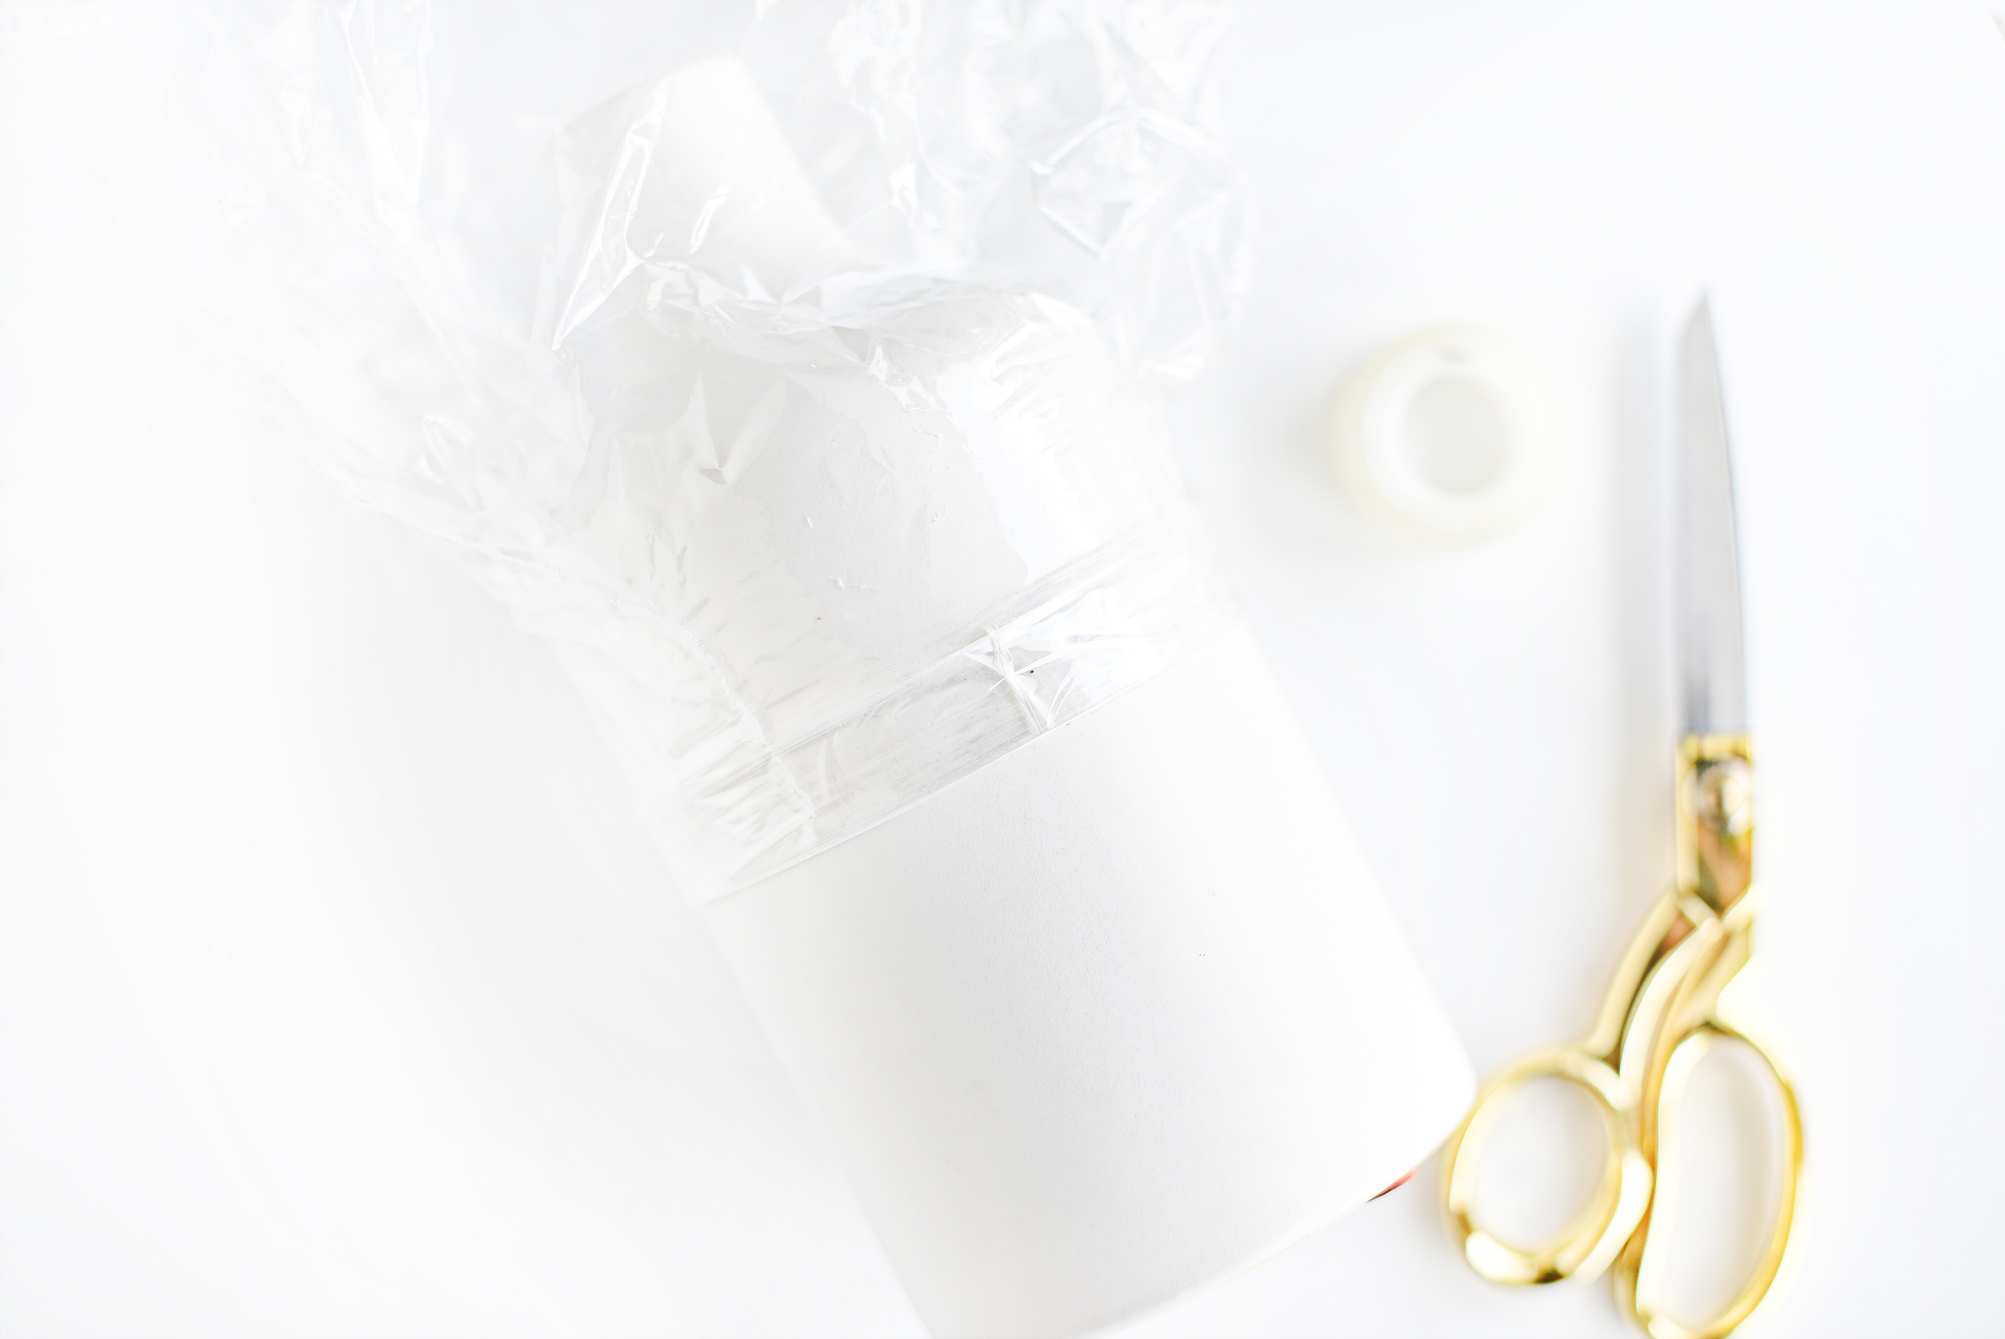
Step 2: Take your large gallon plastic bag and place it over the top of your vase. TIGHTLY fold over the excess ends and tape down (tape to the bag itself, not the vase), sealing the spot you do not want spray painted. No tape should be touching the vase – the bag edge is acting as the seal.
Again, make sure your seal is very tight – otherwise, you will get fuzzy edges instead of a nice clean line!
You can also seal off with blue painter’s tape or masking tape, if you do not have a plastic bag.
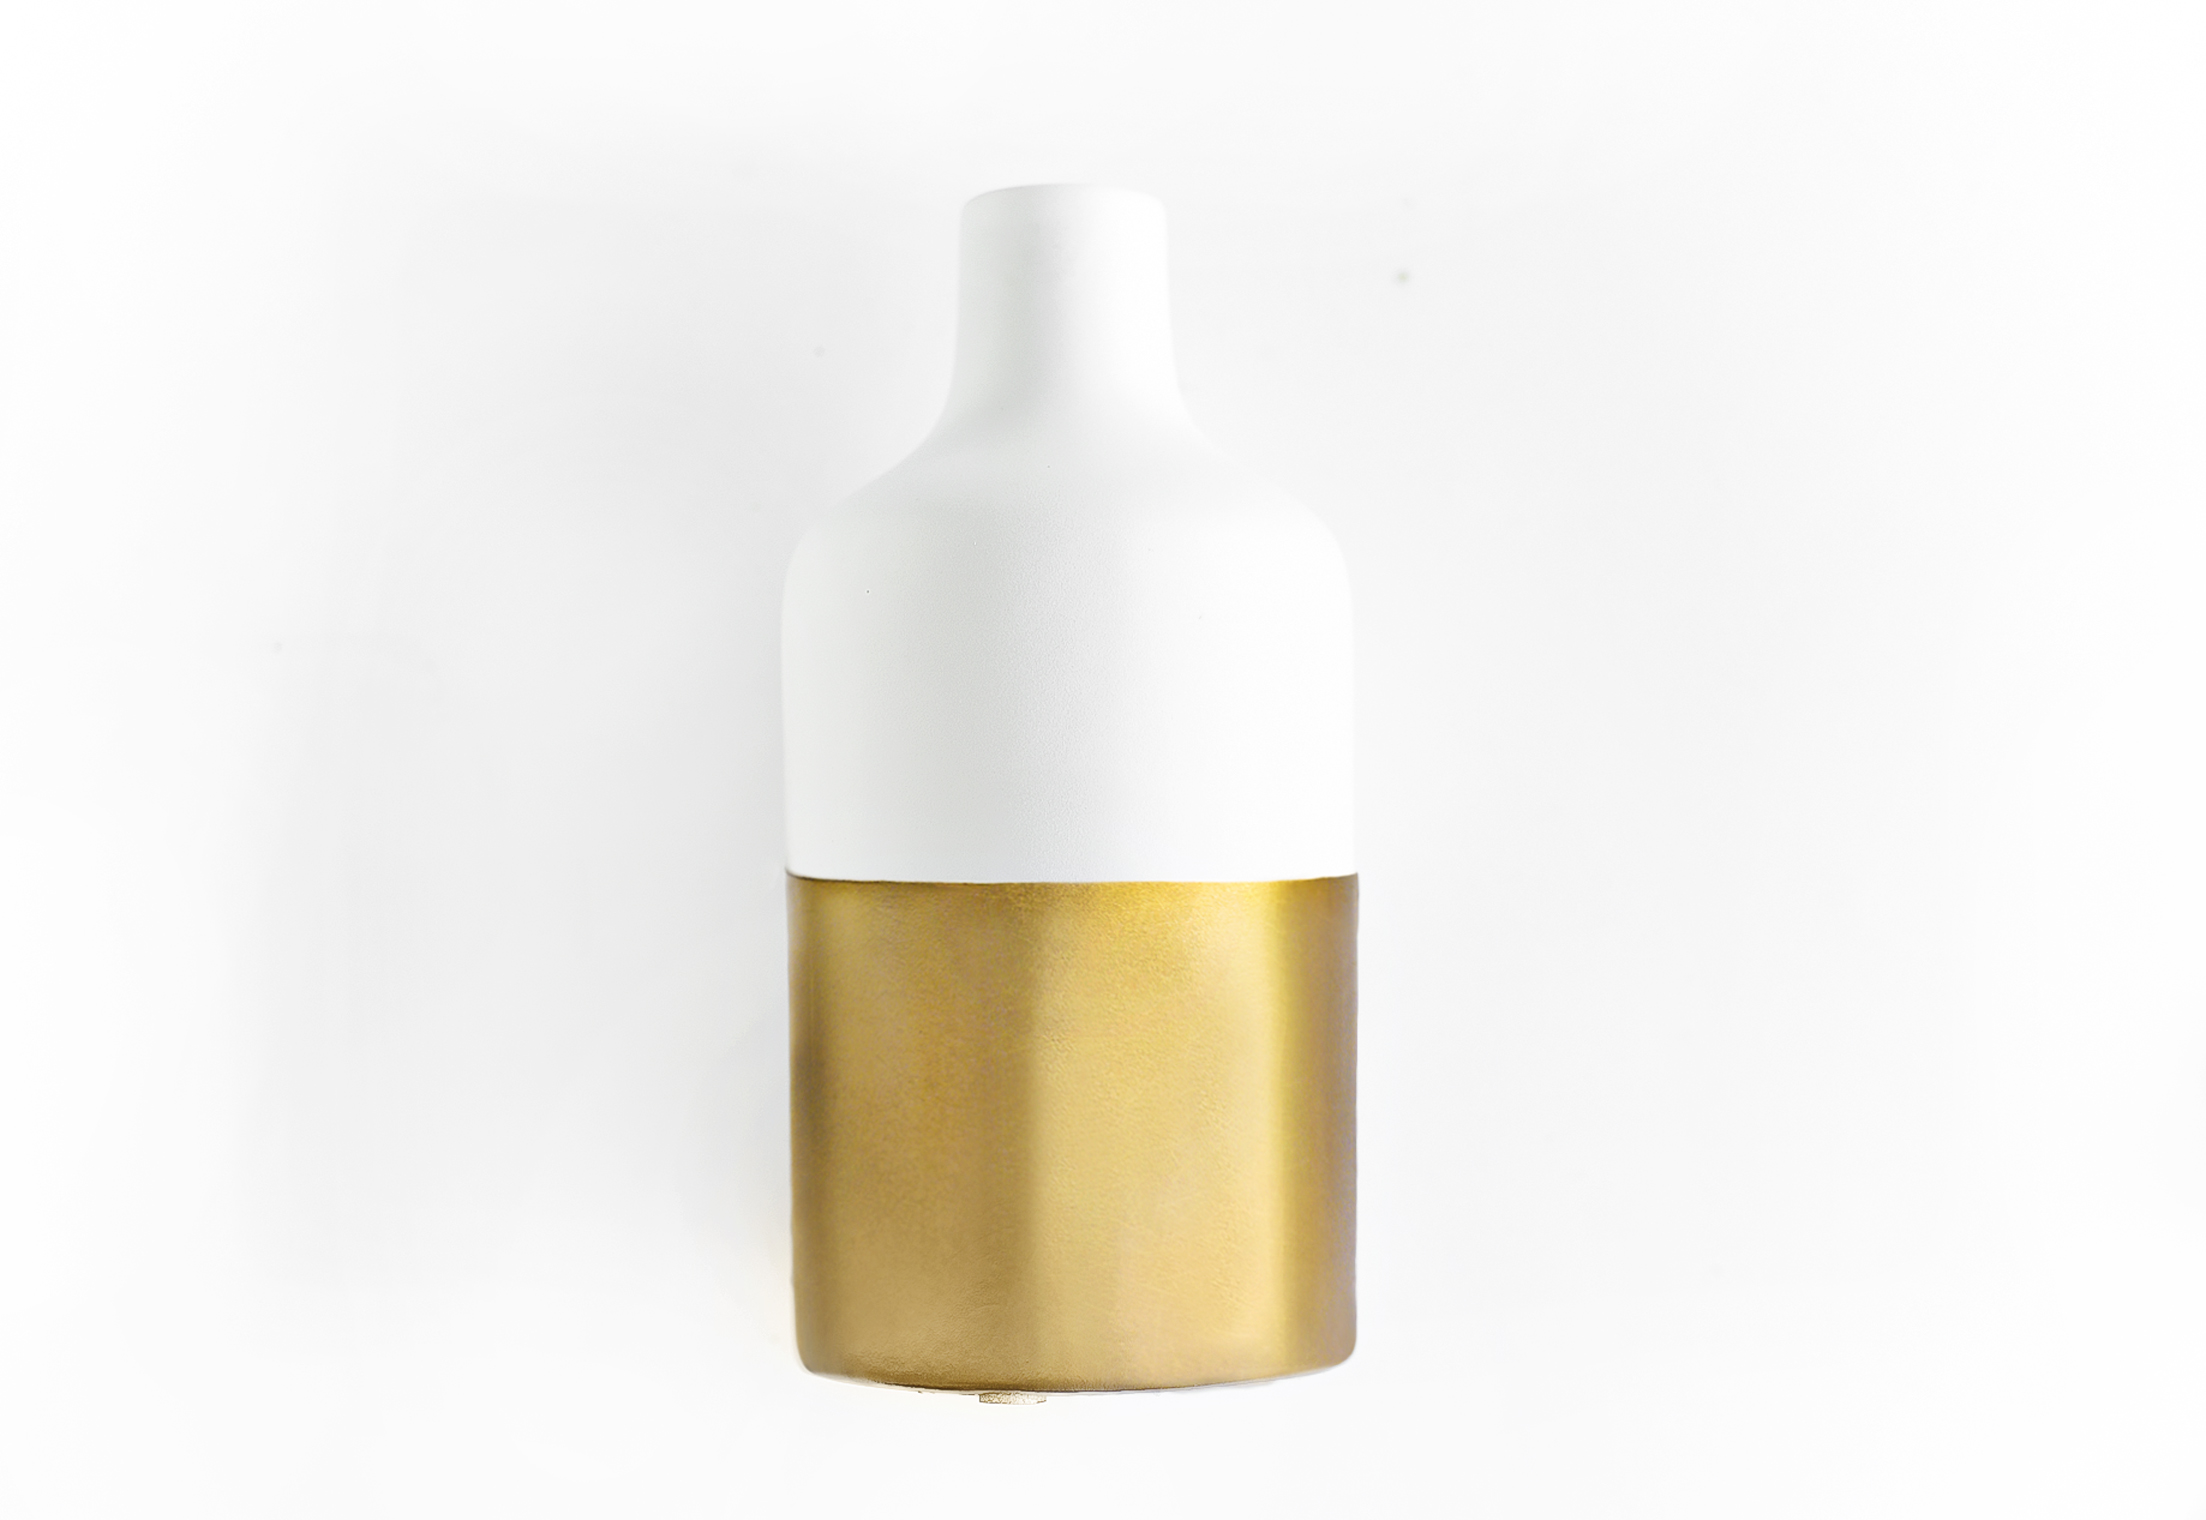
Step 3: Spraypaint the vase – it helps to place in a large cardboard box, which will catch excess paint and make for mess-free cleanup! Allow it to dry fully before adding another coat. For a thick dipped look, do about 2-3 coats of paint.
When it’s fully dry, carefully peel off the plastic bag and discard.
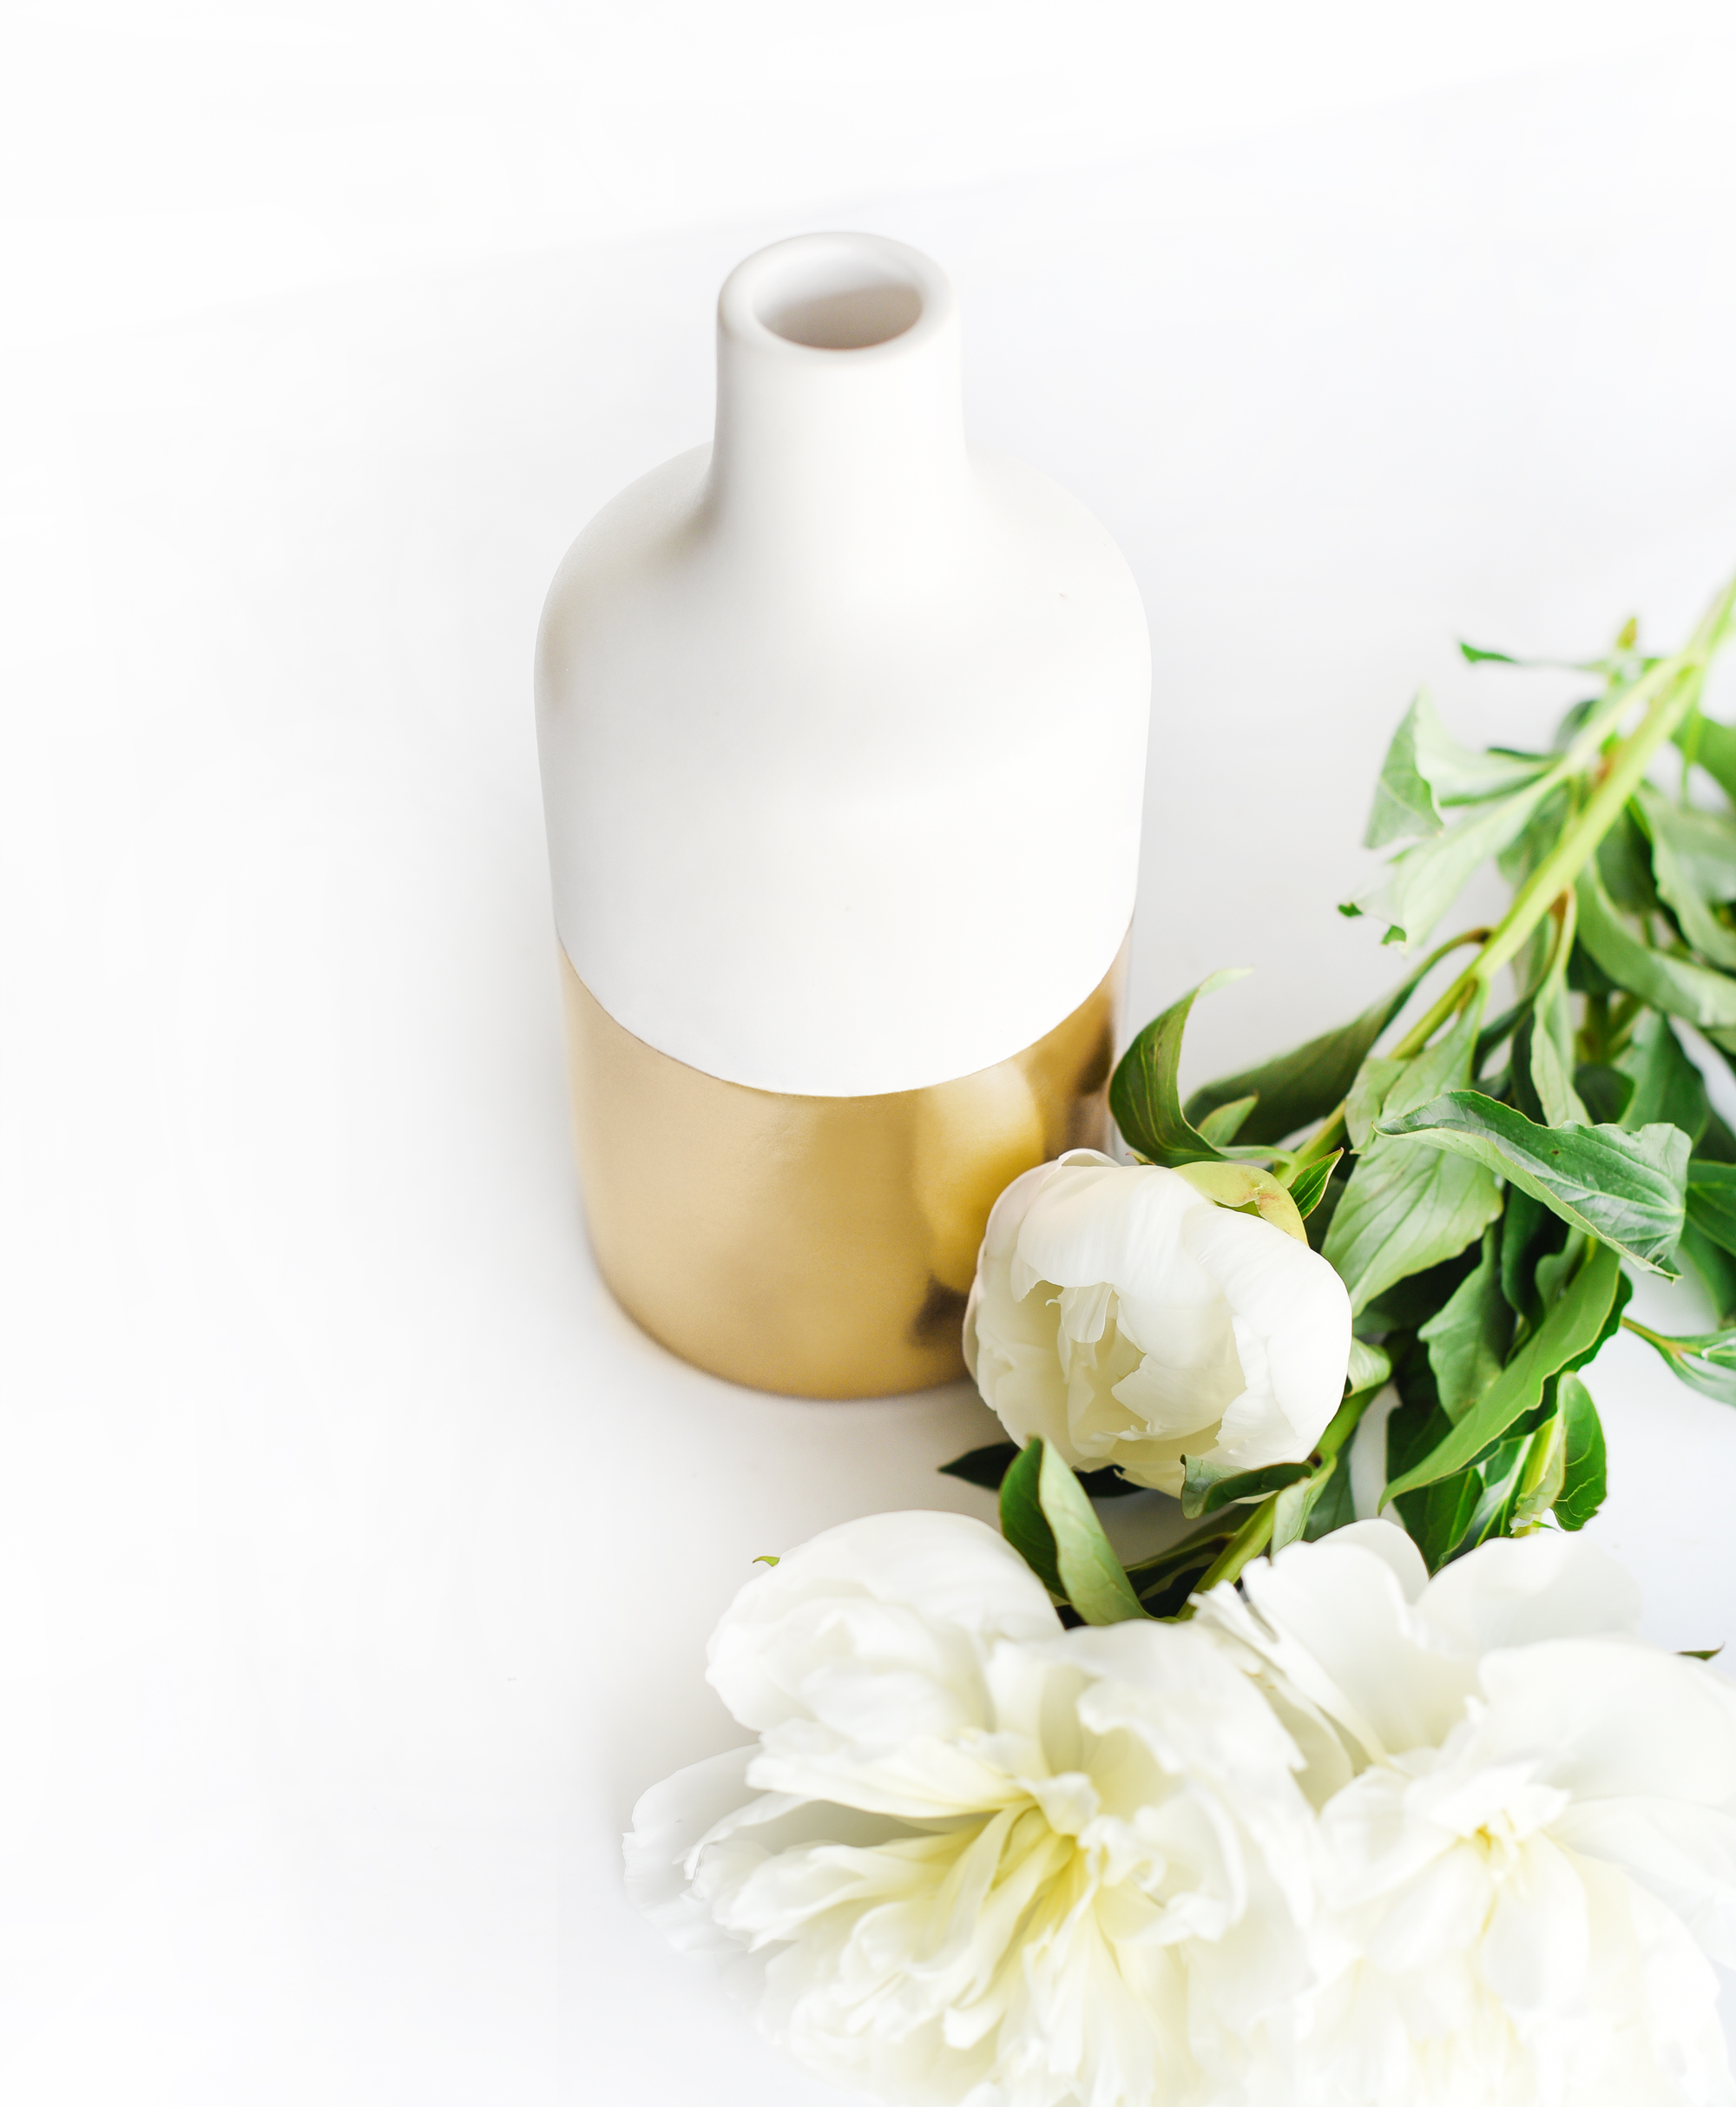
Step 4: Cut your floral stems to a height that fits comfortably in the vase. Fill the vase with water and place in the stems, arranging them as desired!
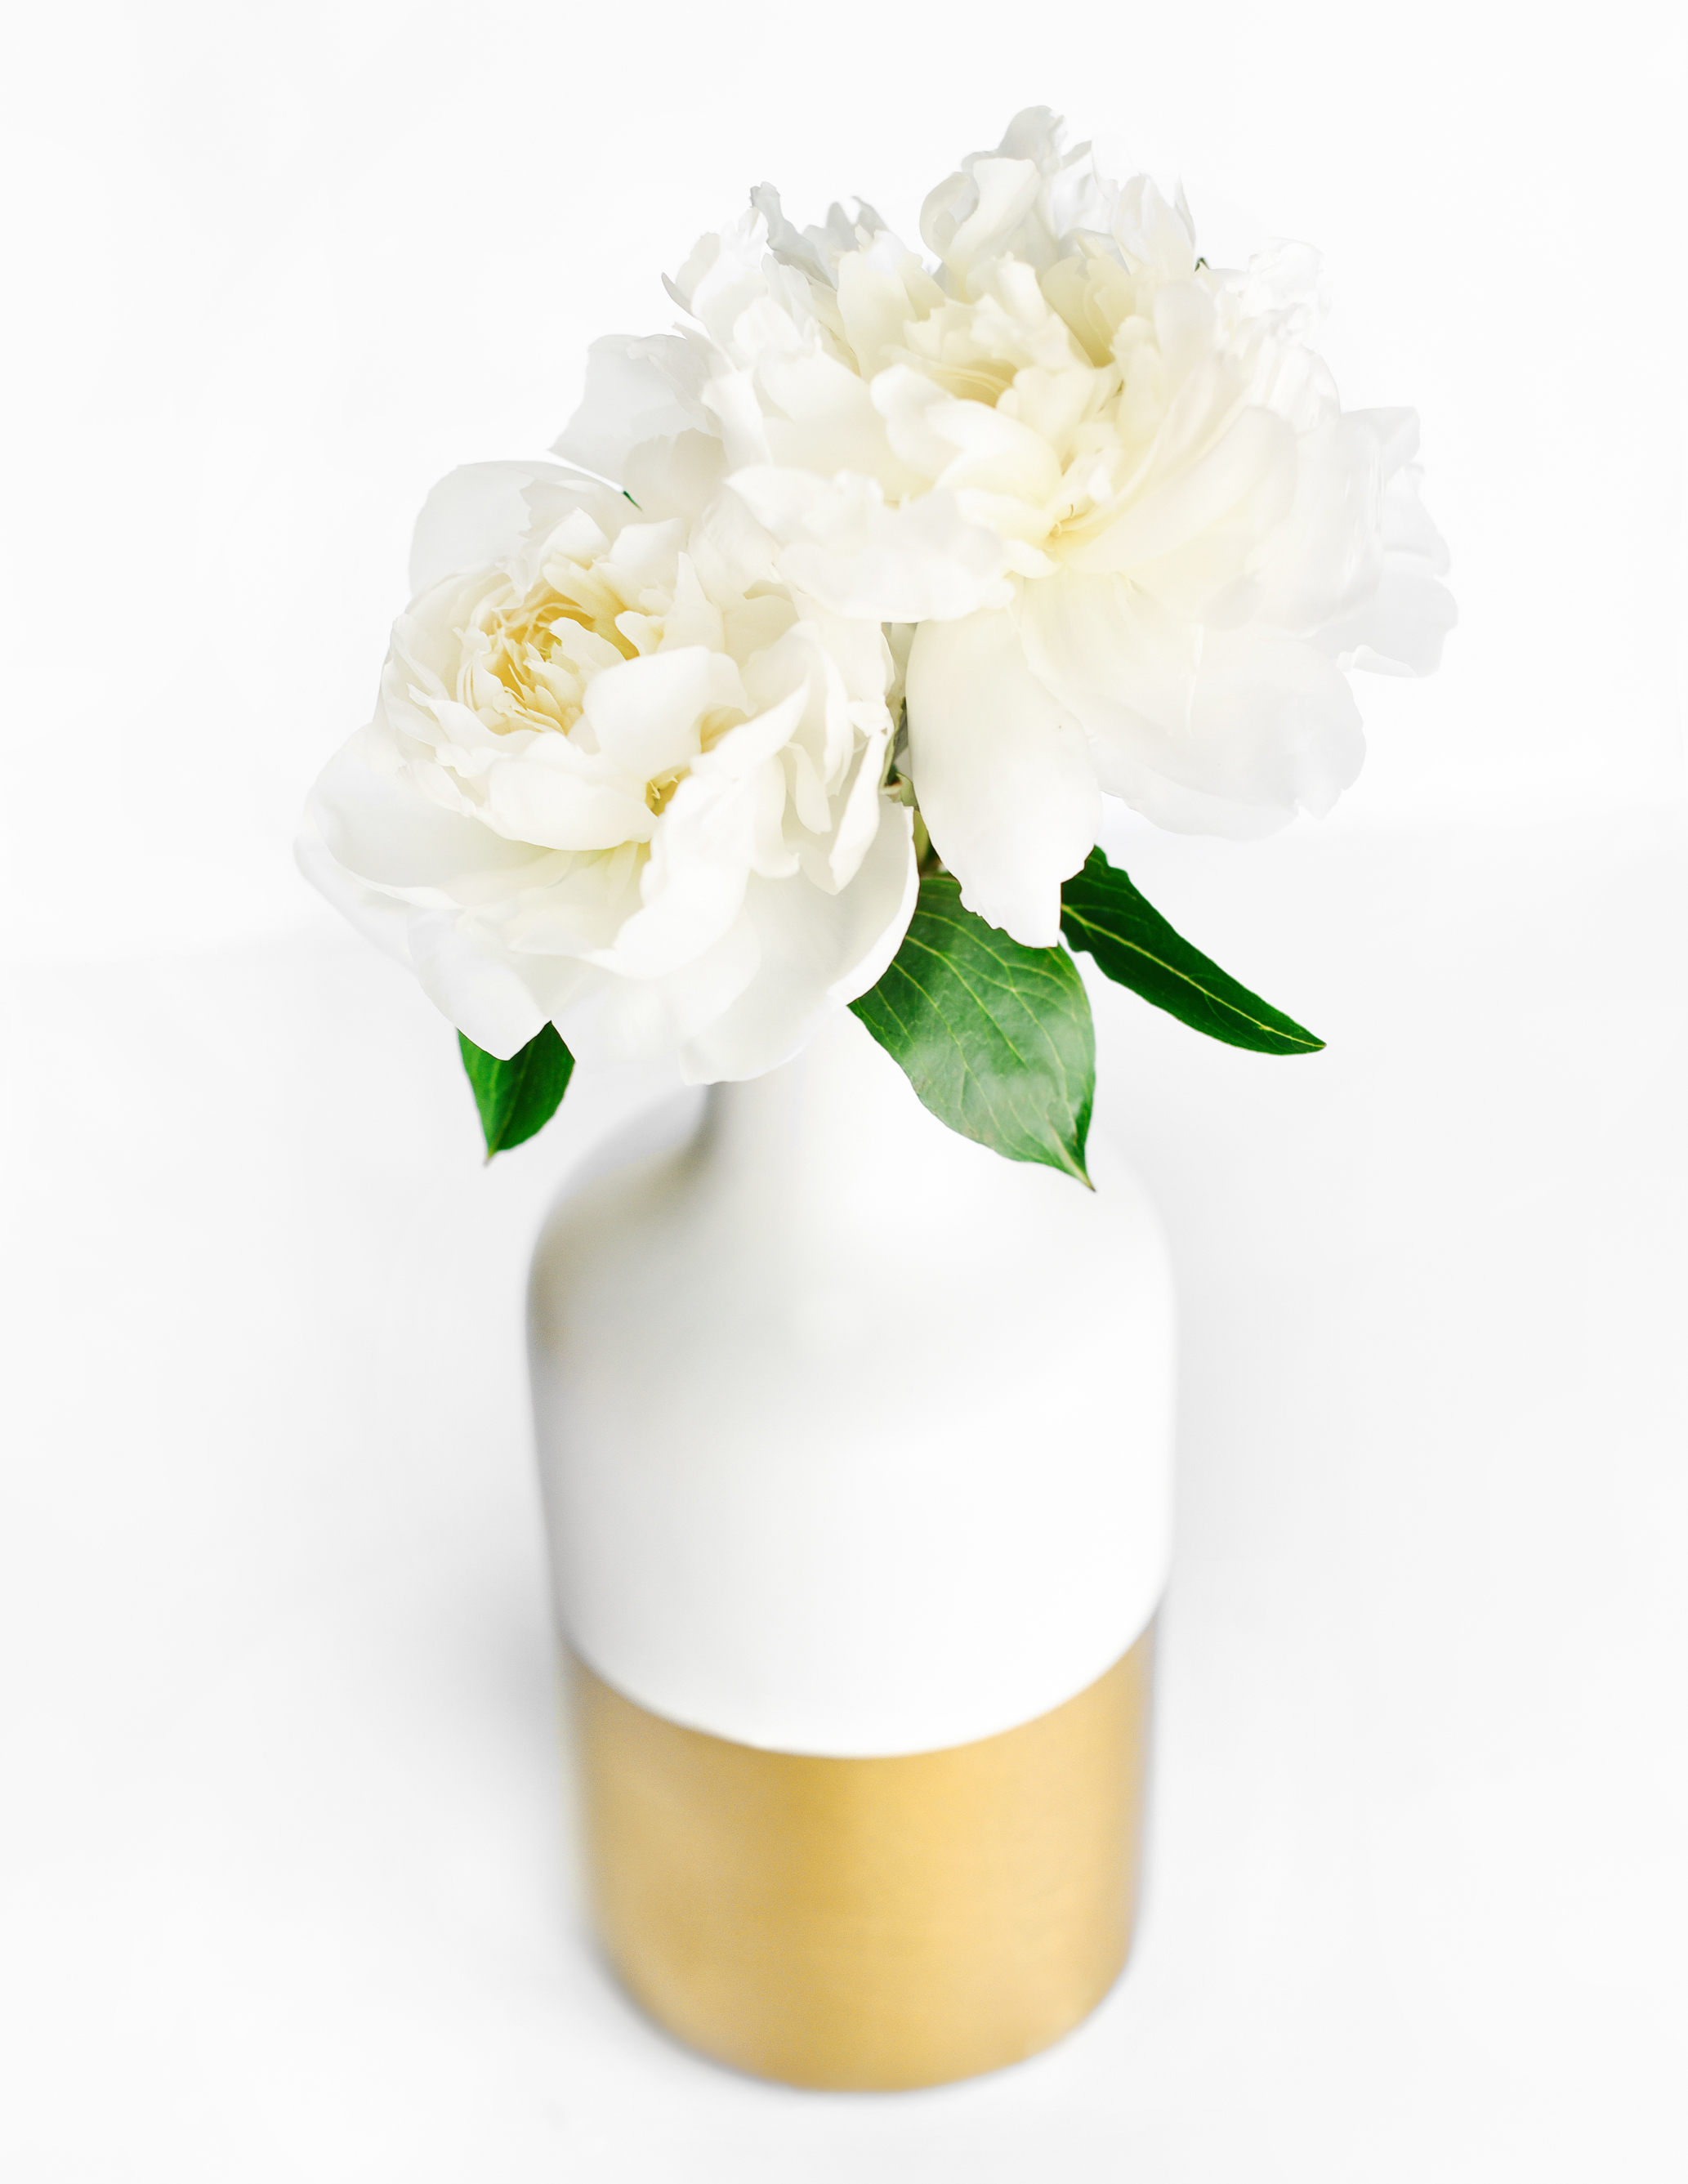
These add the perfect metallic pop of glitz to any tablescape. Create others to decorate the space, and get the party started! Cheers!
You May Also Like


Join the Conversation


