

This gorgeous floral centerpiece will surely be the star of any wedding tablescape! Looking amazing at backyard and outdoor weddings to bridal showers and more, we love the customization these centerpieces offer. Below, we’ll walk through the steps to create a greenery wreath, plus various styling options – choose whichever option suits you best!
We love mixing textures in florals – the eucalyptus, assorted greenery and creamy roses provide a sophisticated blend of color and shape. Choose blooms that compliment each other, or go with an all-greenery scheme for a neutral palette.
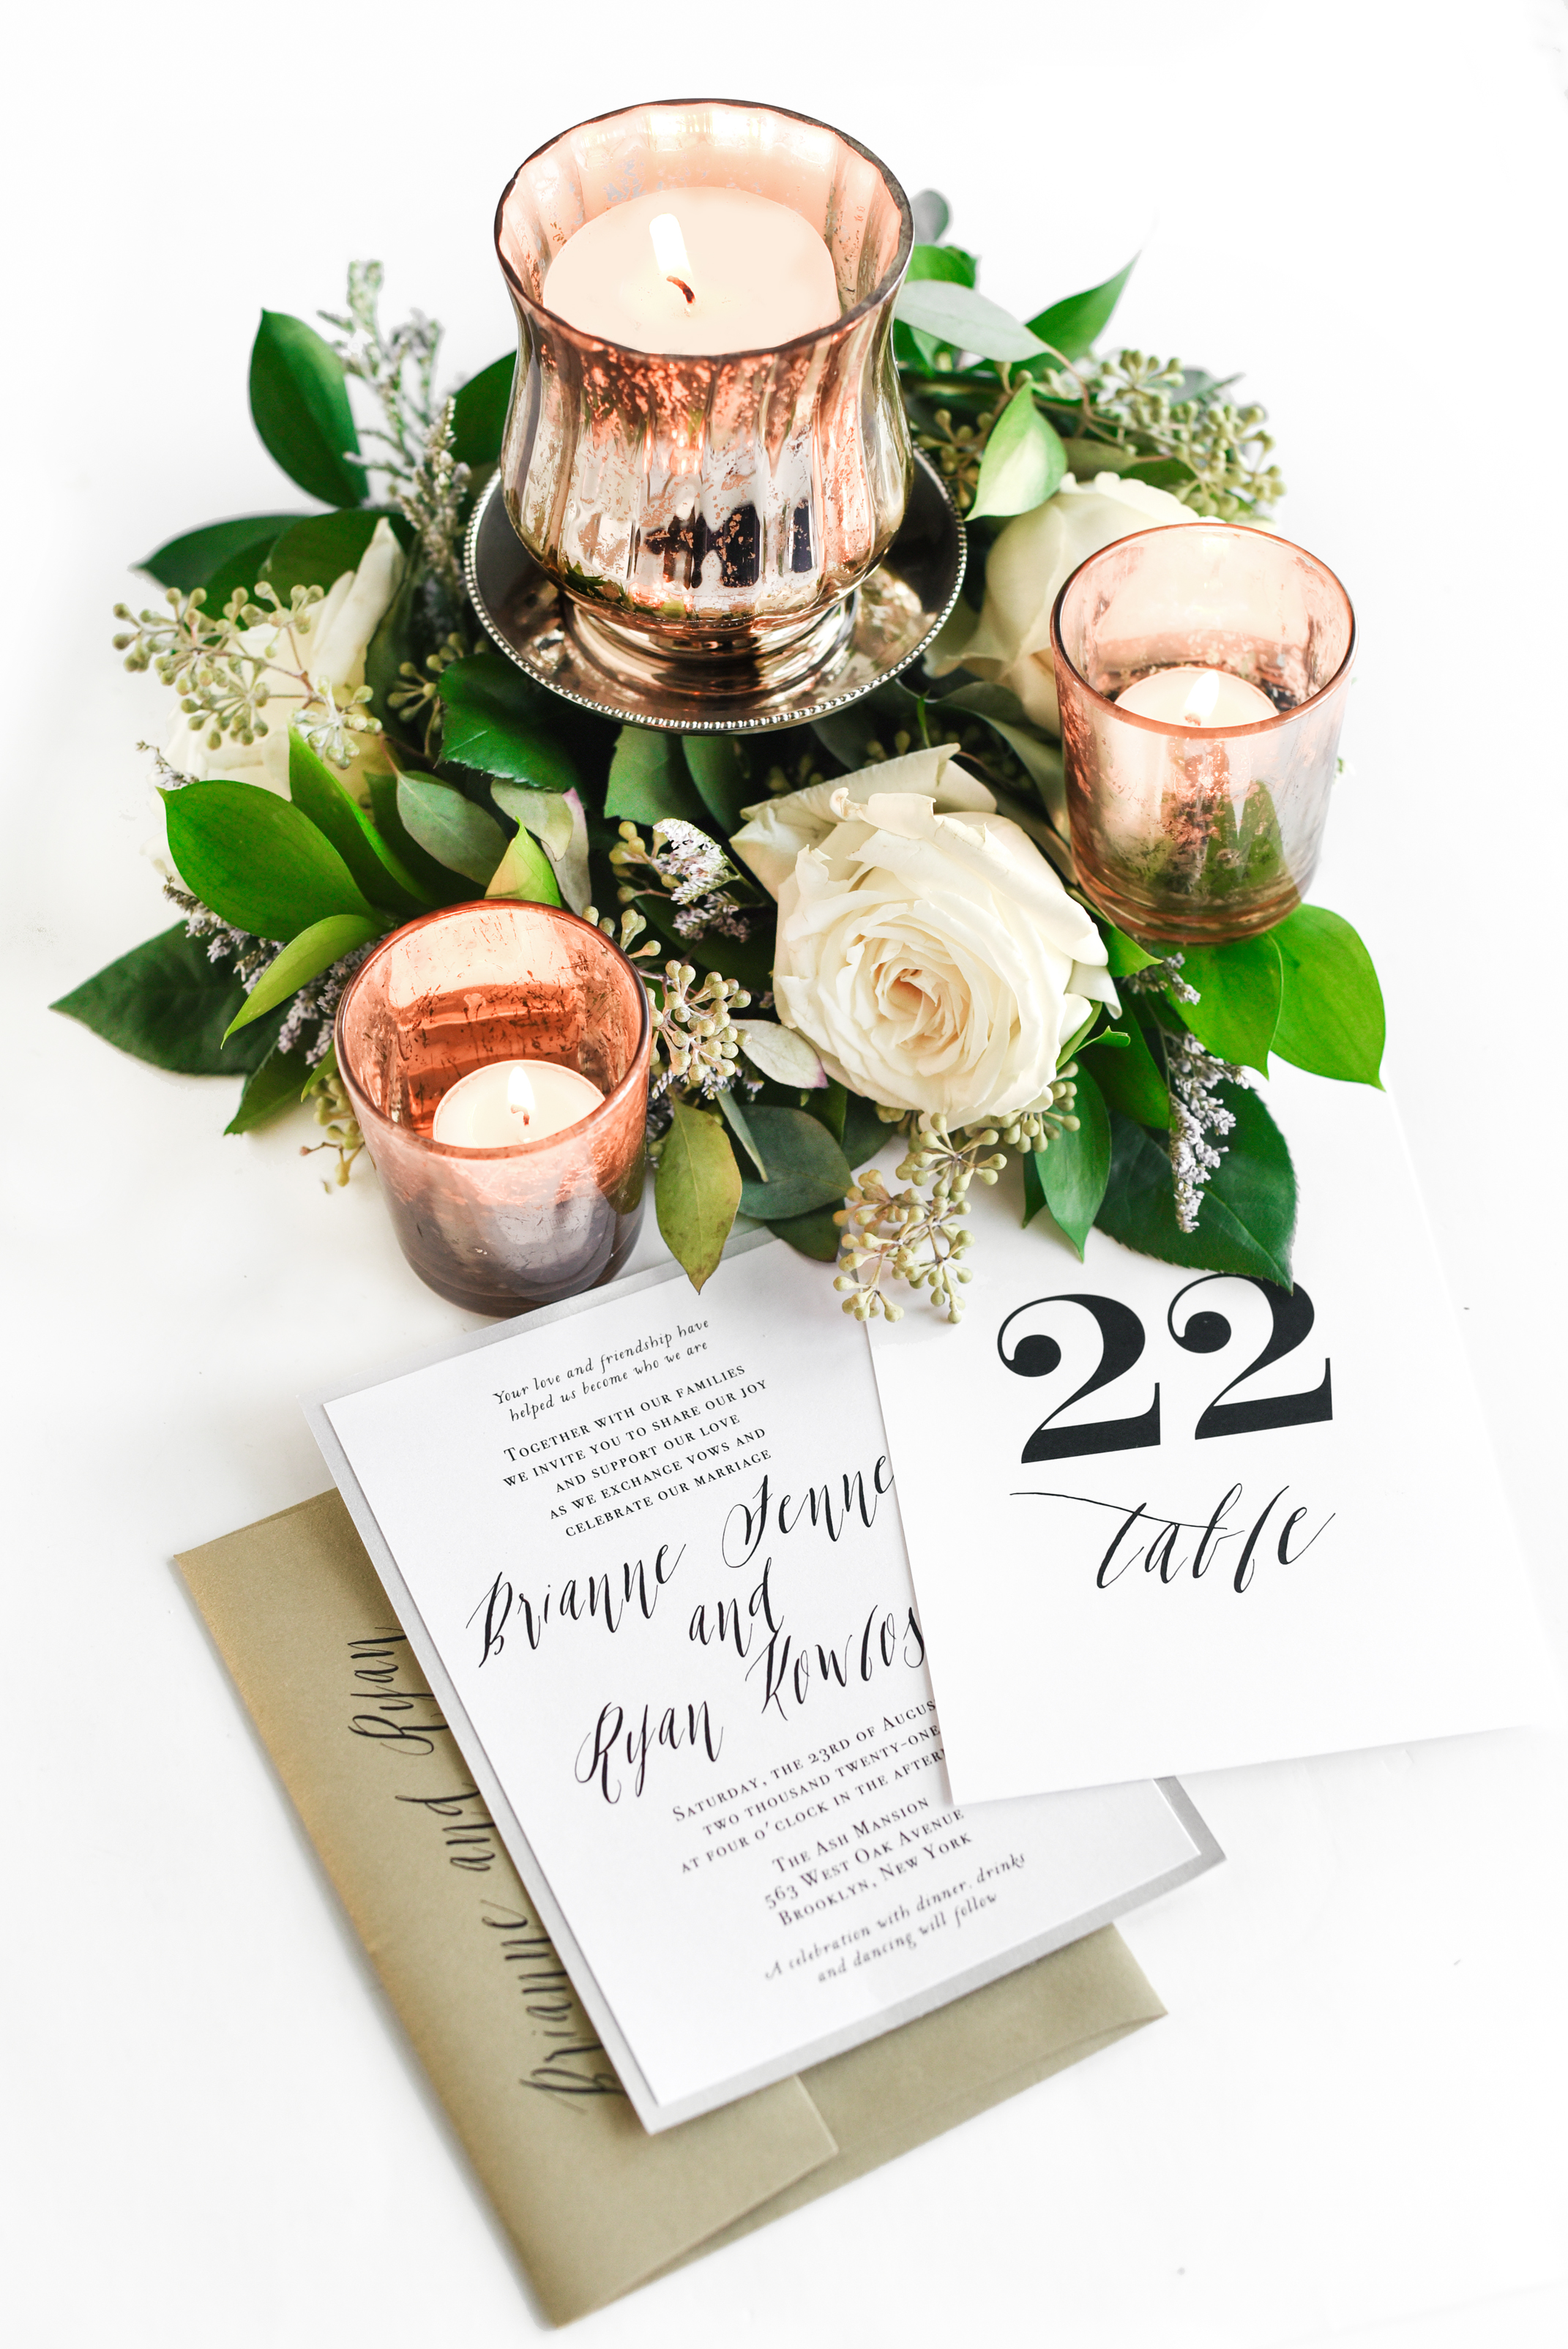
These customizable centerpieces also coordinate perfectly with our Modern Calligraphy invites – oh-so simply chic!! 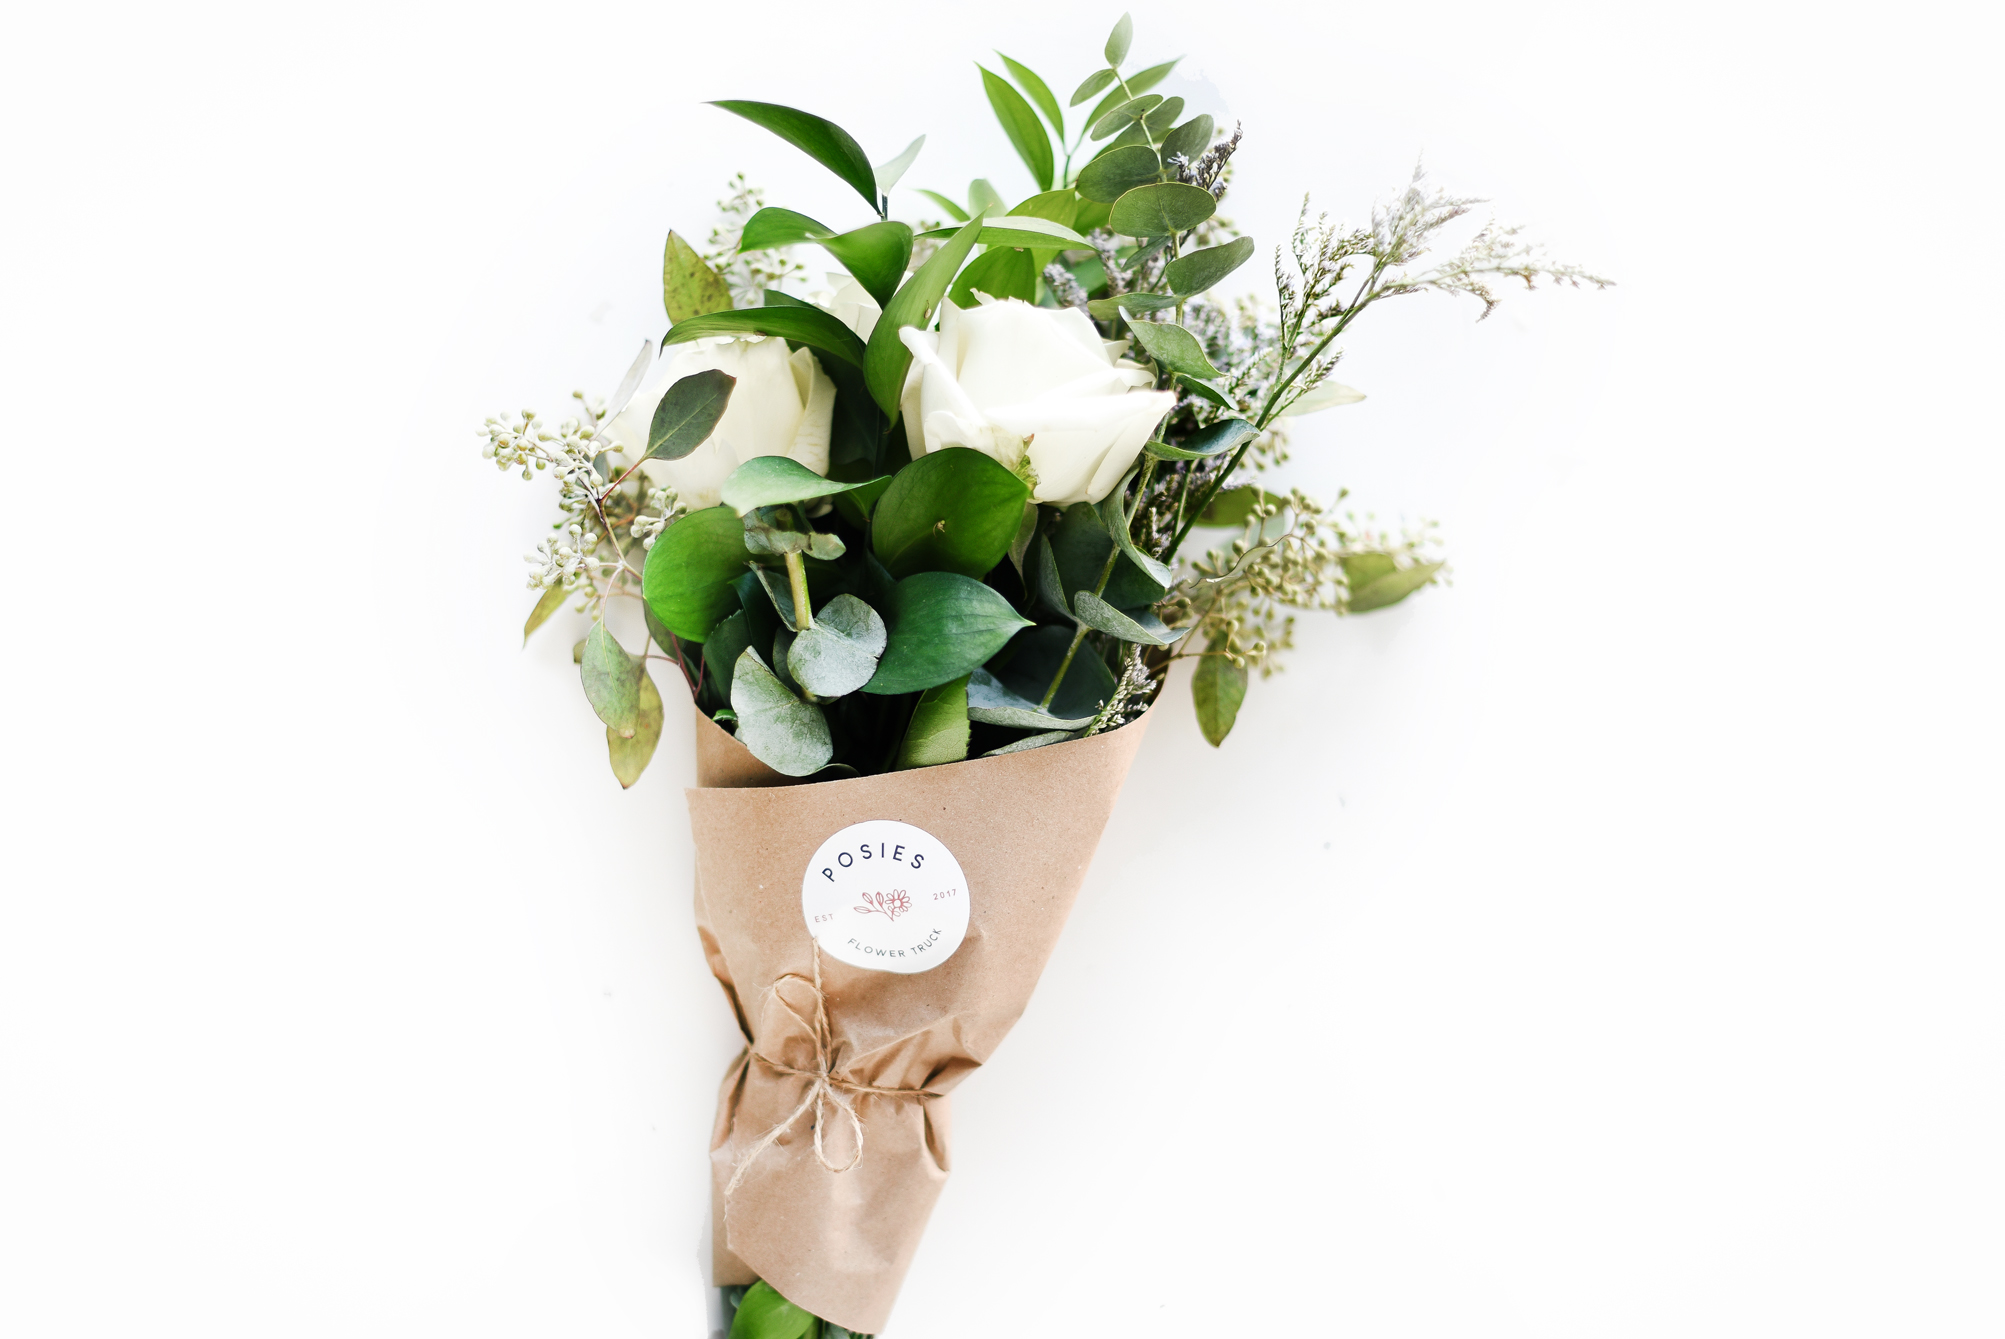
Special thanks to Posies Flower Truck for the beautiful blooms! Spread the love and follow them on IG! Also, if you are a bride in the Tampa Bay, Florida area, be sure to contact them as they offer custom events for weddings!
Follow along below for the full tutorial!

sTEP 1
Gather materials. You’ll need assorted flower/greenery stems, twine or hemp cord (find at a local craft store), scissors, mercury glass votive holders, tea lights and pruning shears.

STEP 2
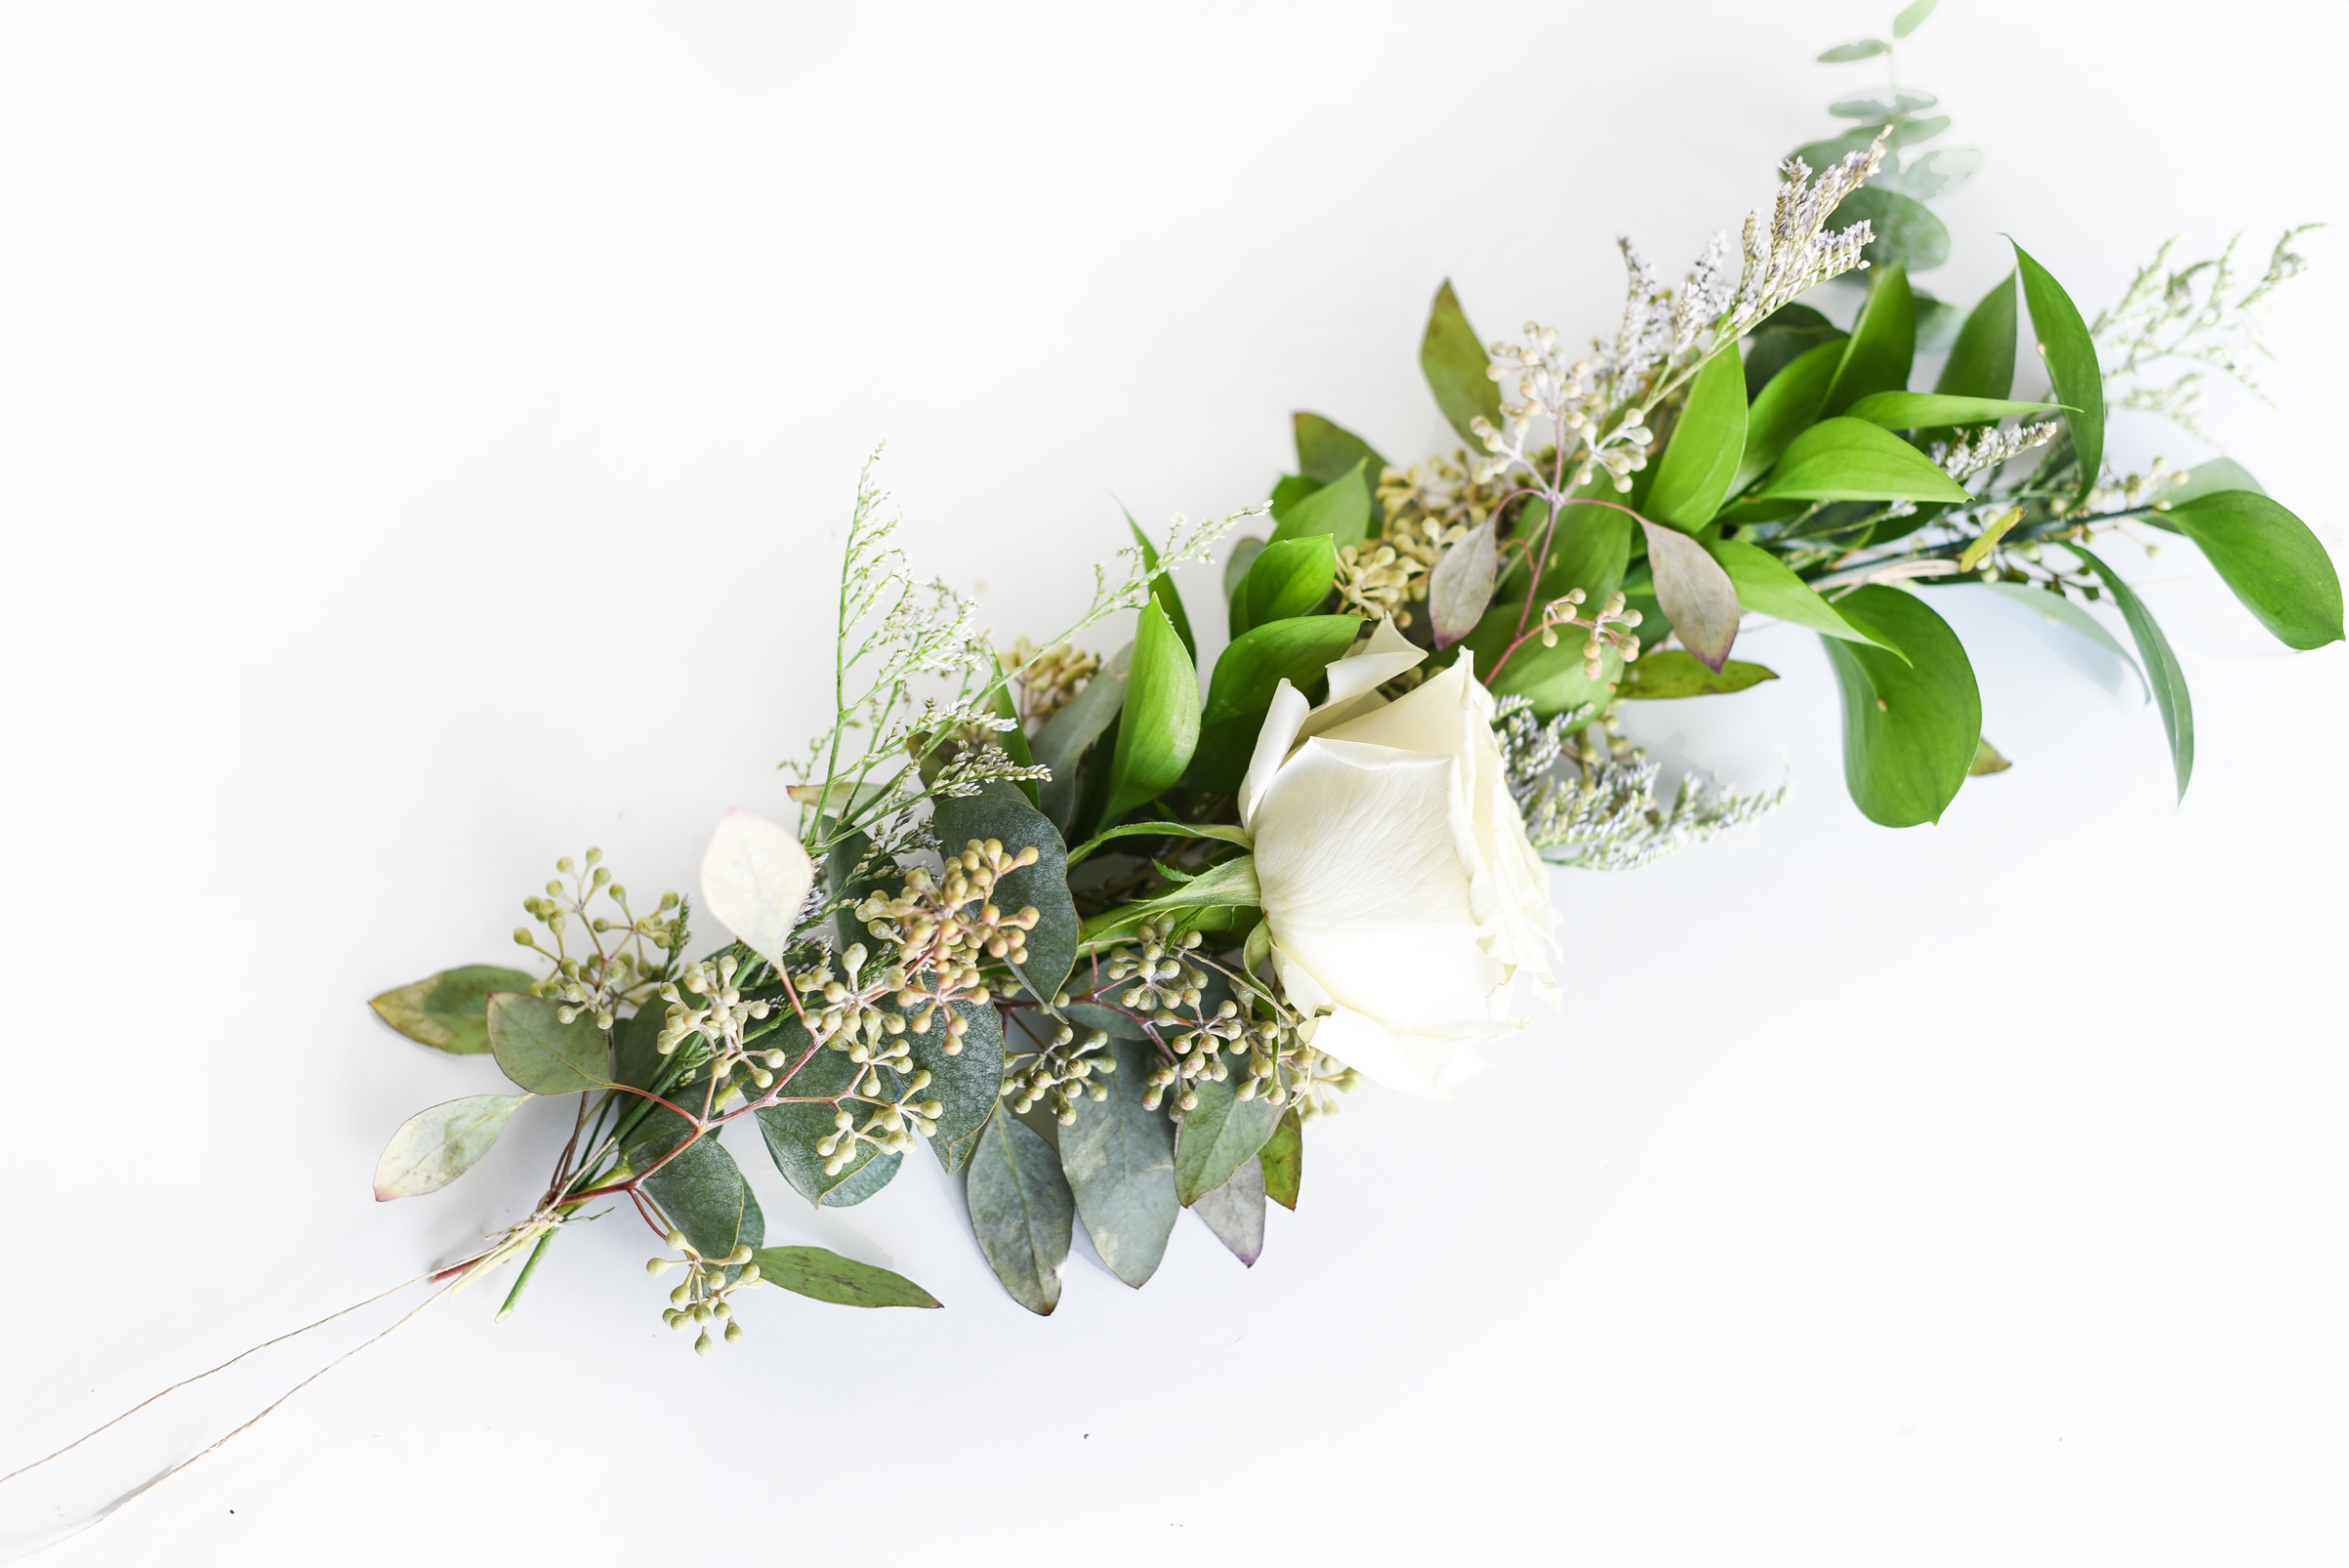
Cut the floral stems and greenery into shorter pieces, approx. 5″ long. Be sure to use pruning shears, not your scissors! :)

step 3
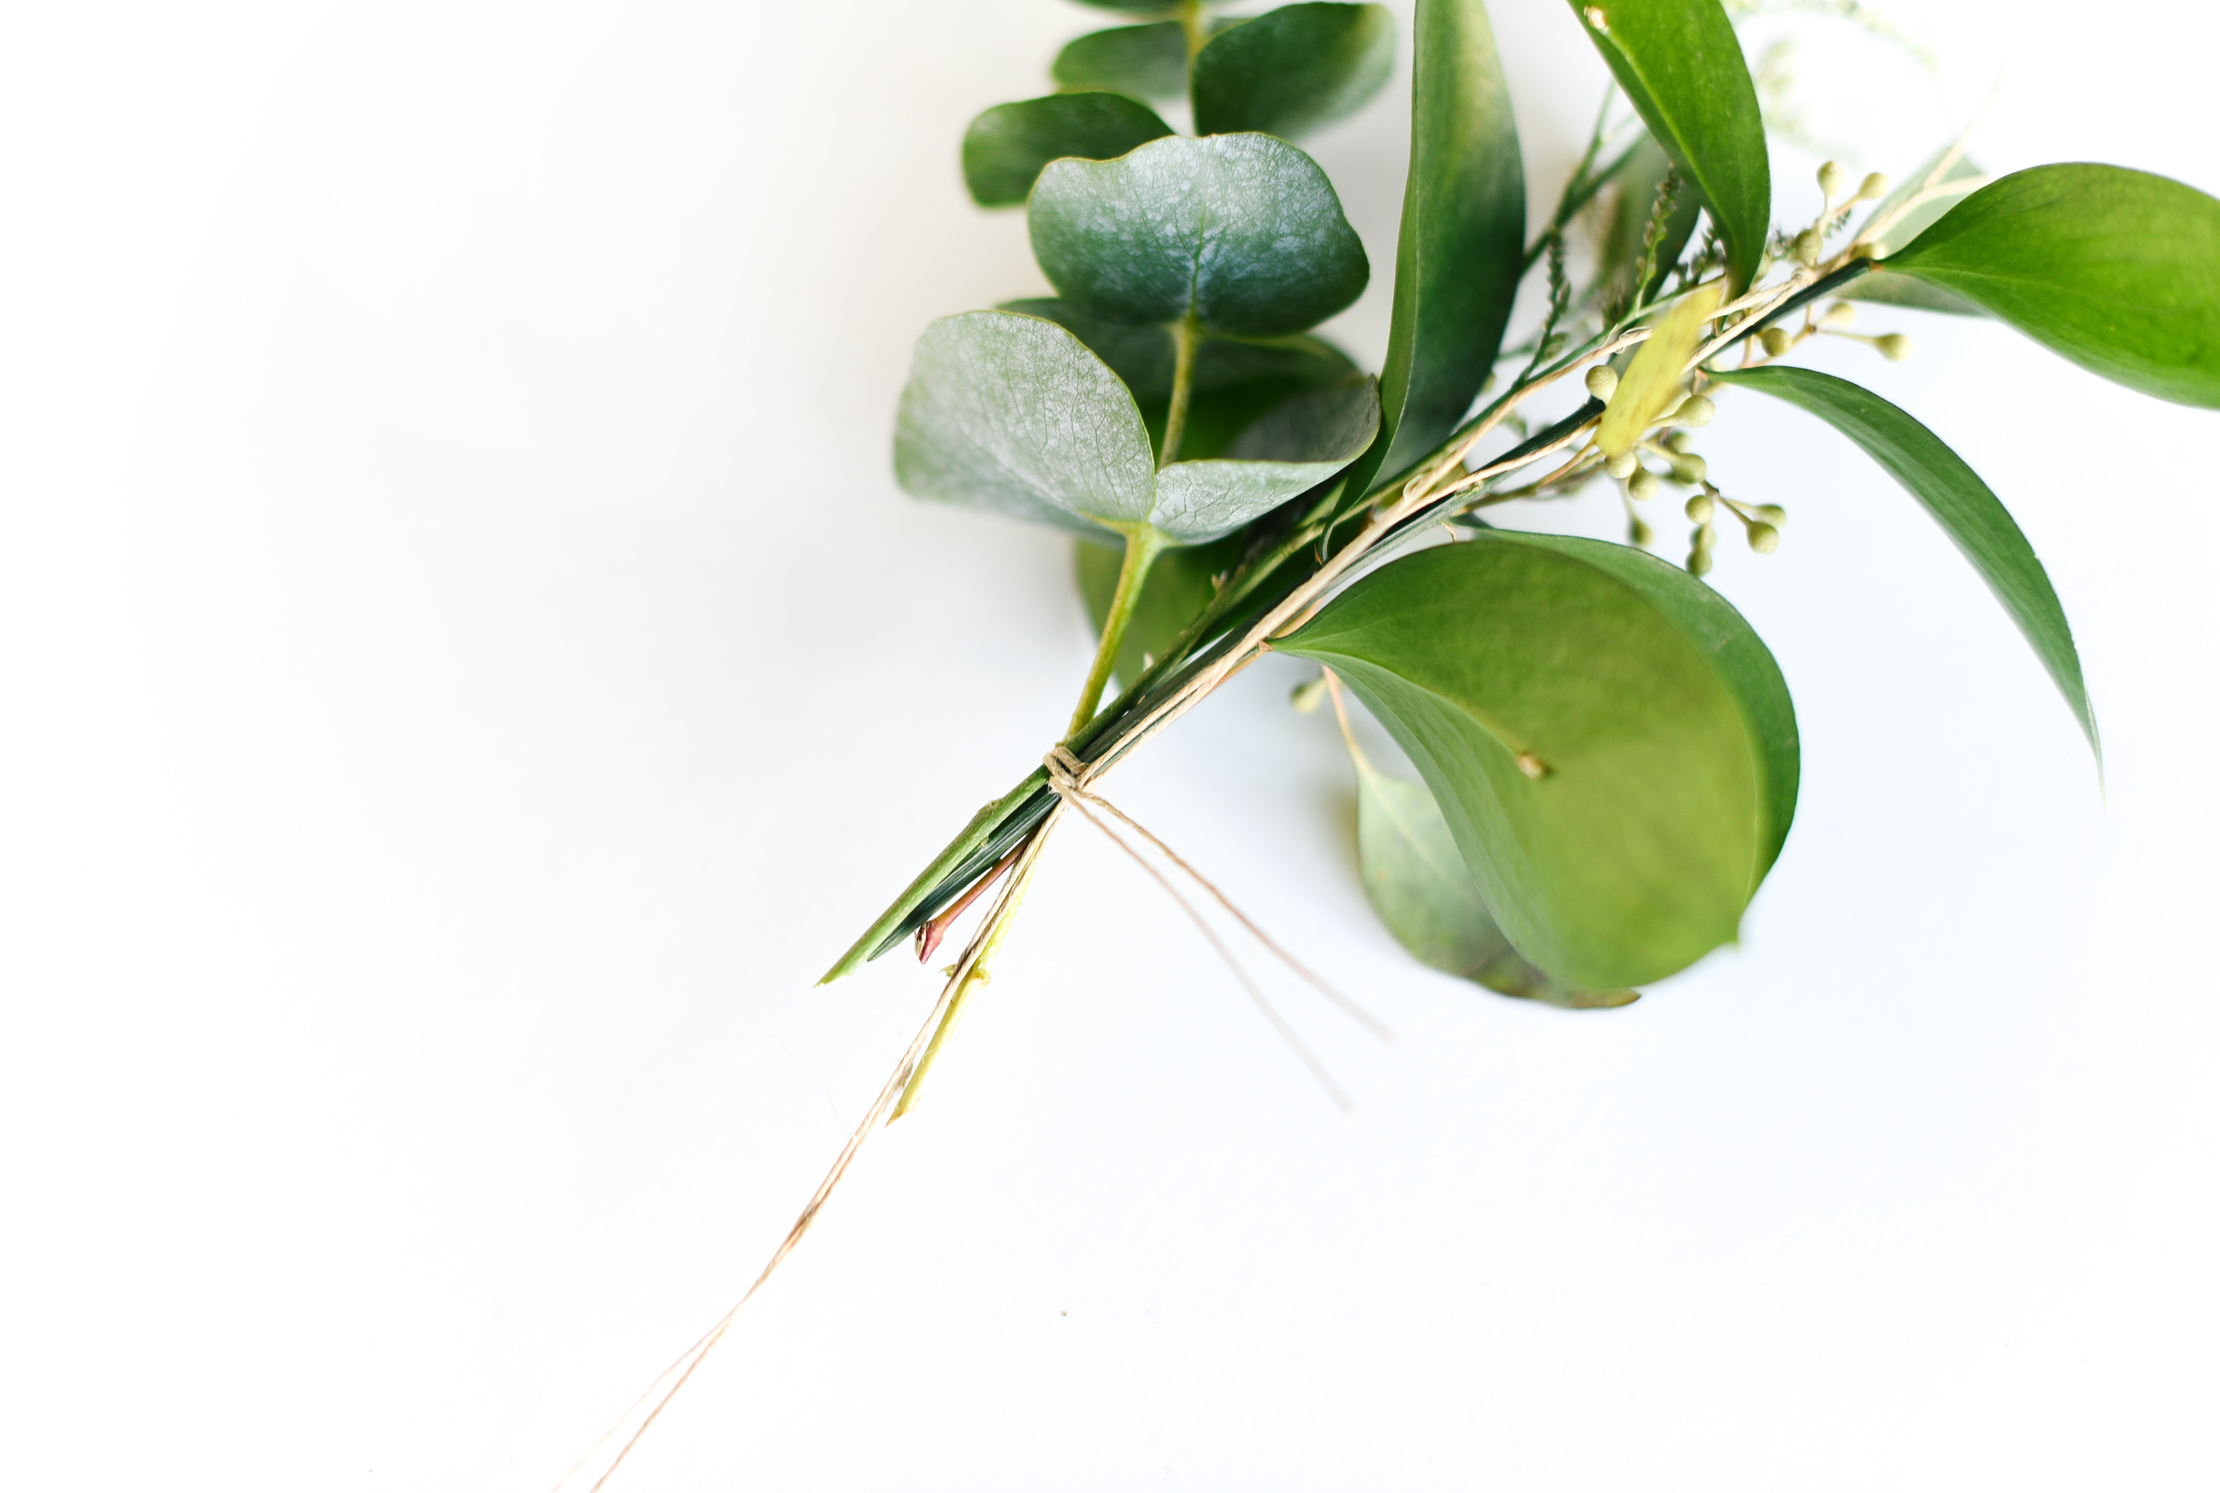
Create a small bundle with about 4 stems, mixing greenery. Cut a 5′ piece of thin hemp, and fold in half to double-up the strength. This folded piece of hemp will create your garland base.
step 4
Cut a small 5″ piece of hemp and use it to tie the small bundle to near the end of the garland base, leaving a few inches of free hemp. Cut off excess hemp from the knot. 
step 5
Create another foliage bundle and tie onto the garland base again, this time, about 2″ down from your last knot. Cut off excess hemp from the knot. This creates a bit of overlap in the bundles, which hides the stems and makes for a full appearance.

step 6
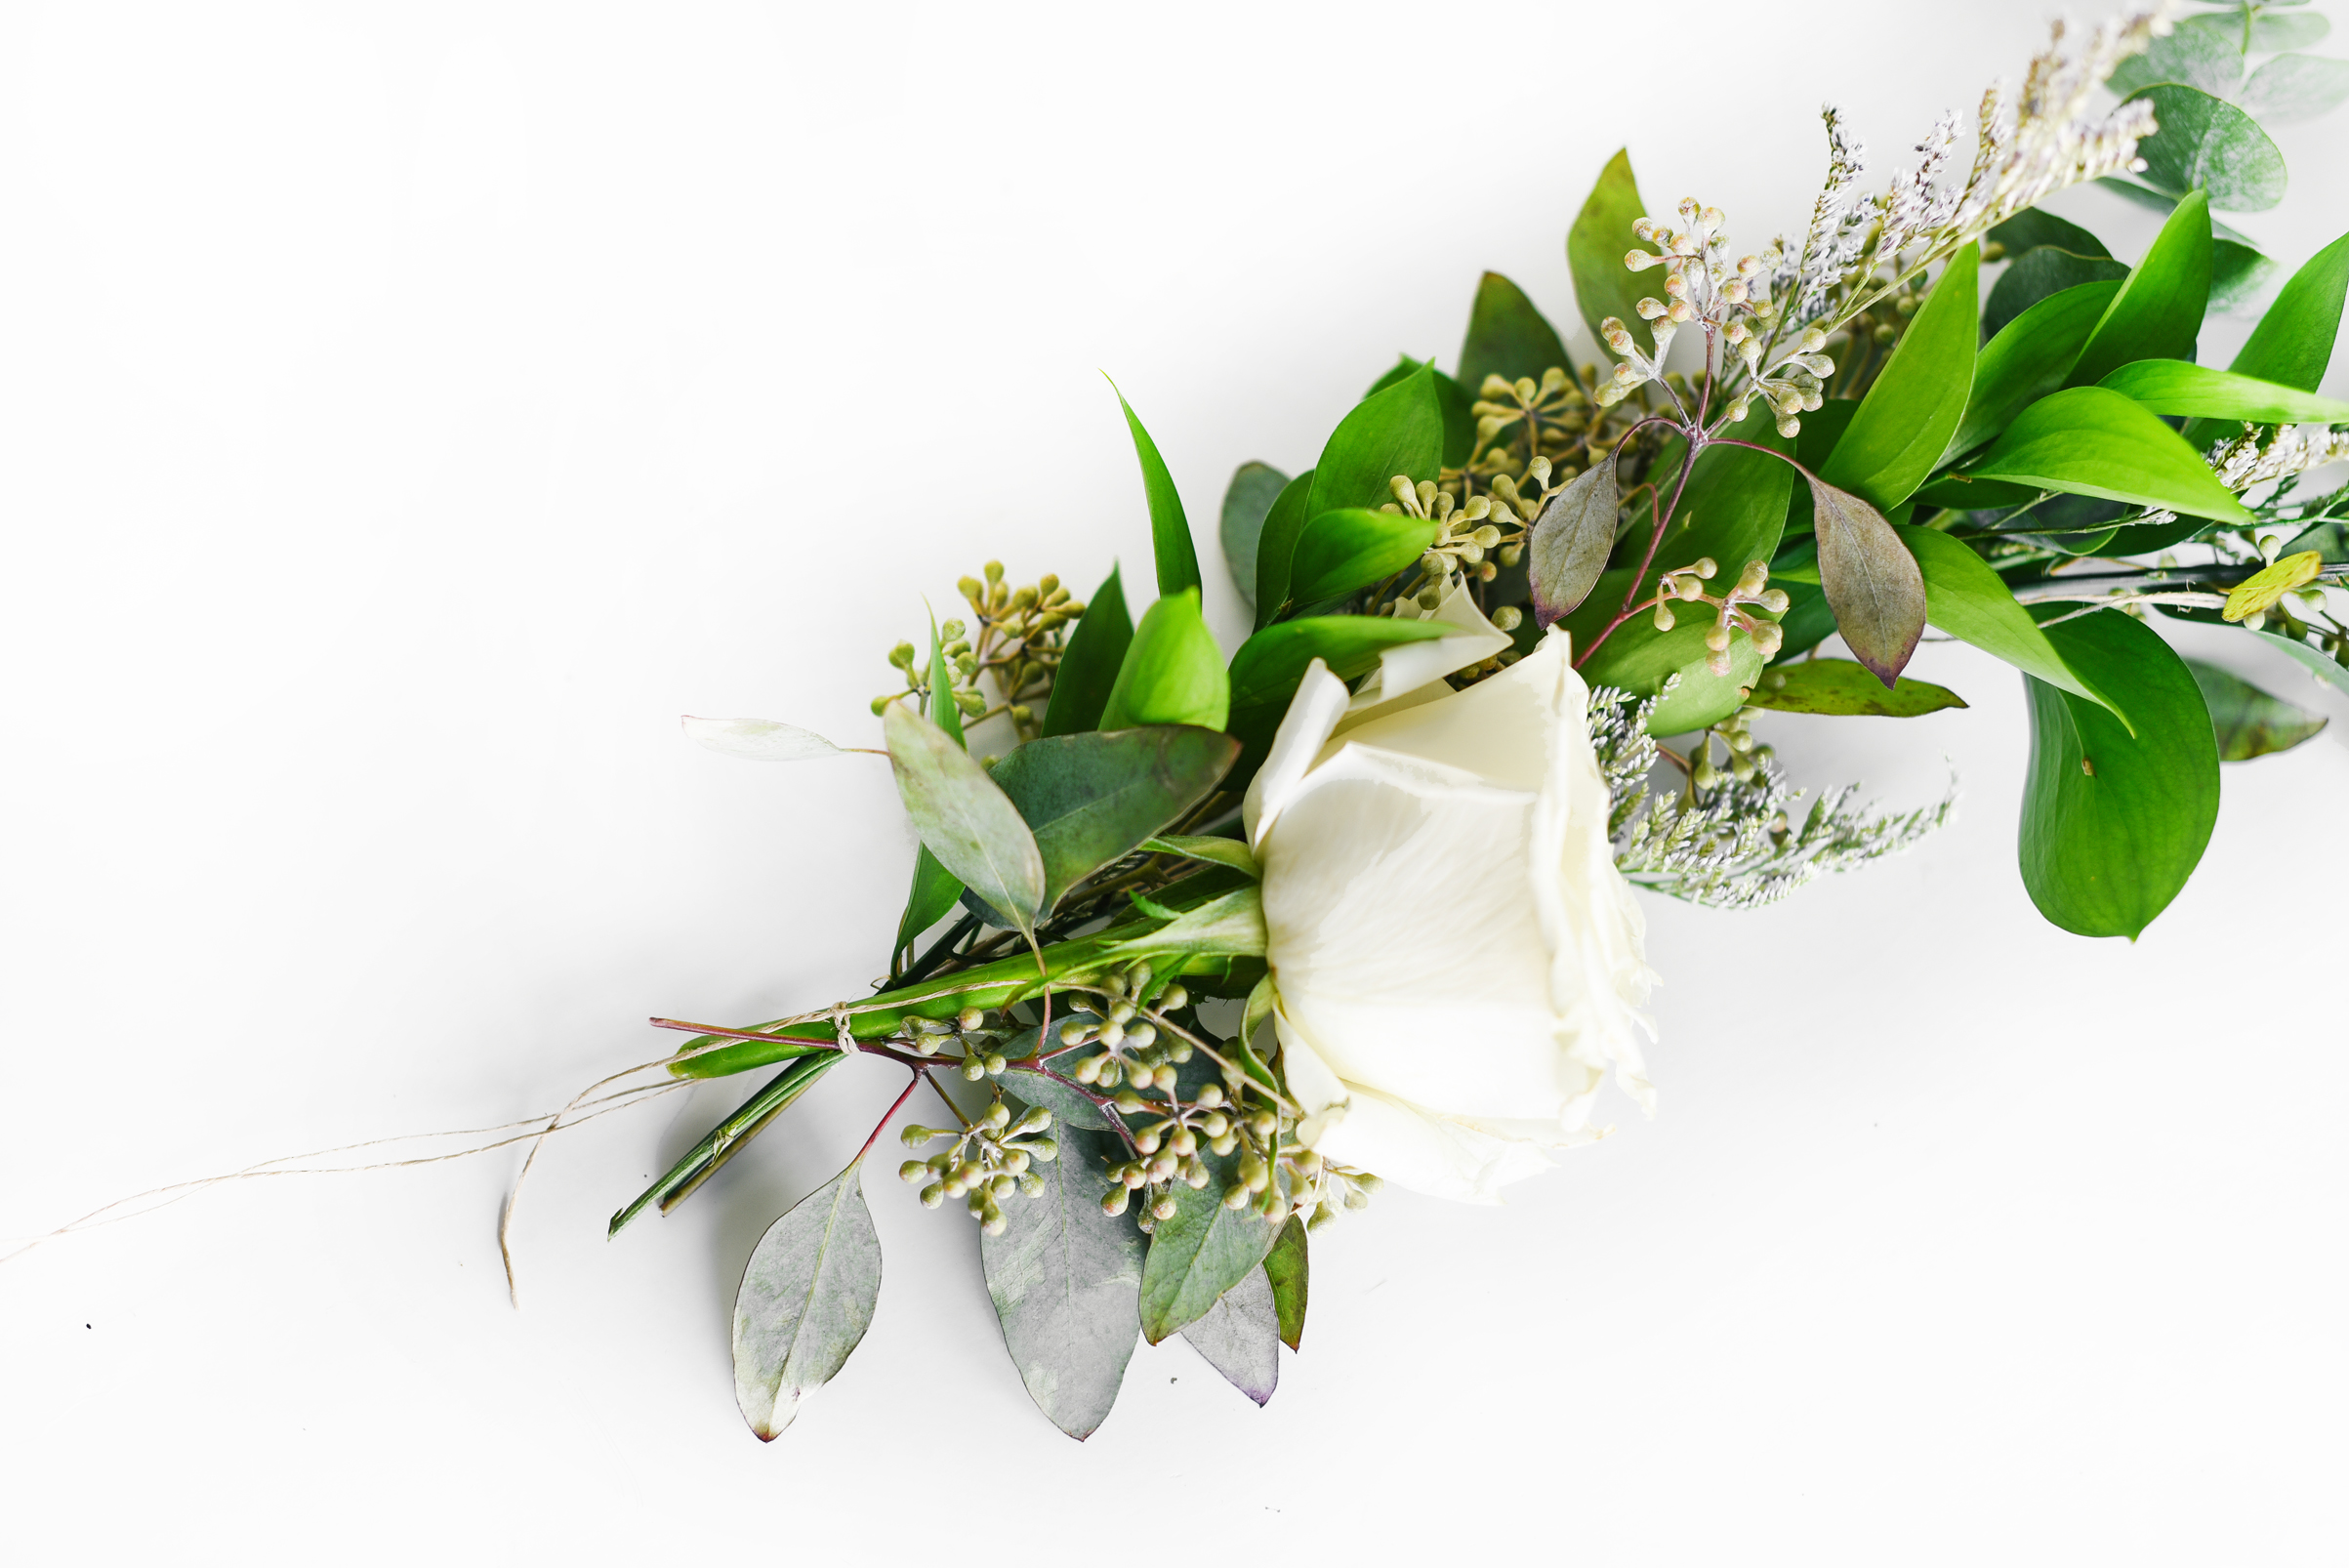
Continue making small bundles, adding in flowers and alternating with bundles of greenery, for a balanced look. Here, we have added a rose to our small bundle!
step 7
Continue tying on the bundles to the garland base, each time about 2″ inches down from the last knot.
step 8
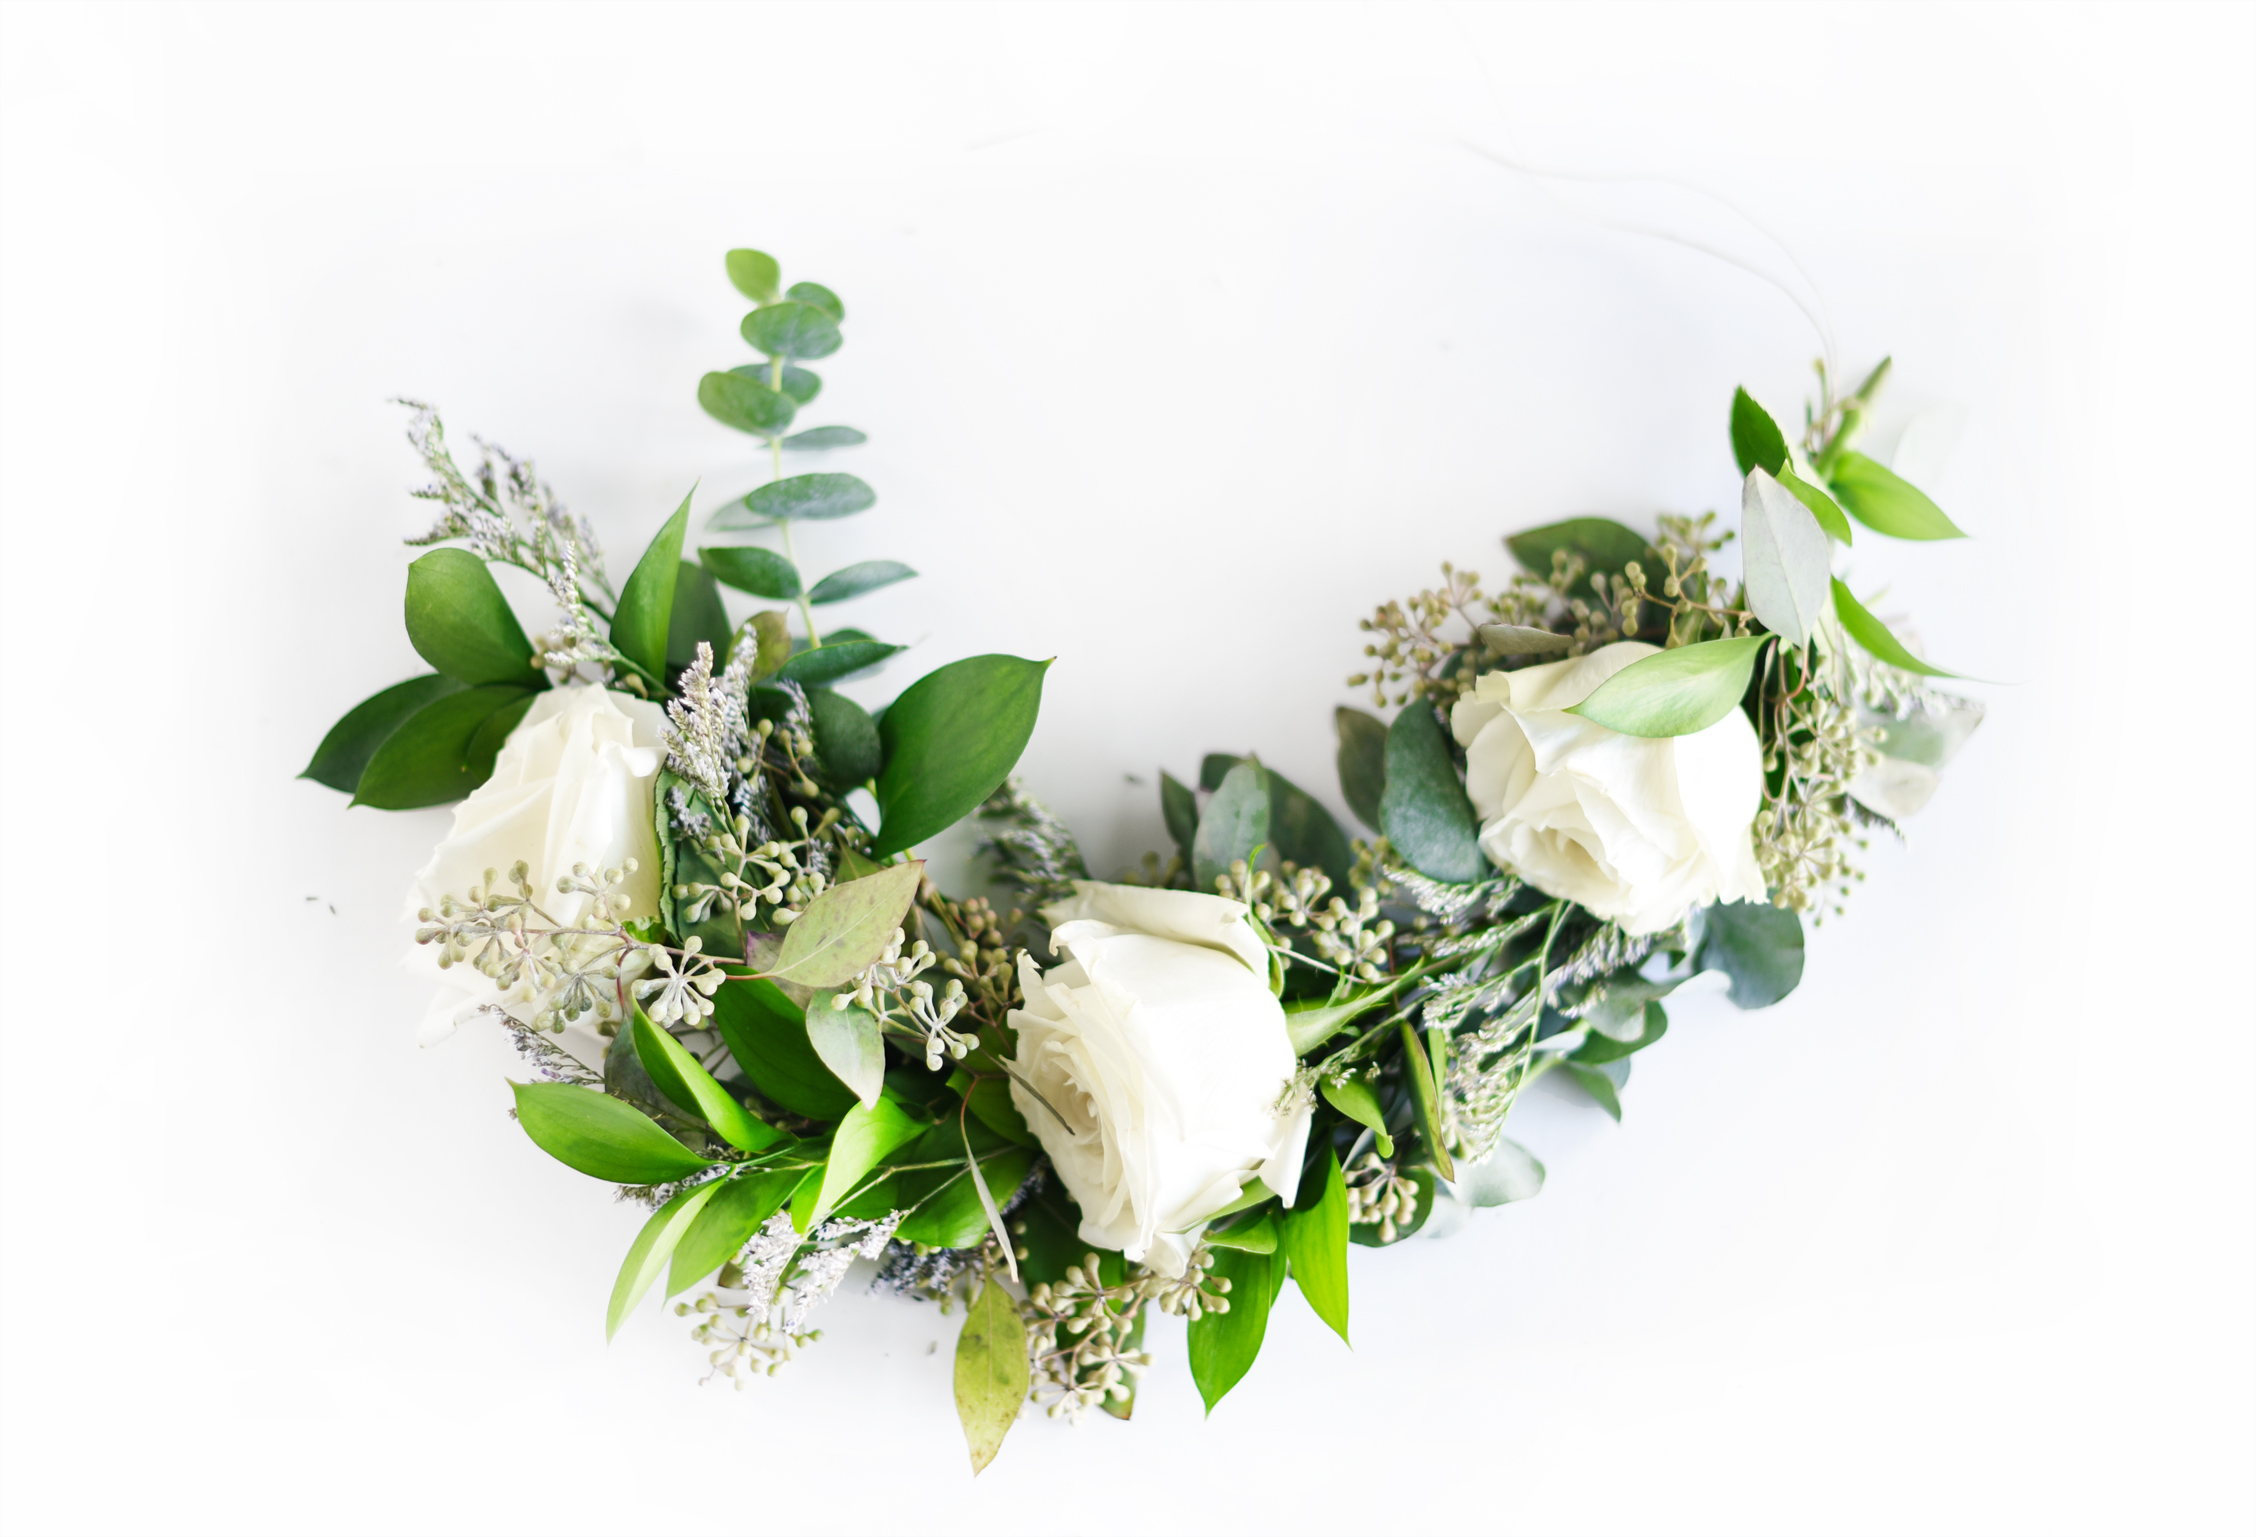
Your garland should be filling up, and starting to look something like the above image! Keep creating bundles and tying them on until the garland has reached your desired length. Our finished garland in this tutorial was about 2′ long. The length of the hemp piece you cut in Step 3 will directly impact the length of your garland. Cut a longer piece if you need to make a longer length of garland!
step 9
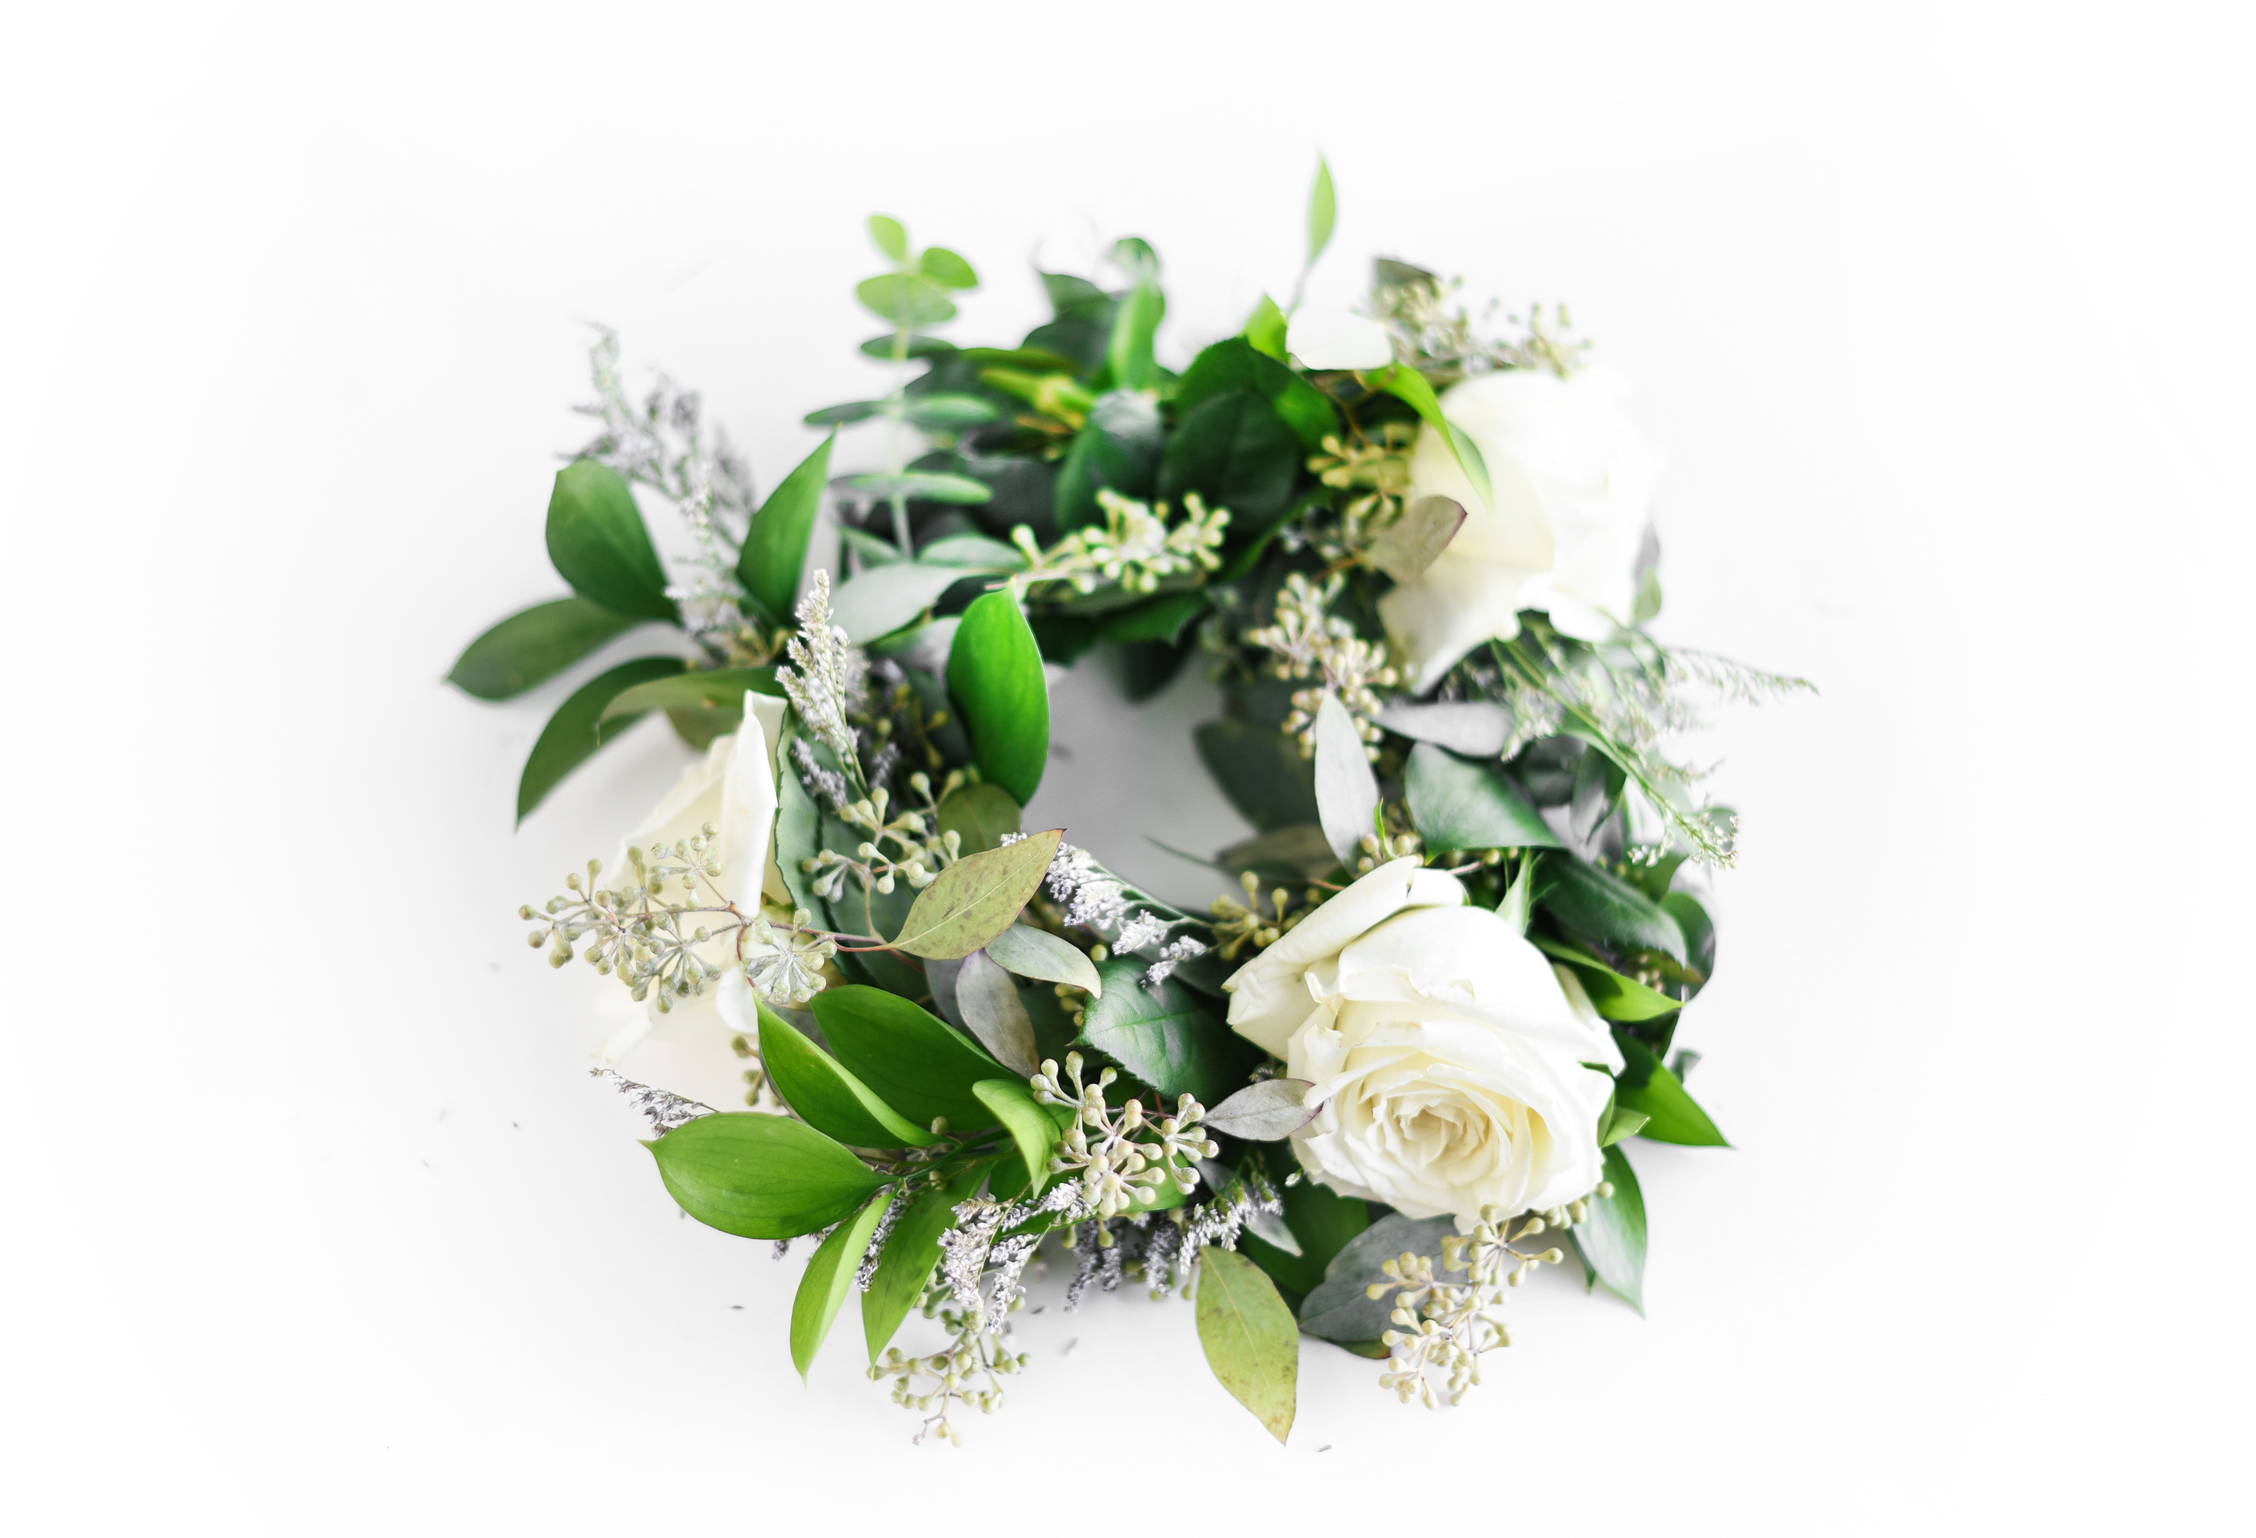
To finish off a circular, wreath-like garland, simply tie the ends of the hemp together, knot, and cut off the excess hemp.
OPTION 1 – LARGE CENTERPIECE
If you want a showstopping statement, go big with this festive, tiered display! Add a small metal pedestal to the middle of the garland wreath (you can find pedestals like this at craft stores like Hobby Lobby and Michaels), then place a large mercury glass votive holder atop.
Use 2 other smaller mercury glass votive holders in front and to the side of the wreath, propping up one of the votives with another small pedestal (and hide it in the leaves – sneaky!!)….
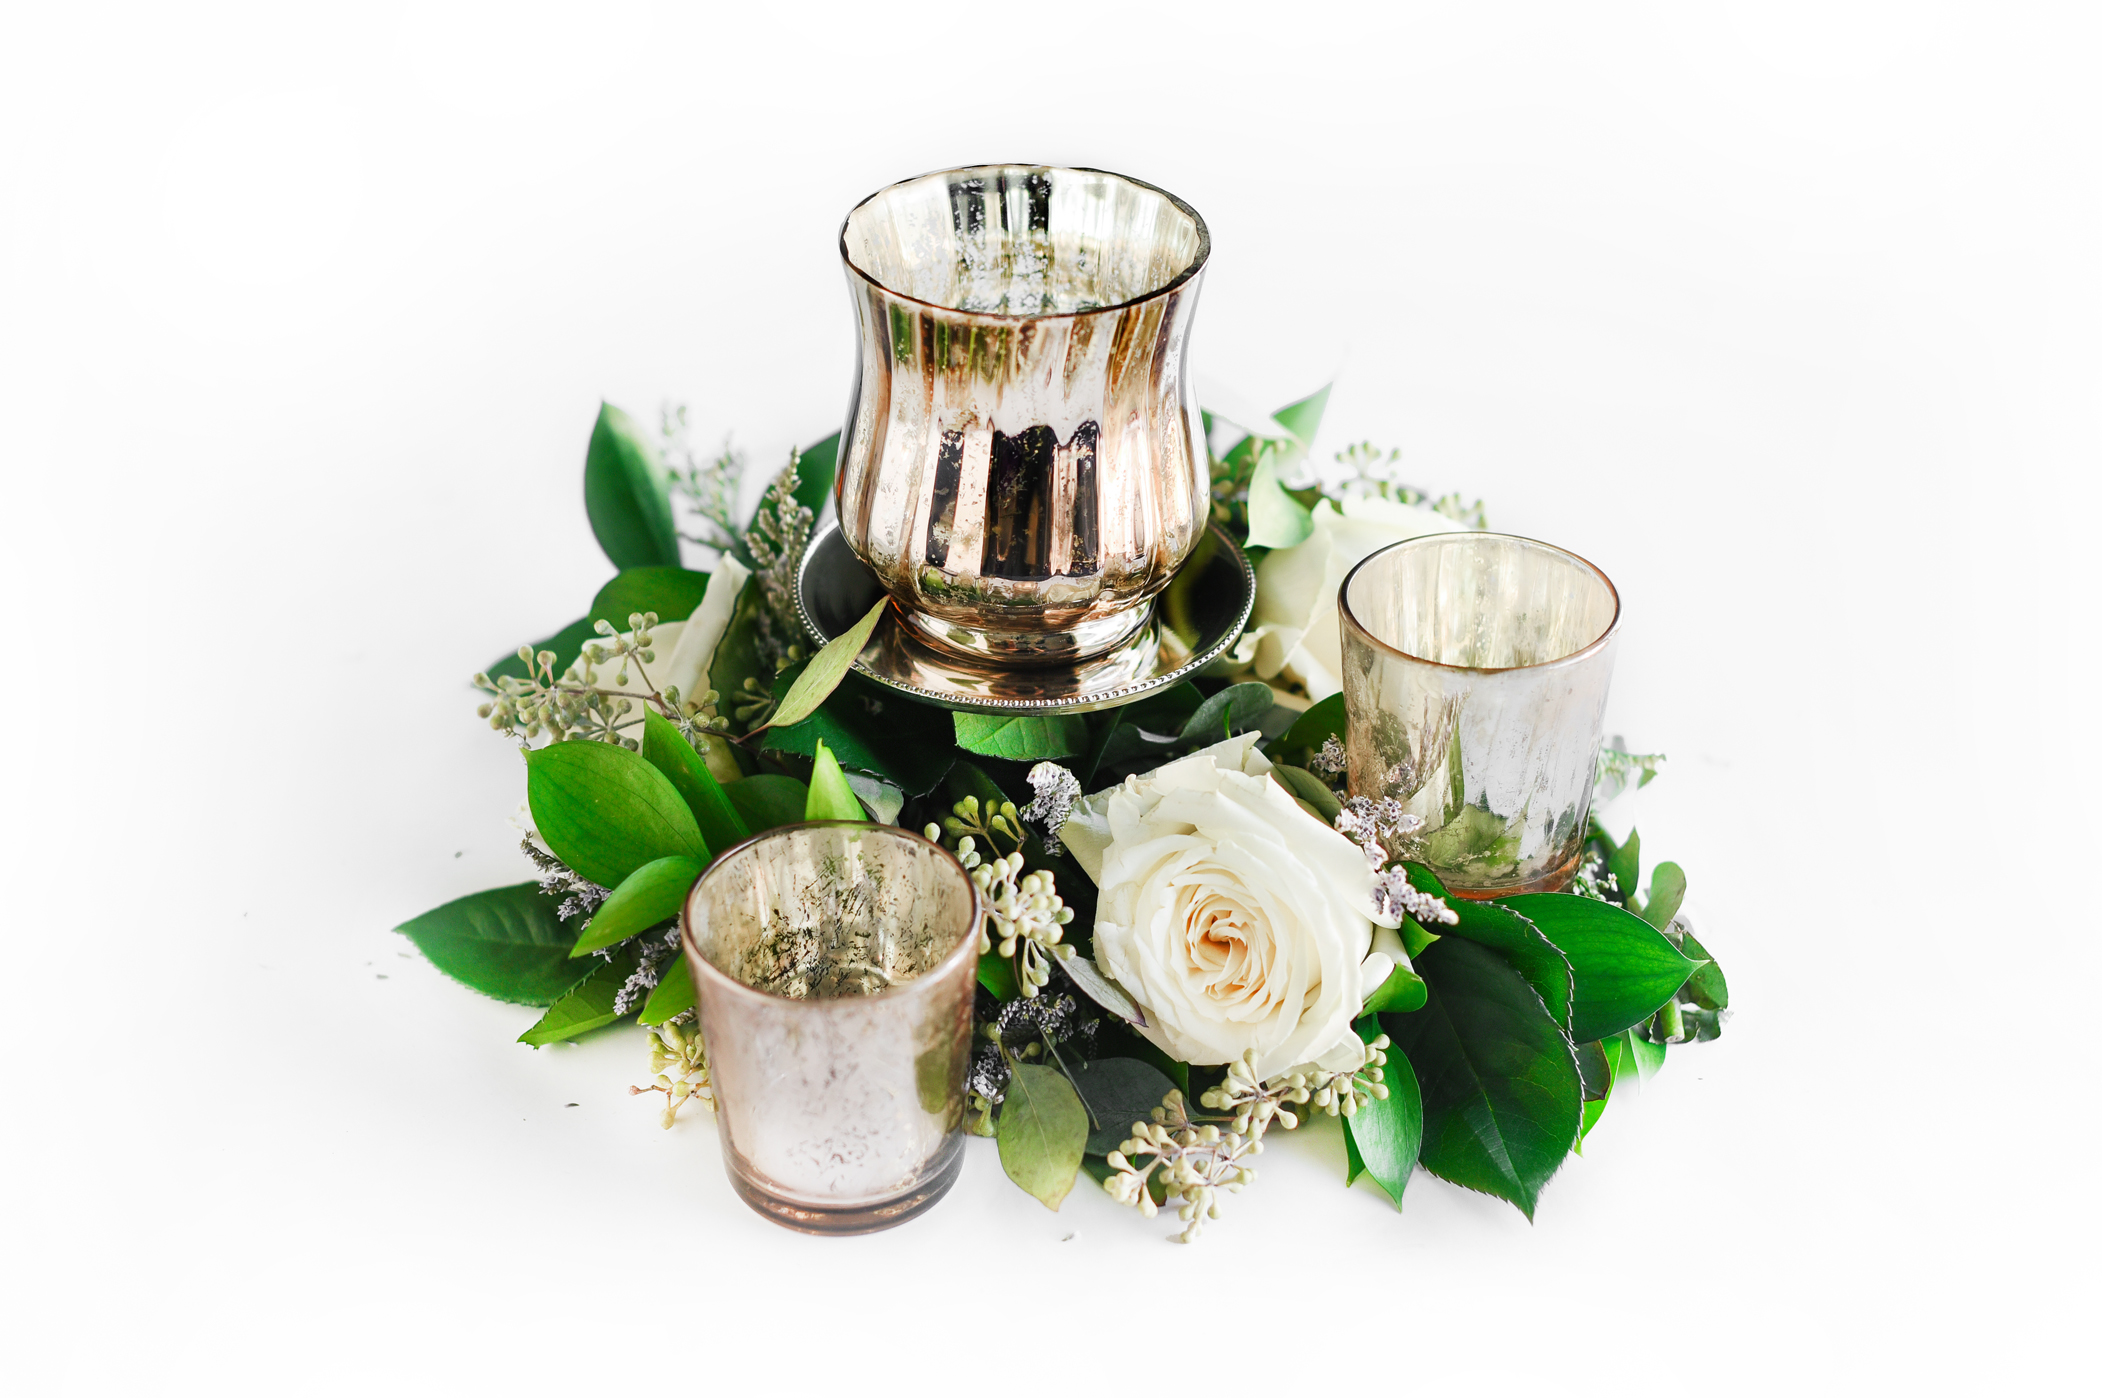
Add votives or small pillar candles in the glass holders….and light!
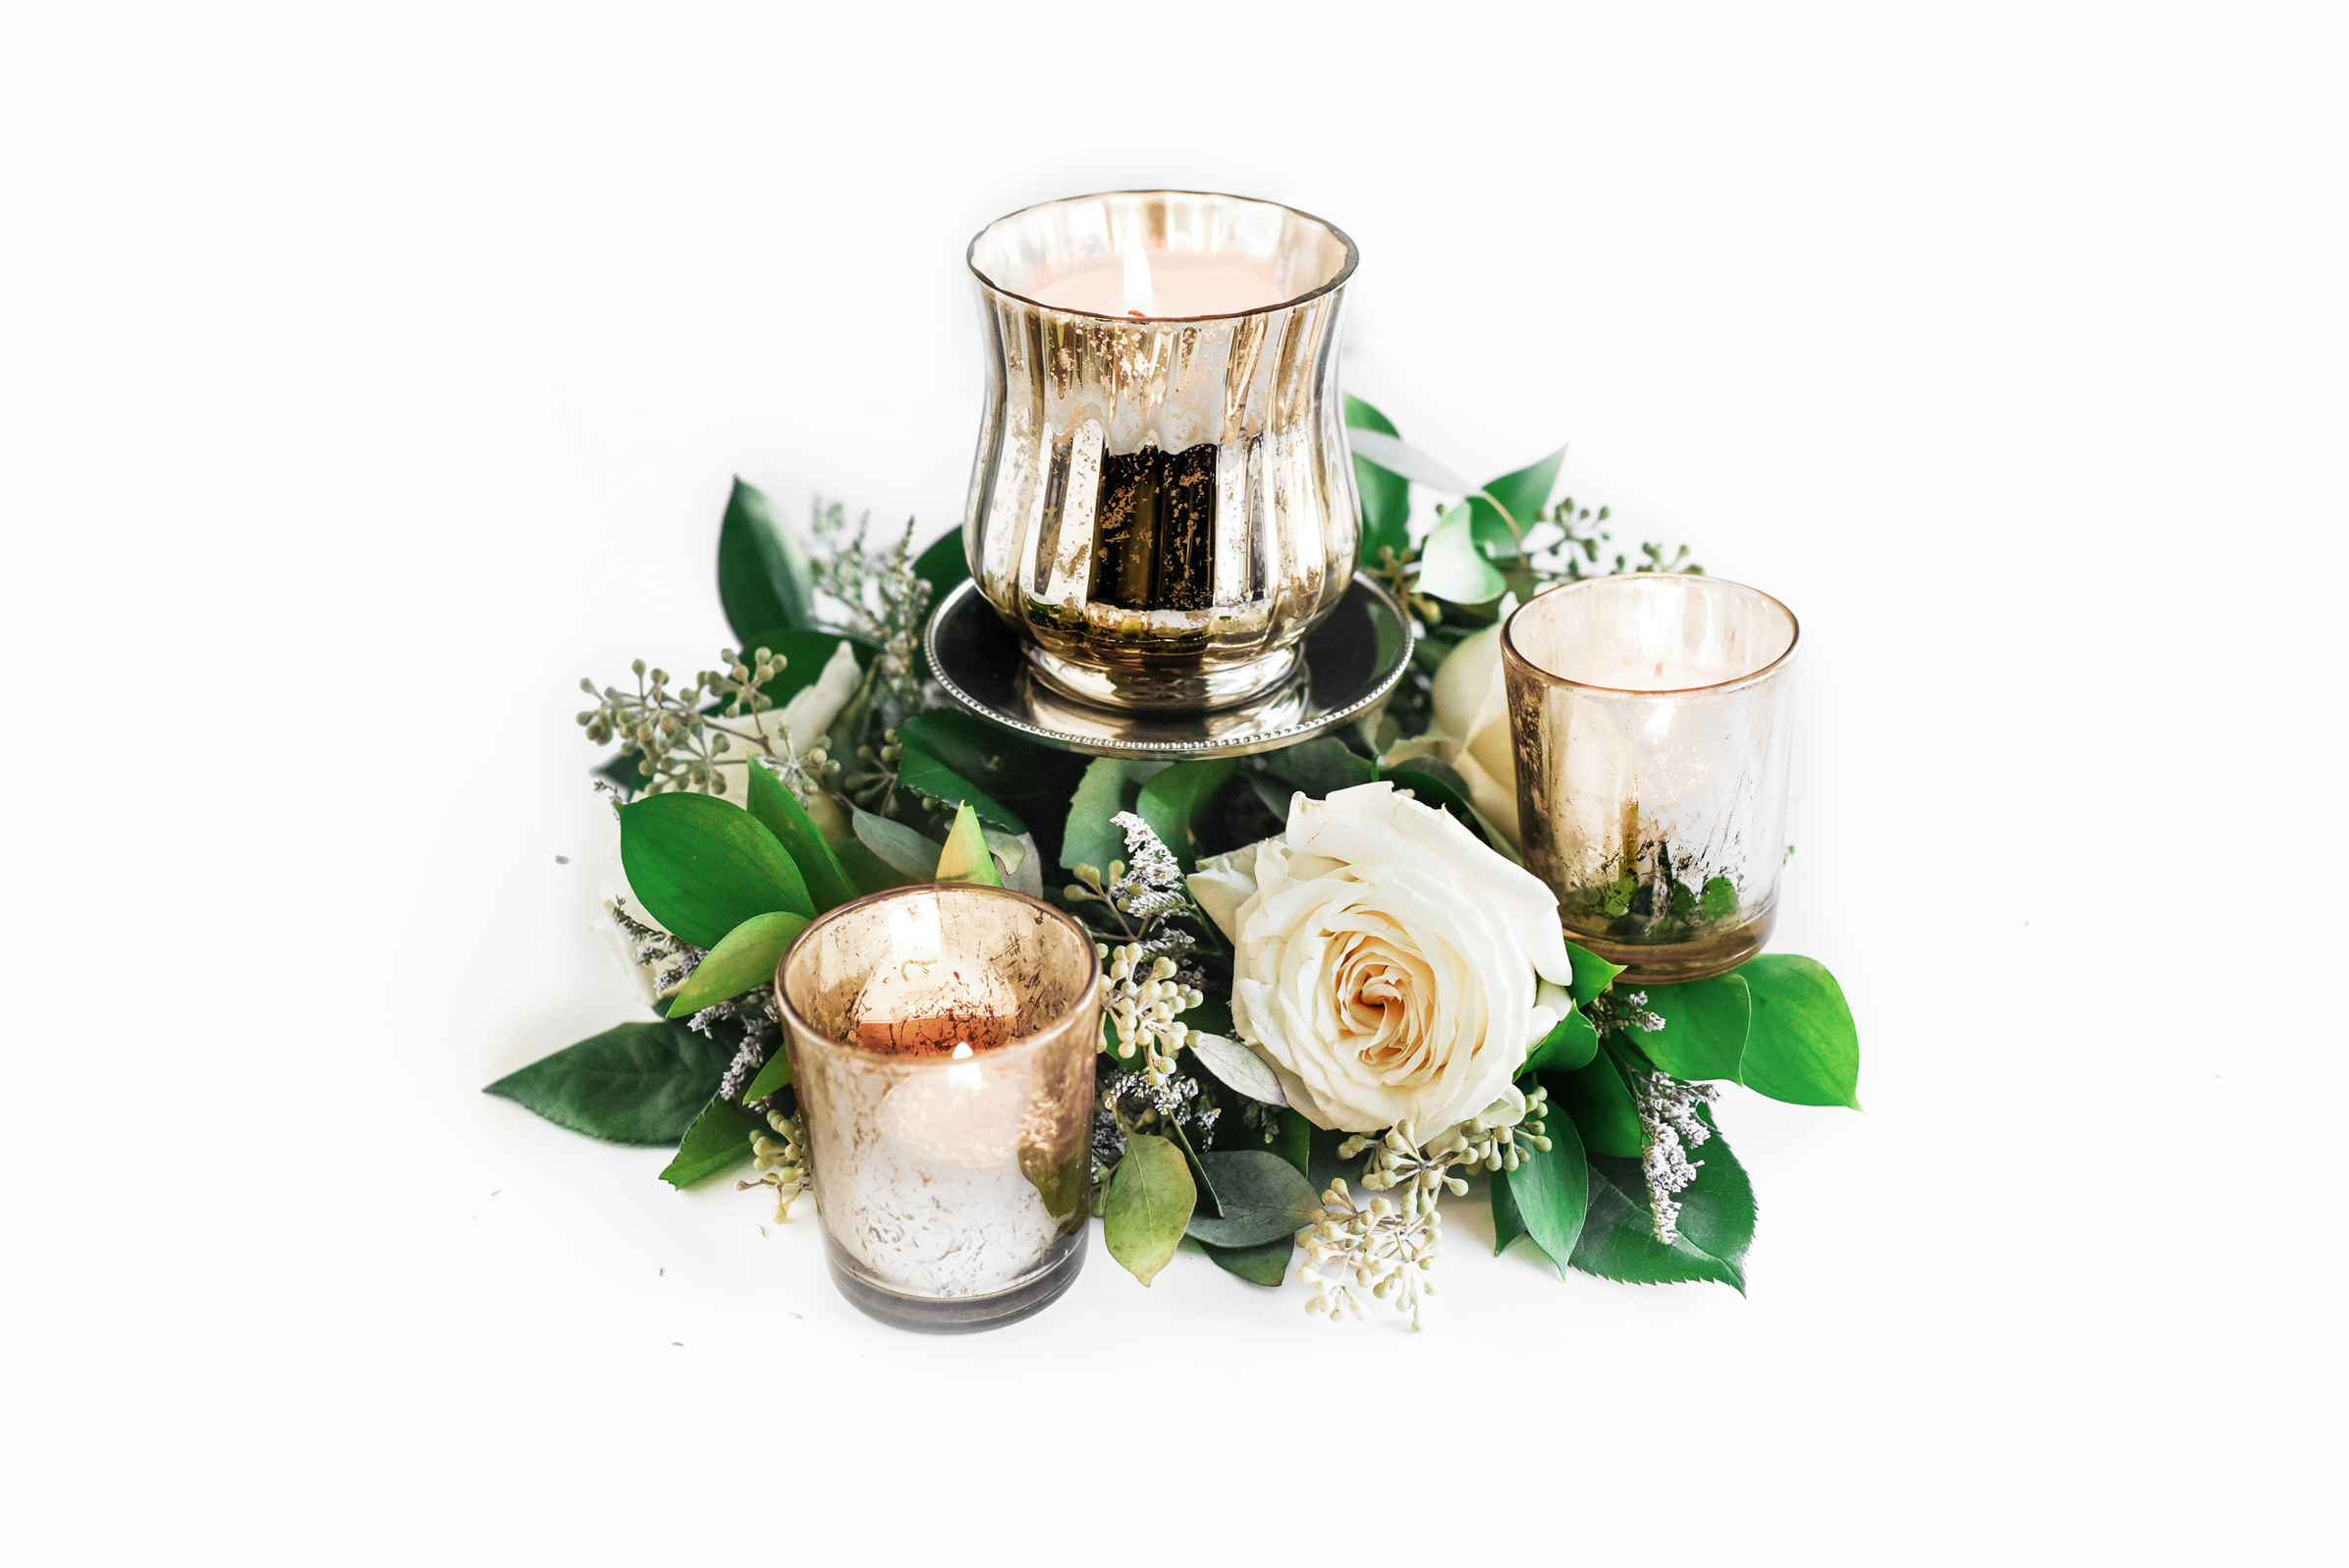
We love this look for larger tables, which require more of a design impact! The flickering candlelight provides the perfect amount of soft light, making the mercury glass sparkle and shine.
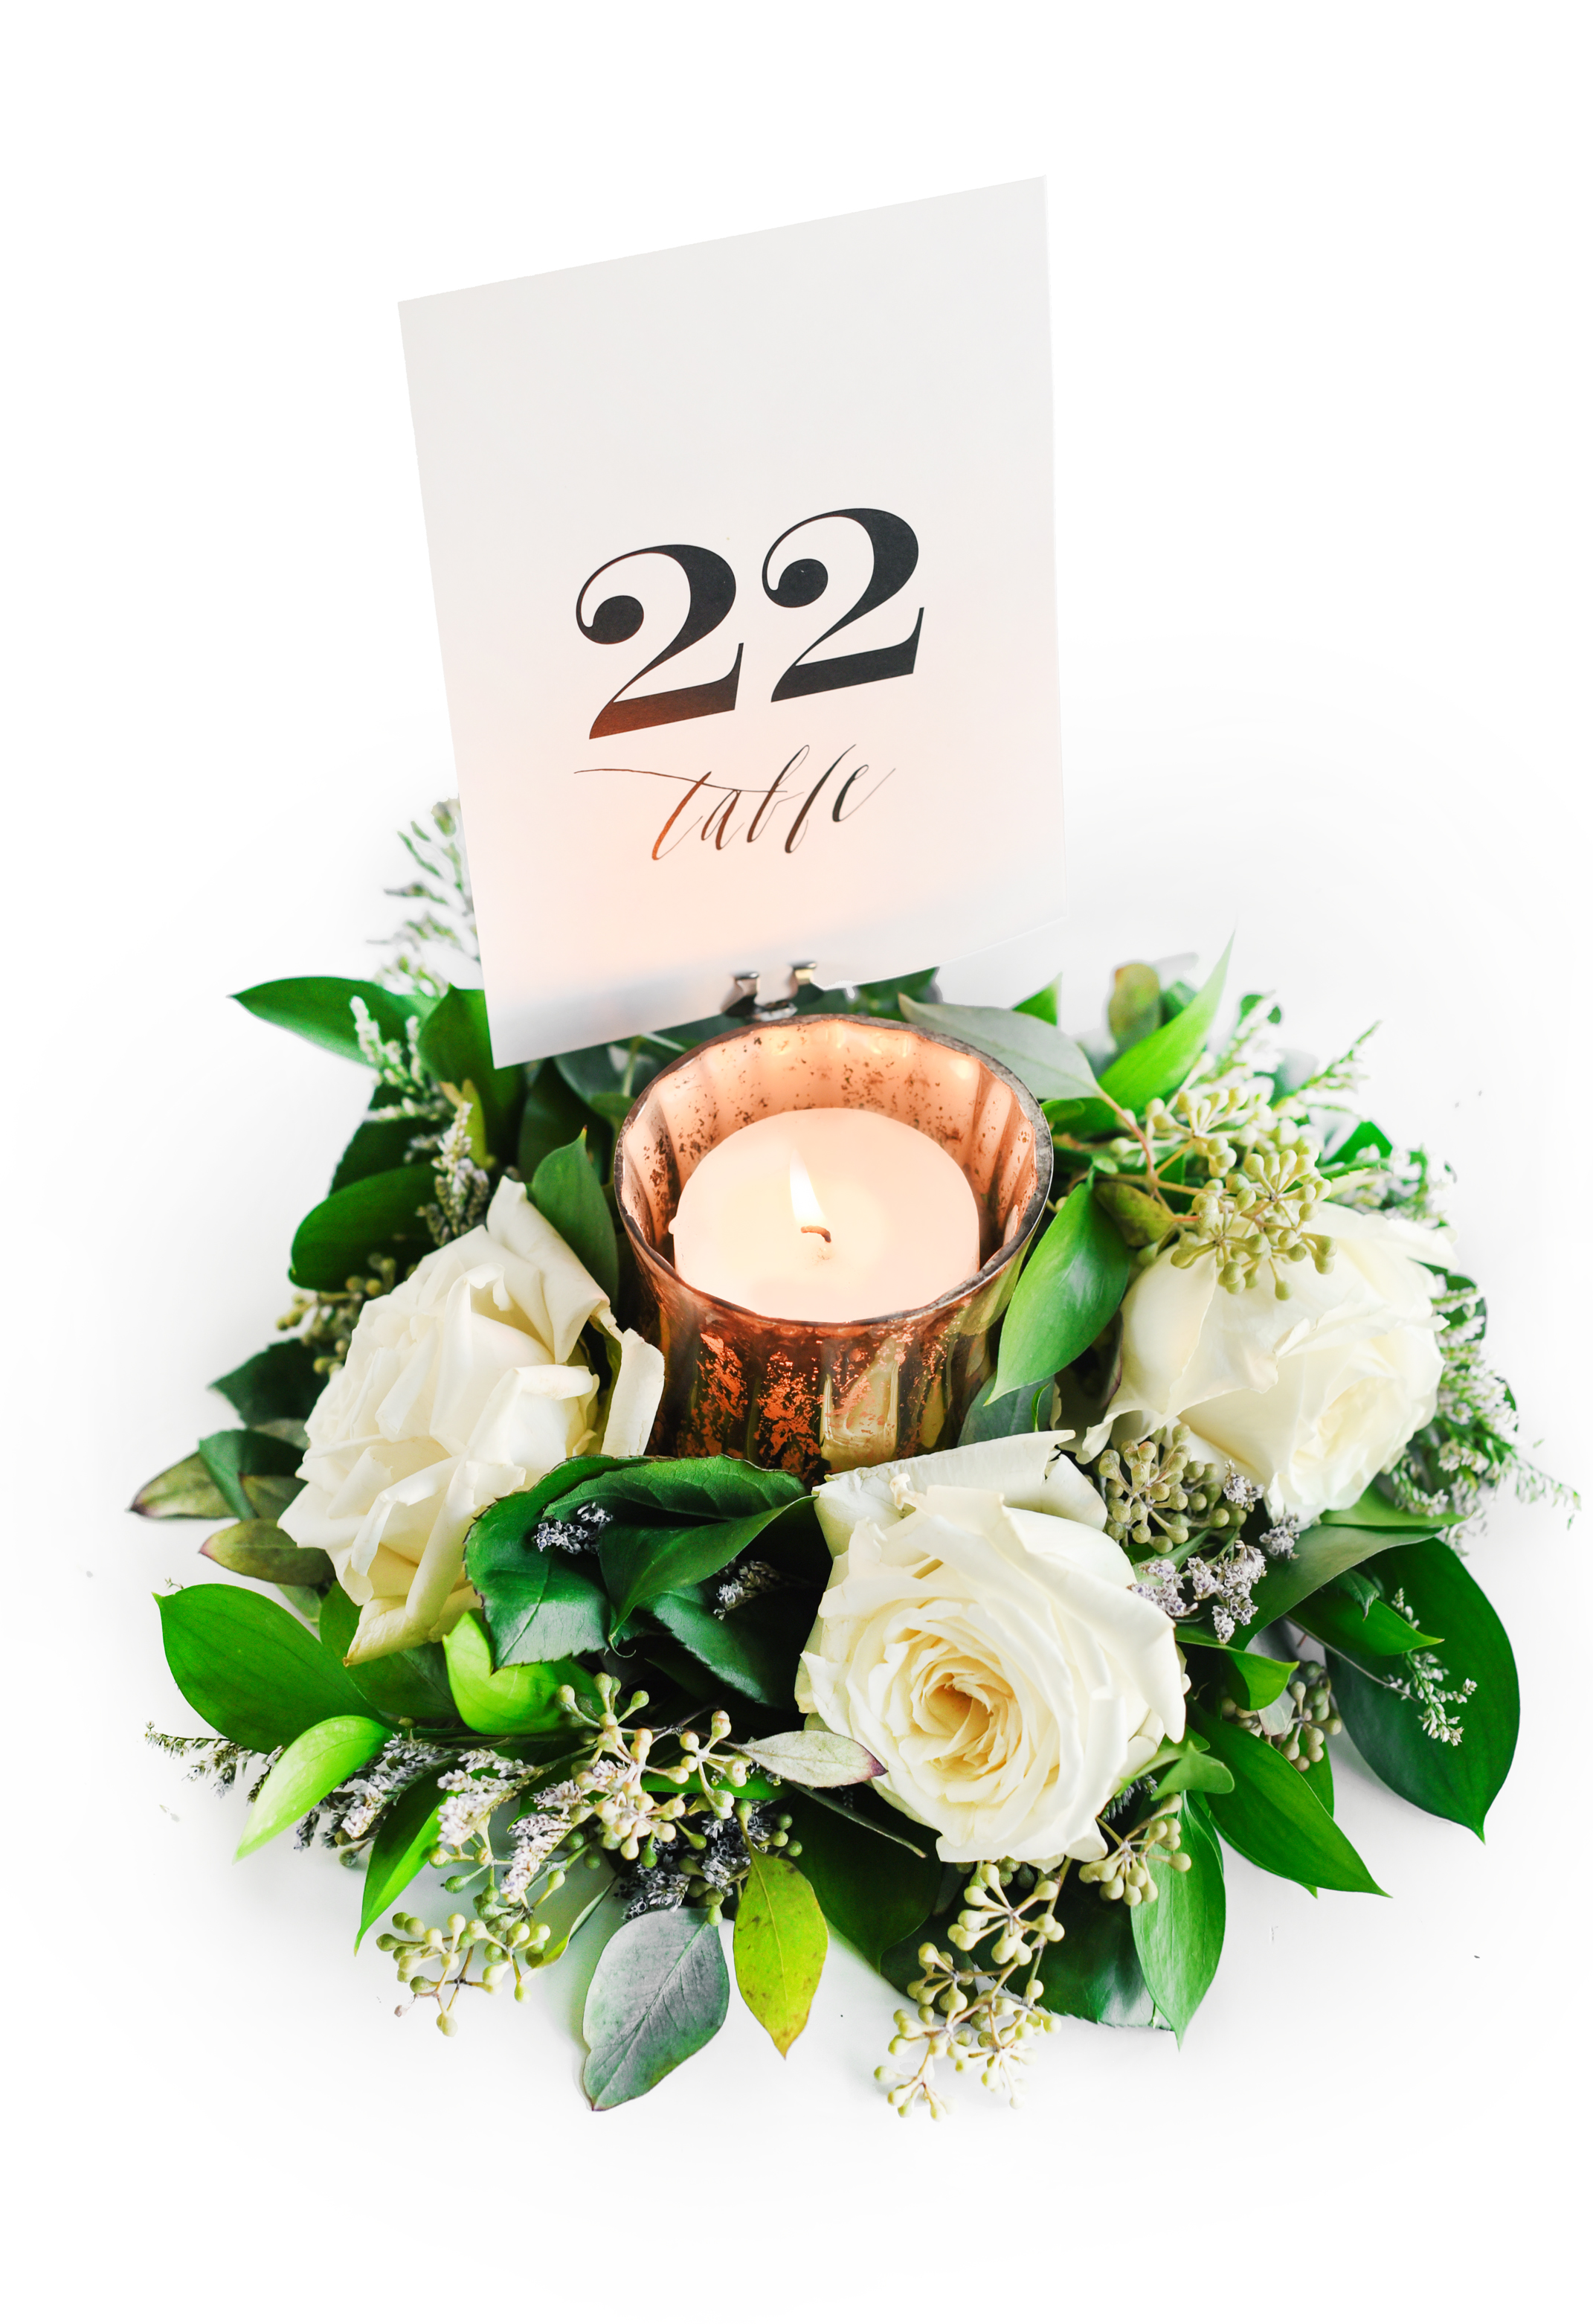
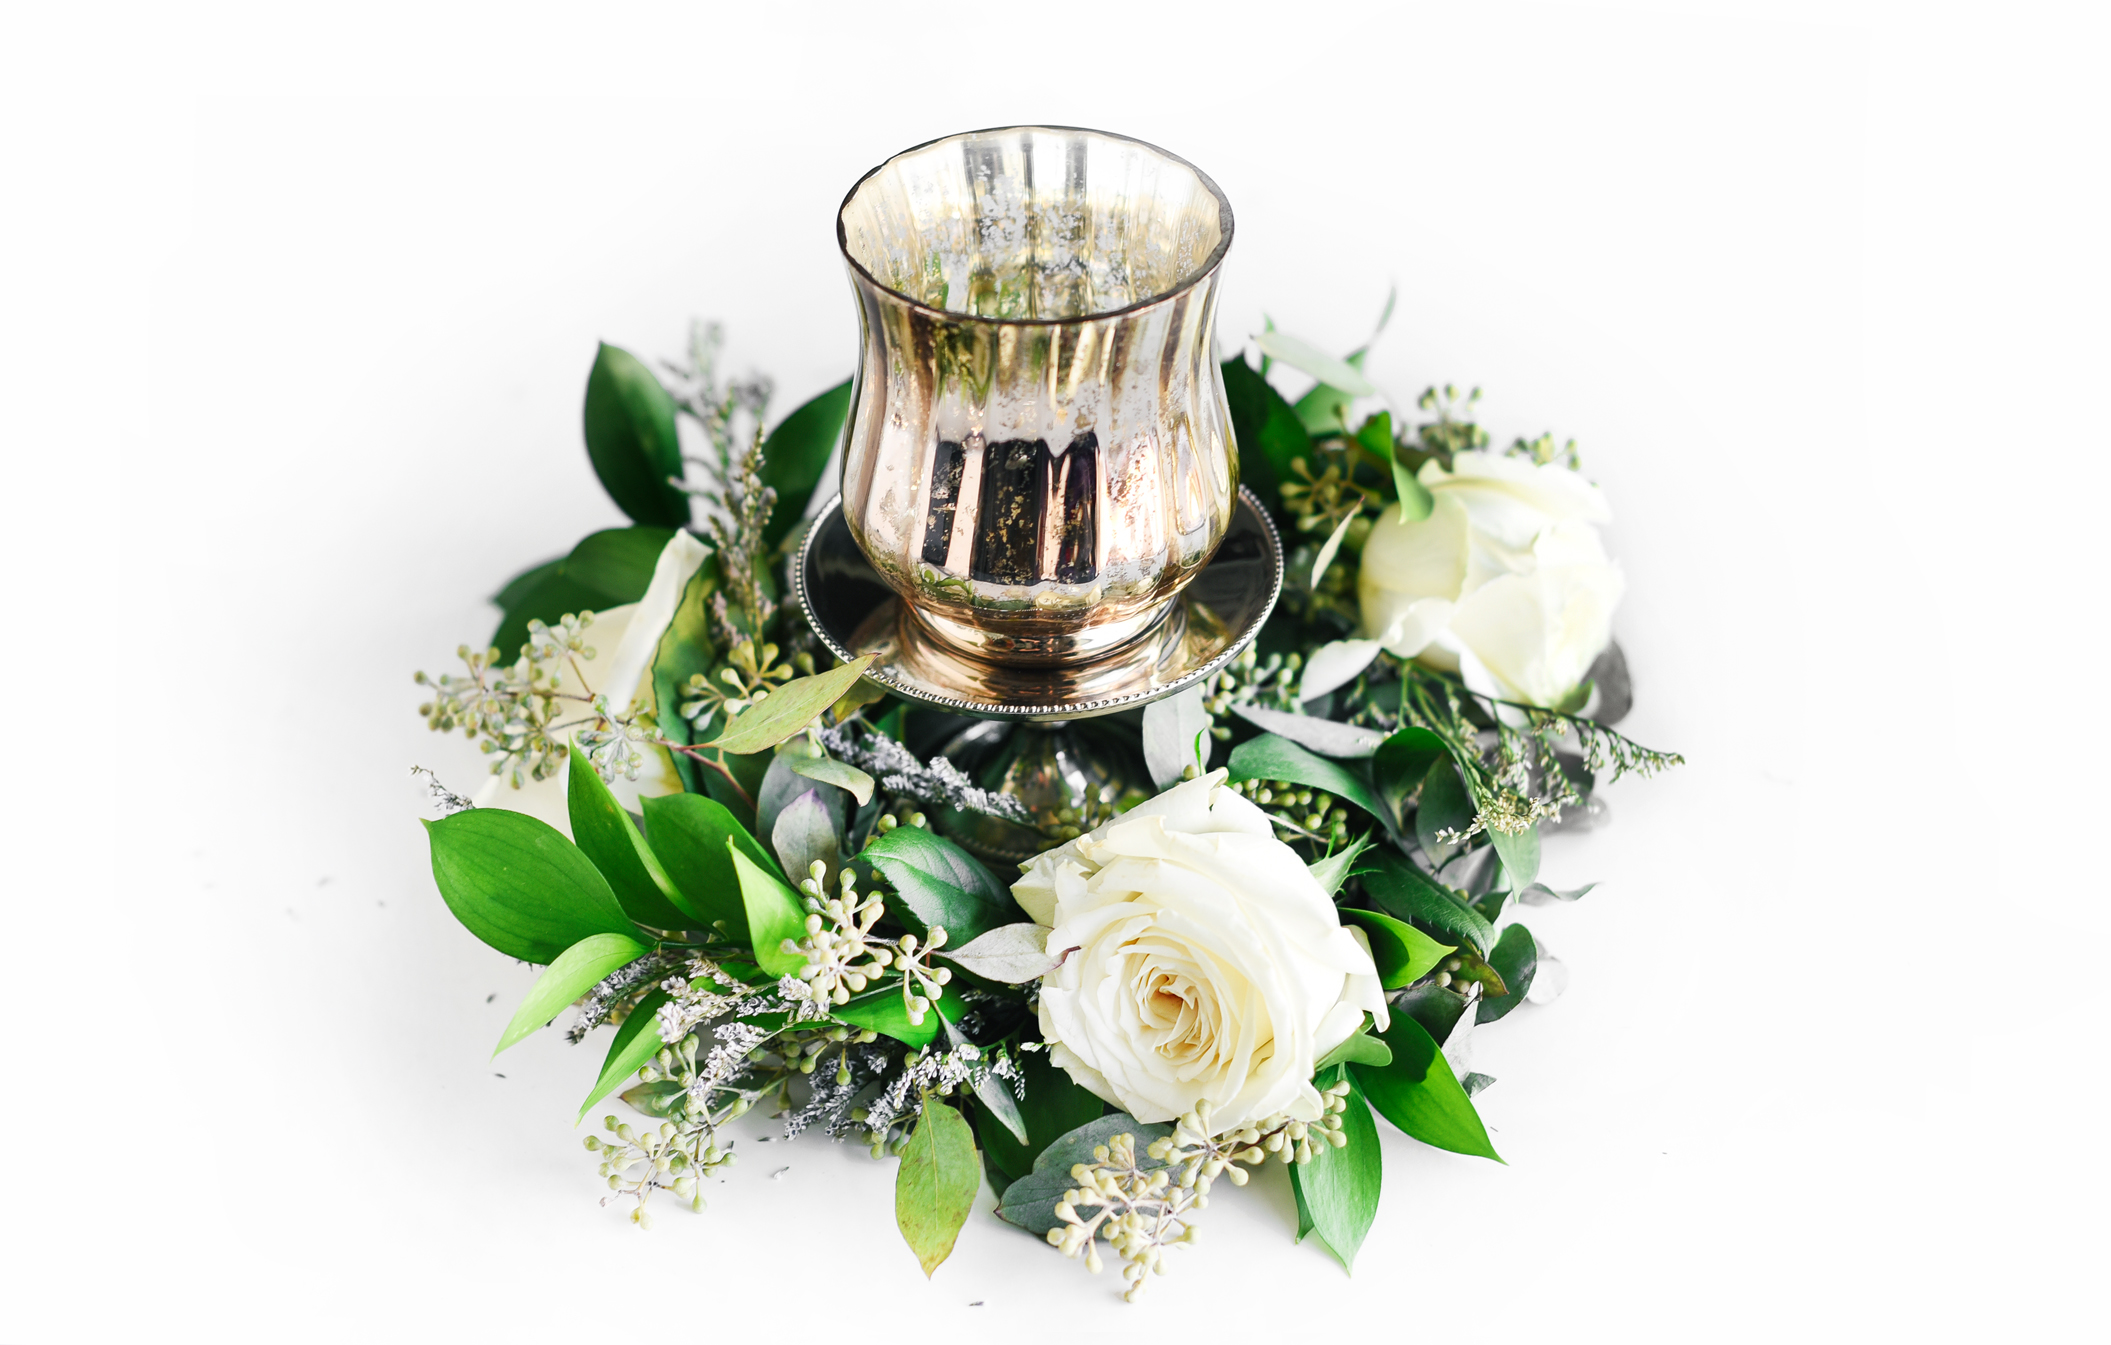
OPTION 2 – SINGLE VOTIVE
If you’re going for a simply chic look, take a single large, mercury glass votive holder and place inside the wreath garland. Add table numbers behind the votives with small clip holders.
We love this option for smaller tables, or more intimate settings.
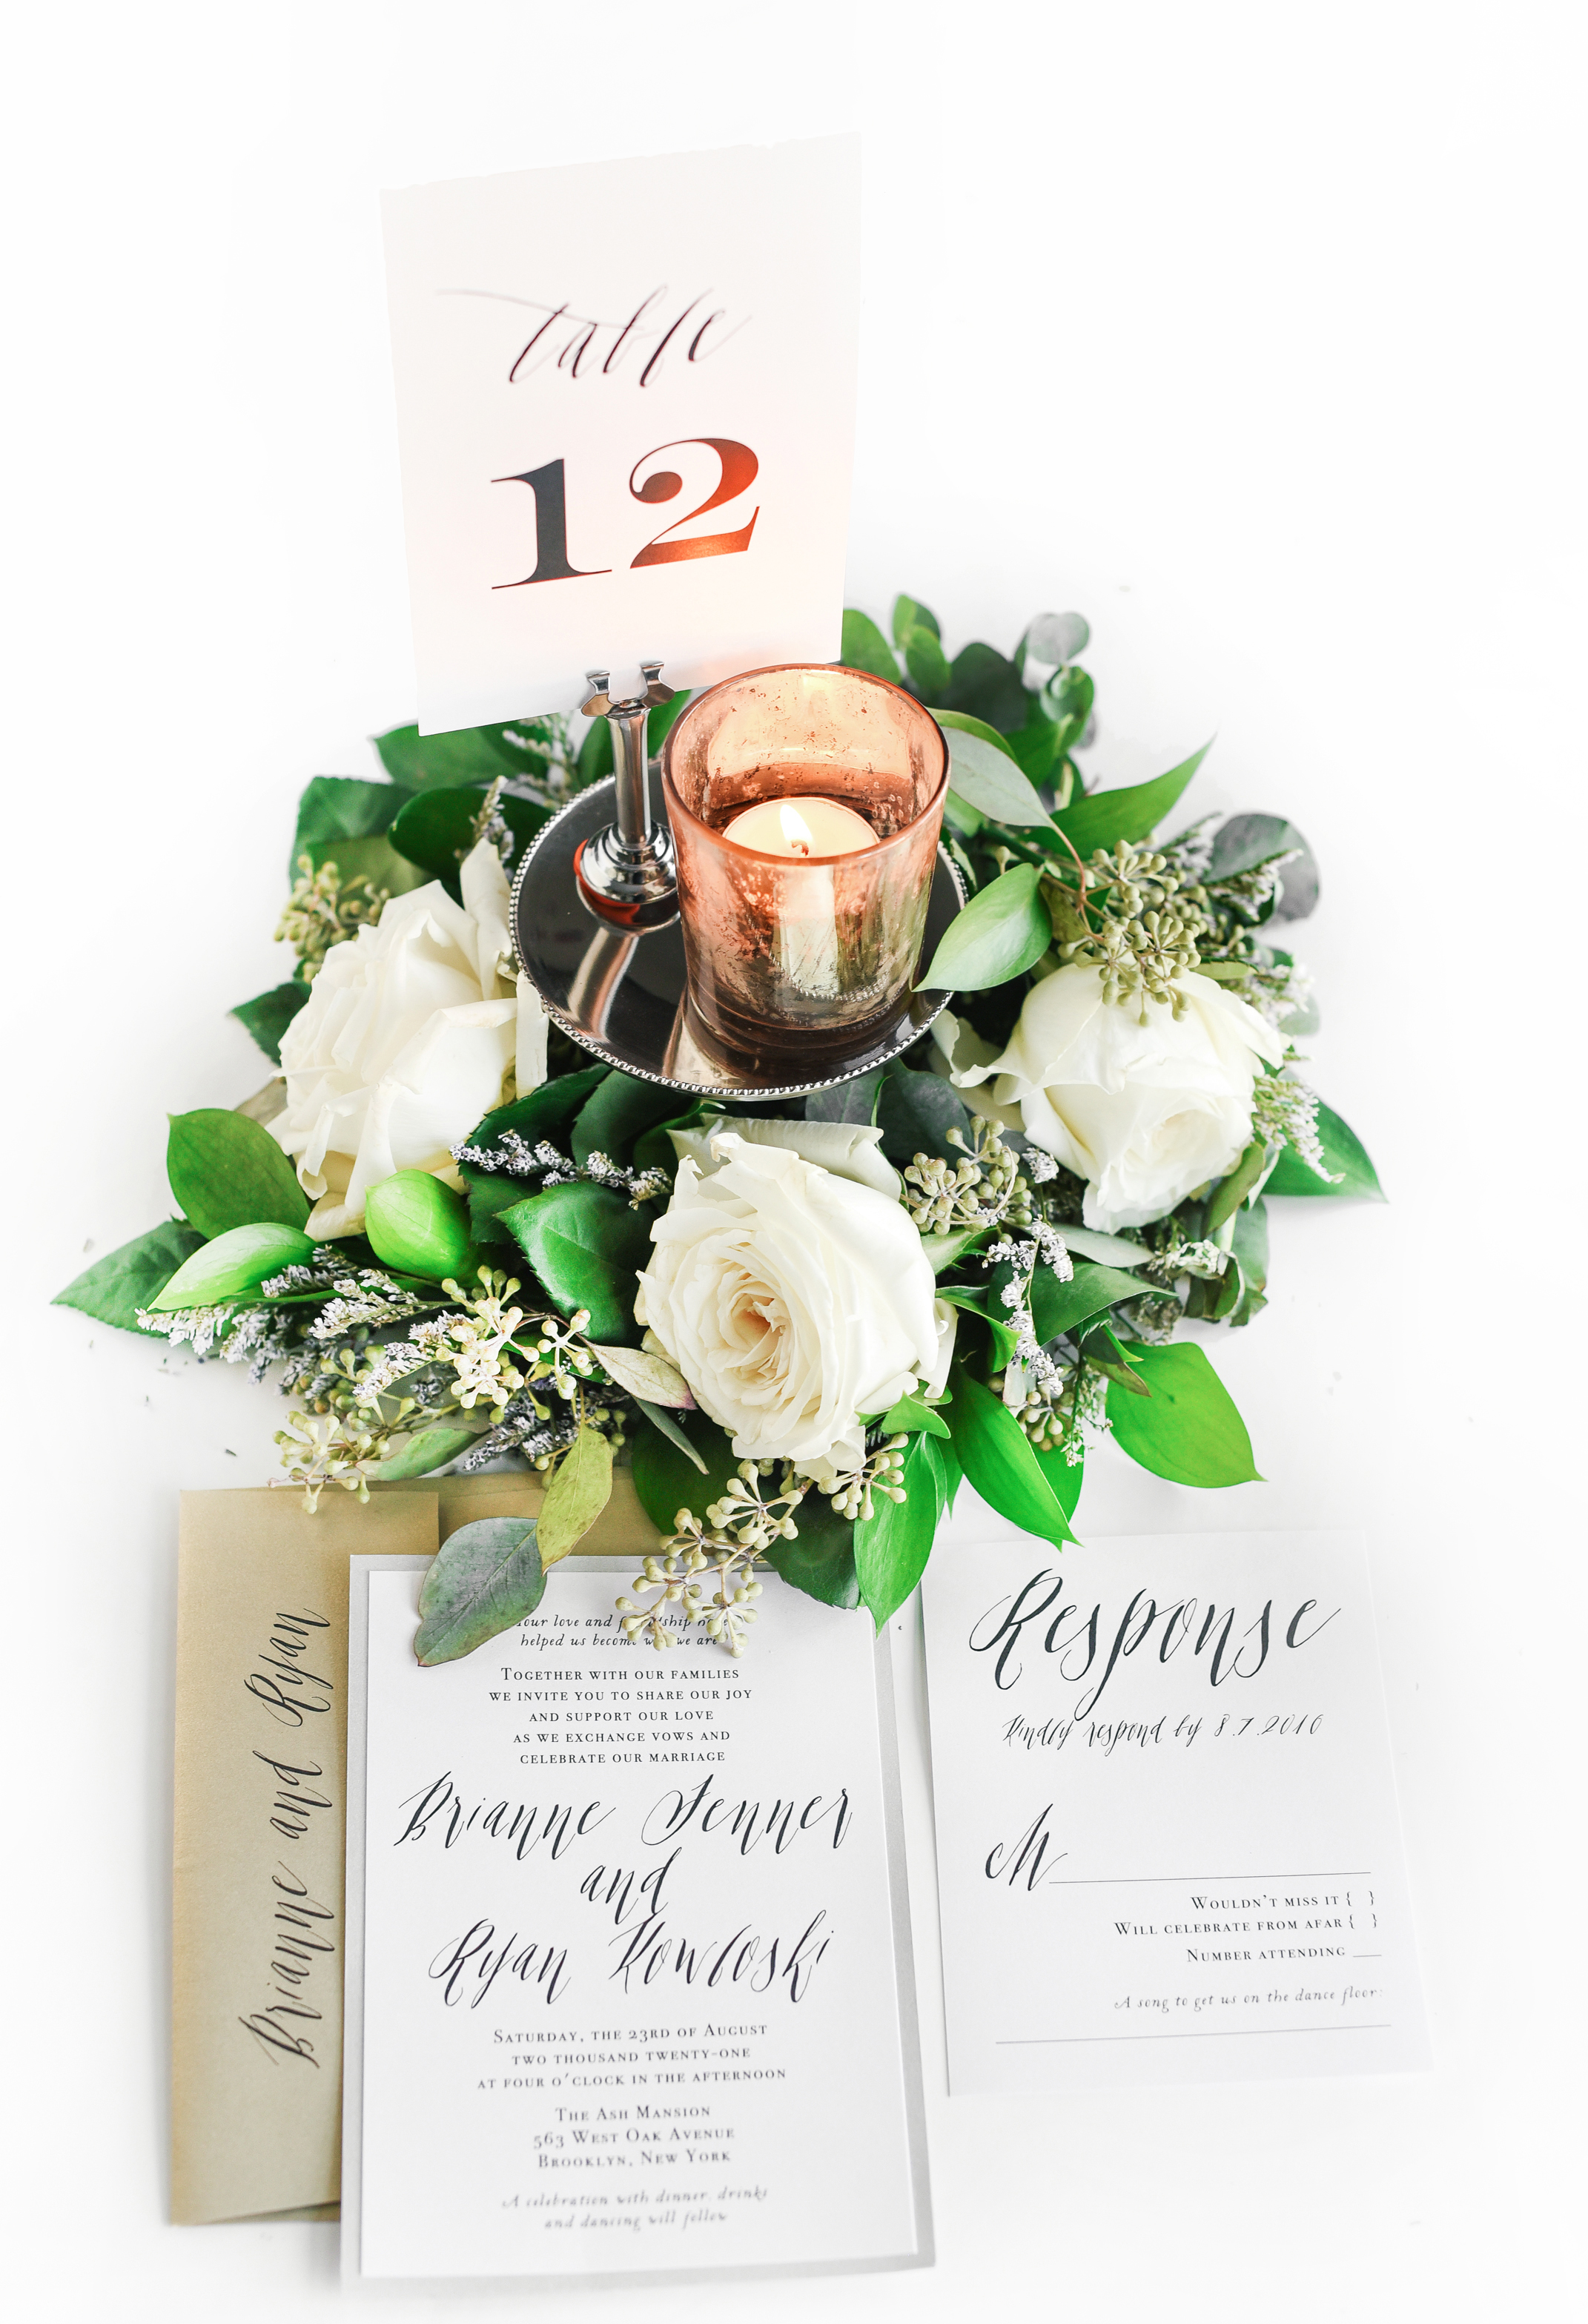
OPTION 3 – PRETTY PEDESTAL
If you want a bit of height in the centerpiece, but want to keep the overall look a bit more concise, simply place a small votive holder and table number atop the pedestal!

With all the floral combinations and styling options, every bride can make something special for her wedding! What will you choose?!
![]()
 Modern Calligraphy Wedding Invitations
Interested in this invitation style? Click below to learn more
You May Also Like


Join the Conversation


